The Process:
You will need:
- 2 paint brushes (one smaller for detail, and one bigger for larger surfaces)
- Acrylic paint in the colour(s) you want your square wood pieces and wooden letters
- 4 pieces of scrapbook paper in the design of your choice
- Mod Podge
- Spool of 2 inch thick ribbon in colour of your choice
- Spool of super thin ribbon in colour of your choice (optional)
- 1 D-ring
- Staple gun
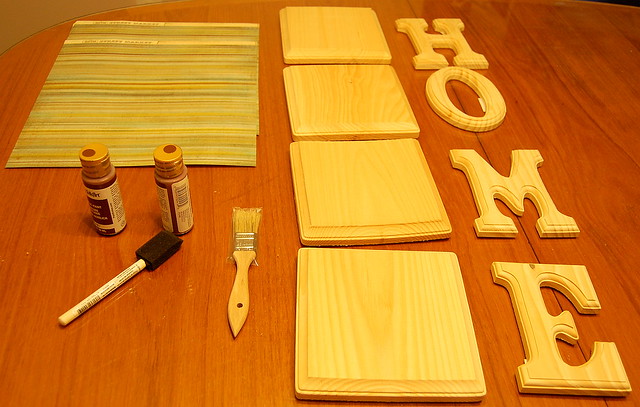

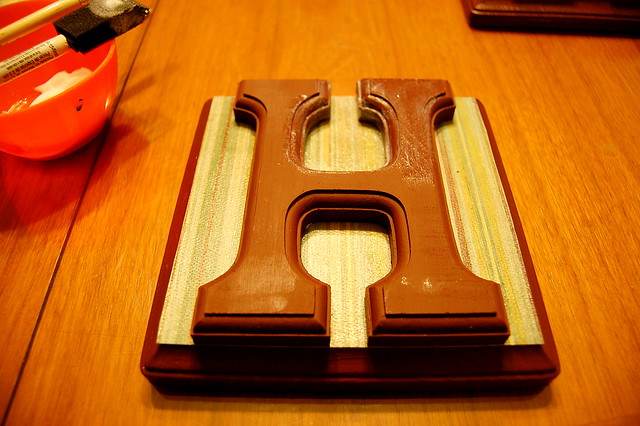
Start with painting the wooden plaque pieces.
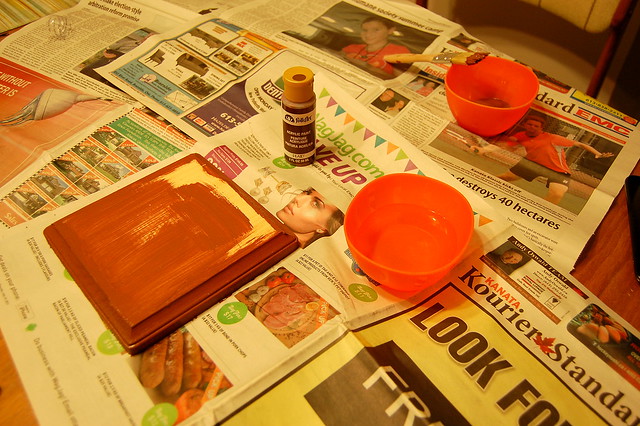
Pro Tip: Make sure to add some water to your brush, and a little bit to your paint. This will help the paint go on smoother and will give you much better coverage. Also, your paint won't run out as quickly.
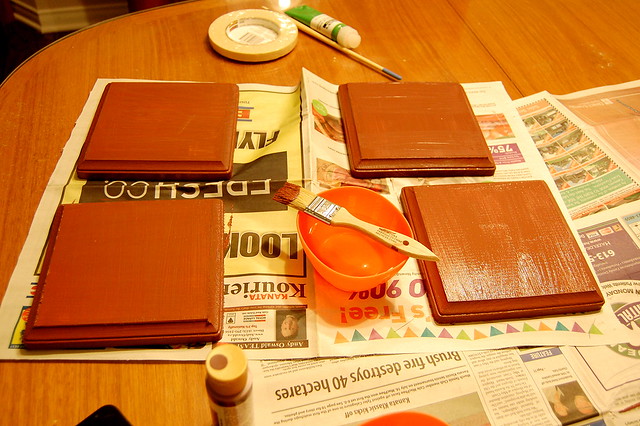
Throw a second coat on for perfect coverage. Do the same to your wooden letters.

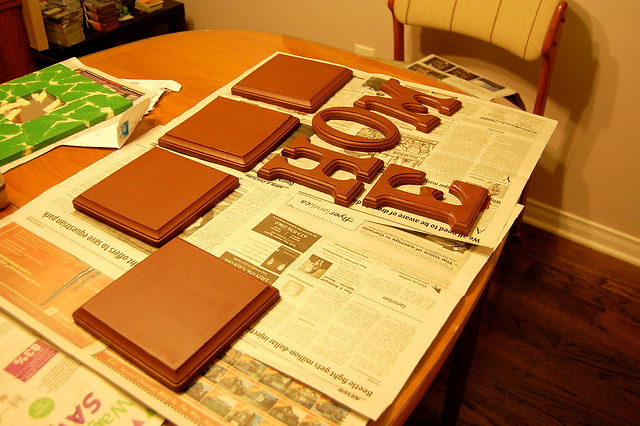
Let those dry for an hour or two. Acrylic really doesn't take too long to dry, but you don't want to mess up the paint job by being overzealous.
Pro Tip: While waiting for your paint to dry I recommend grabbing a quick nap, or taking a nice relaxing bath with a Purple Urchin bath cube dropped in.
Once dry, you can start tracing and cutting out the scrapbook paper for your background.
Flip the wooden piece over so the raised portion is face down. Take your trusty mechanical pencil and get right in there.
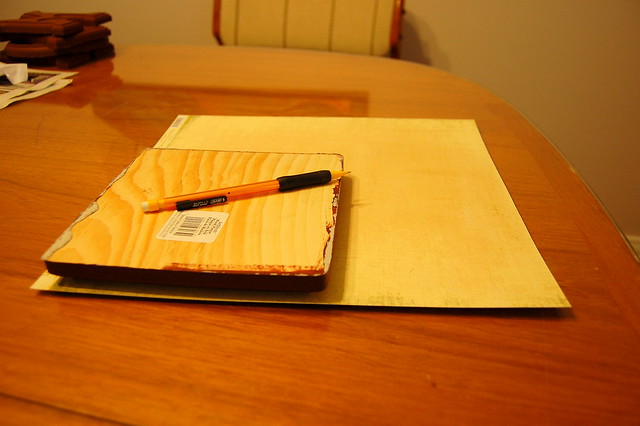

If the scrapbook paper doesn't fit perfectly just give it a little trim. Tracing isn't an exact science.
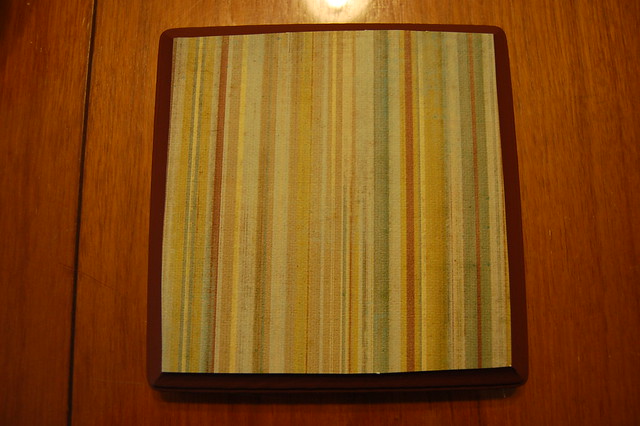
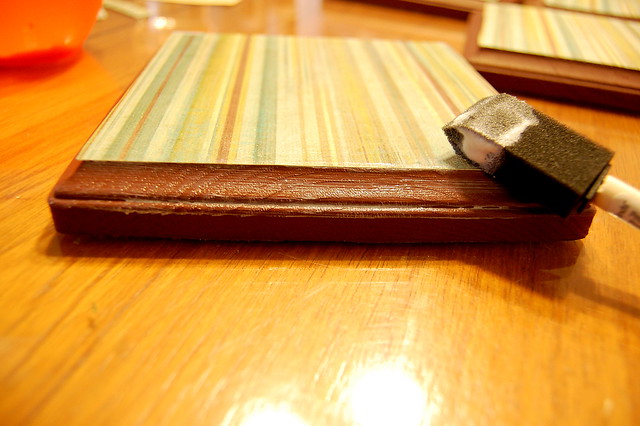
Now bust out your Mod Podge and glue that paper to that wood!


Get that Mod Podge EVERYWHERE!!! On top of the paper, on the exposed sides of the wood. ALL OVER!!!

Alright, now that everything is dry, we're going to bust out even more Mod Podge by affixing the letters to the middle of the wooden plaque pieces, and then covering the letters in Mod Podge.
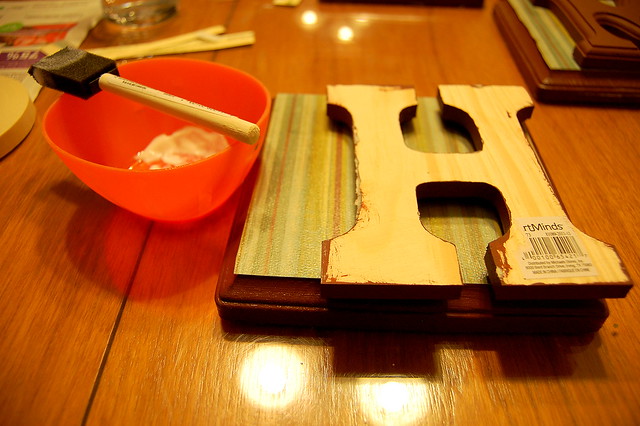
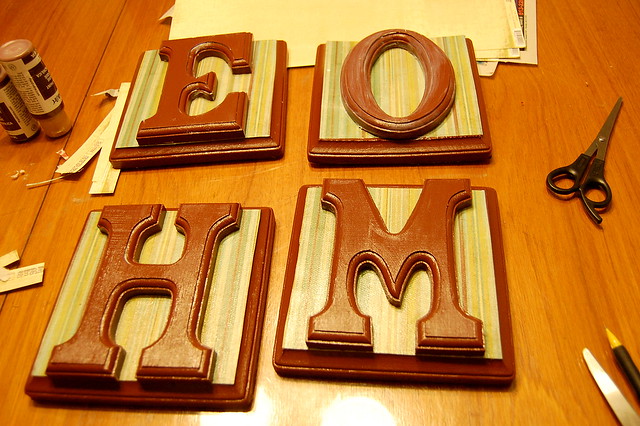
Voila! I let these dry overnight before I started attaching them together with the ribbon and staple gun. I didn't want anything to ruin that perfect Mod Podge sheen.
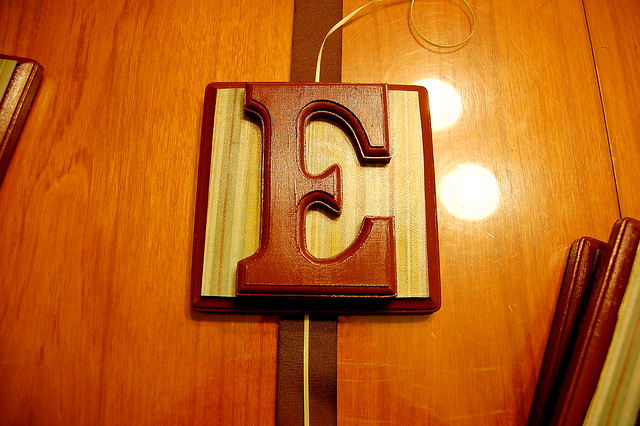
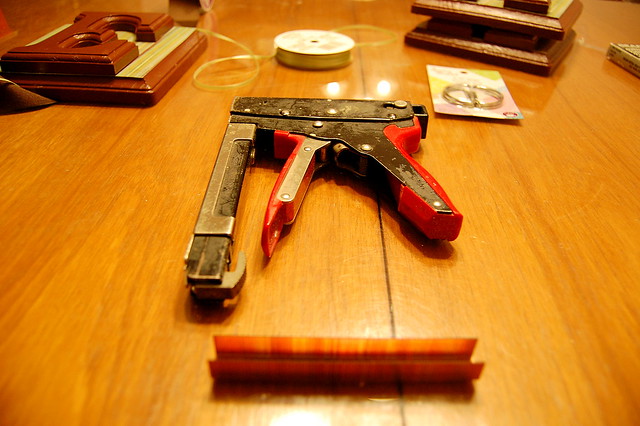
Alright here comes the technical and slightly dangerous part of all this fun; measuring and stapling your ribbon to the back of the wooden plaque pieces while attempting to space the pieces out evenly.
First get an idea of how you want it to look once the ribbon is affixed to the back.
Pro Tip: If you're a kid, or just kinda accident prone, get another adult to help you to use the staple gun. It doesn't mess around.
Carefully flip the ribbon and the wooden plaque upside down. Start with the last letter of your word first, and make sure that you leave at least 6" of ribbon at the bottom.
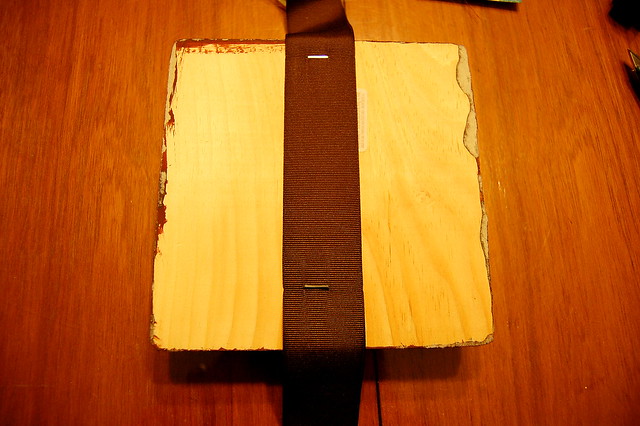
Now carefully staple the ribbon into place.
Next, grab a measuring tape and measure out where you want to put the next wooden plaque. Use a piece of chalk to mark it. I spaced mine 3 inches.
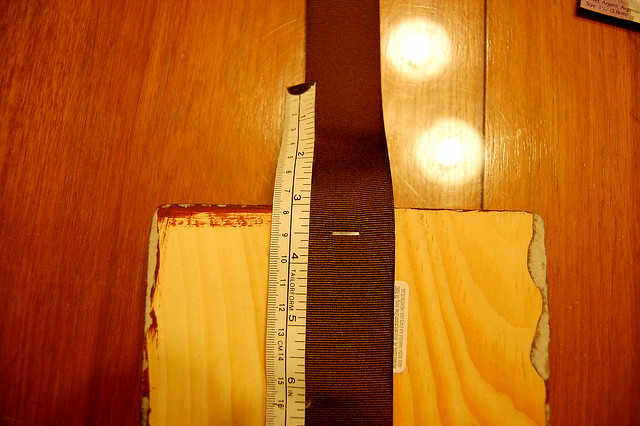
Keep stapling and measuring until all your plaque pieces are attached.

Make sure you leave about 1.5 feet of extra ribbon at the top, as you are now going to feed the D-ring onto it, fold it over, and staple the remaining ribbon to the back of the first wooden plaque piece.

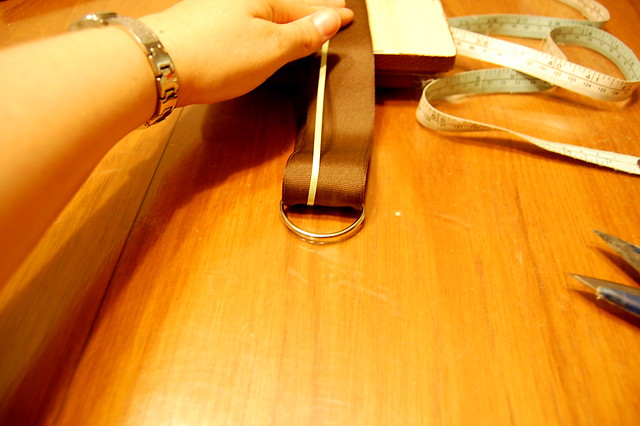
Now staple that remaining ribbon REALLY well because it's where the majority of the weight is going to rest once it's hung on the wall.

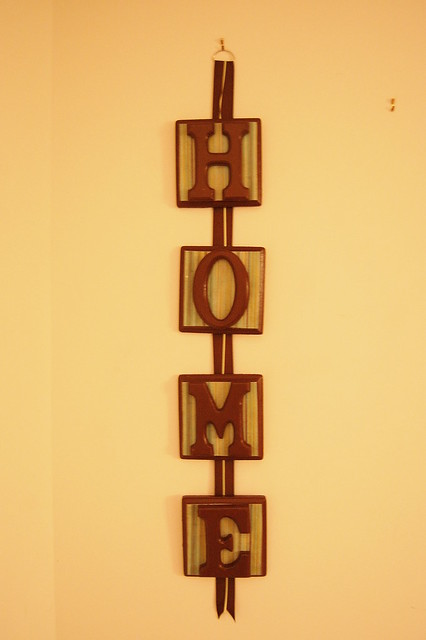
As a finishing touch, cut the bottom left-over ribbon in a V shape.
That's it! You're done! Now go hang it!
Pro Tip: Hang it on a stud, it's not light!
Total Approximate Cost: Wooden Plaque Pieces - $5/ea, Letters - $3/ea, Paint - $4/ea, Paper - $1.50/ea, Ribbon - $5/ea, D-rings - $3. Total = $65
This was definitely the most expensive project I've done to date. It's worth noting that the wooden pieces were quite pricey, and had I done some shopping around first I most likely could have found them for much cheaper elsewhere. That being said, this was given as a gift to my future sister-in-law, and quality was definitely important!
Have you done a project like this? Where did you find your materials? Was it cheaper than this? I want to hear from you! Please comment below, or tweet me @PinterMel.
Cheers!
- Melissa
No comments:
Post a Comment