The Process:
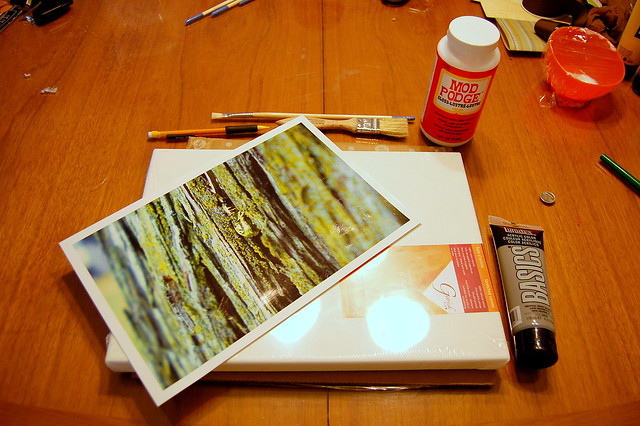
You will need:
- one printed photo, an 8x10 would work well
- one canvas, of either same or slightly larger size than the photo
- acrylic paint in the colour your choice
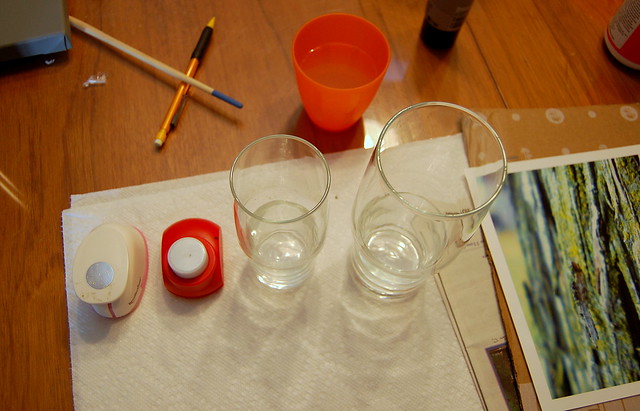
- 3-4 different sized circular items (i.e. drinking glass, hole punch, etc.)
- pencil or pen
- scissors
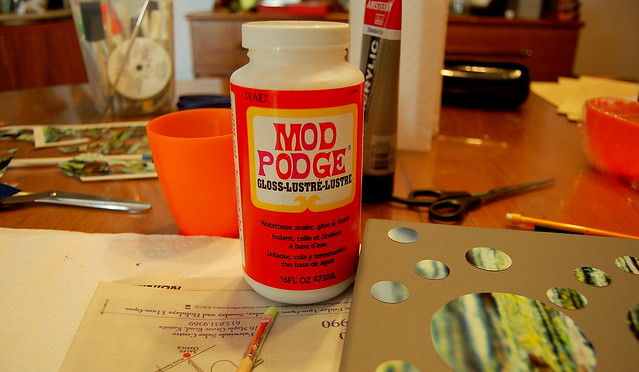
- Mod Podge
- 1 paint brush (for the paint)
- 1 sponge brush (for the Mod Podge)
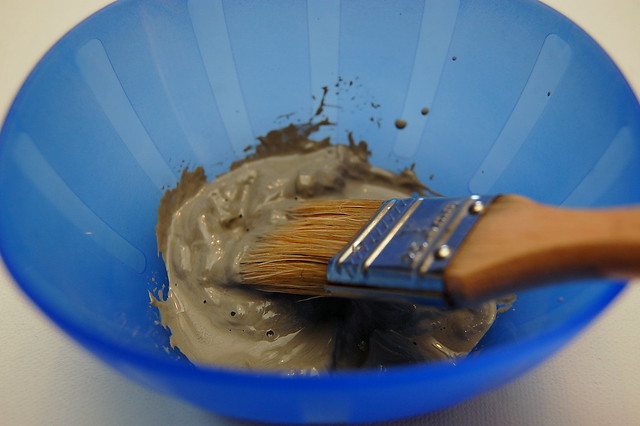
Firstly, squirt some of your acrylic paint into a little dish and add some water to it to thin it out a bit. This will help with even coverage on your canvas.
**Note: the Pinterest link shows a wooden canvas (as opposed to the fabric one that I have chosen). If you have chosen to use a wooden canvas, I recommend either staining the wood so it's sealed, or covering it in a thick layer of Mod Podge (which will also seal the wood) before starting.**
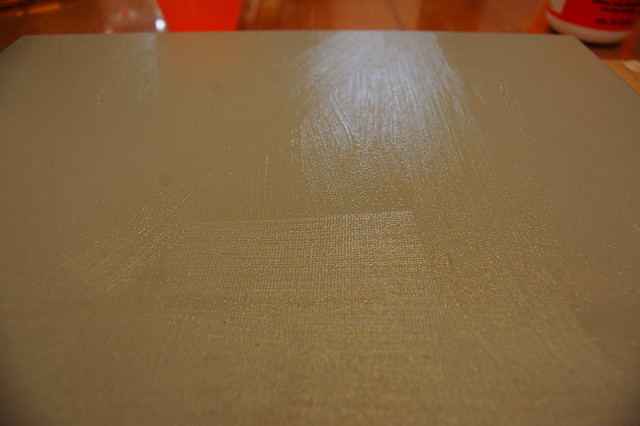
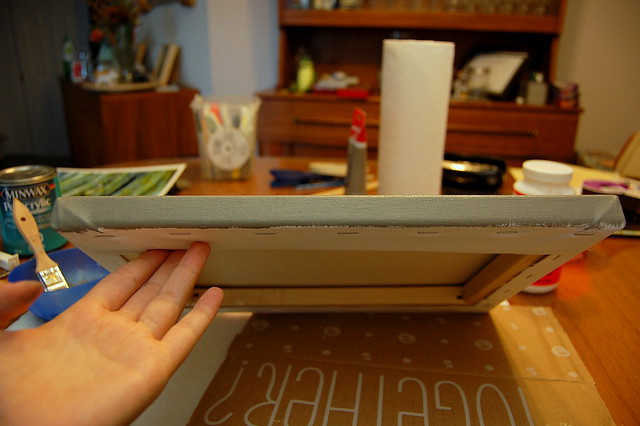
Make sure to do two coats. The first coat shouldn't take too long to dry; maybe half an hour. Also, don't forget to do the edges of the canvas too!
While your second coat is drying, get out your 3-4 circular items for tracing.
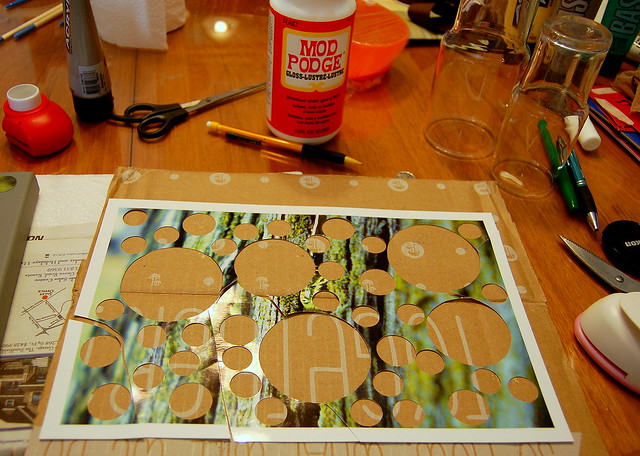
Start with the biggest circle. Flip your picture over and trace some strategic circles on the back of it. When I say strategic I mean that if there is a focal point in your photo you may wish to include this in one of the big circles. For example, in my photo the focal point is a big drop of sap, so I was sure to include at least a portion of that focal point in one of the big circles.

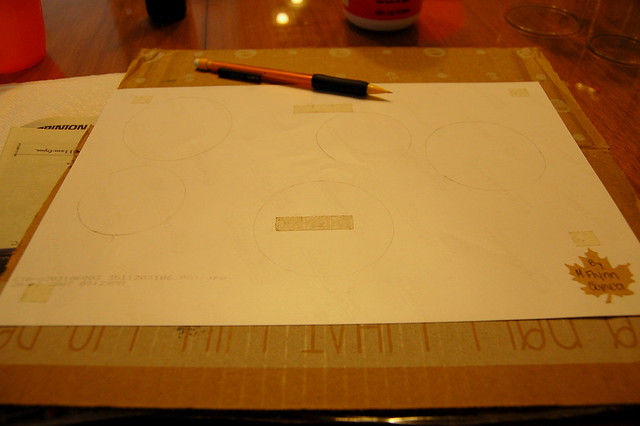
Then cut the big circles out!

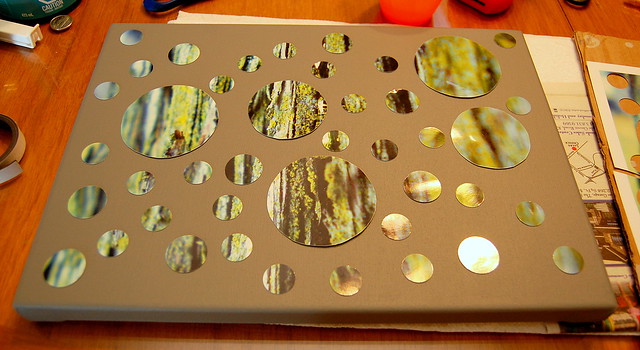
Make sure to place the circles on the canvas approximately where they were in the original picture. You want to be able to tell what the original picture was when you look at the final product.
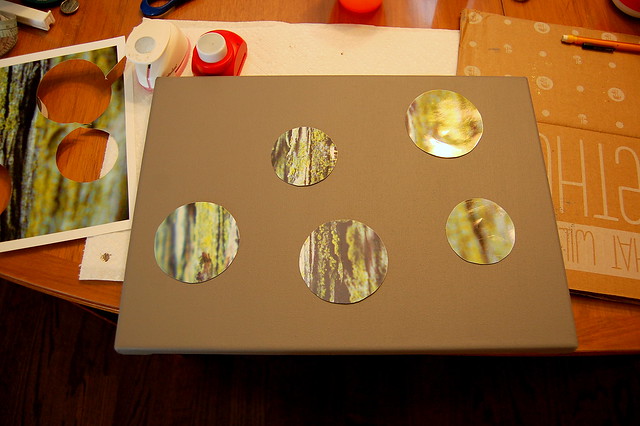
Now that your big circles are done, continue tracing with your smaller circles. You can cut out as many, or as few as you like.
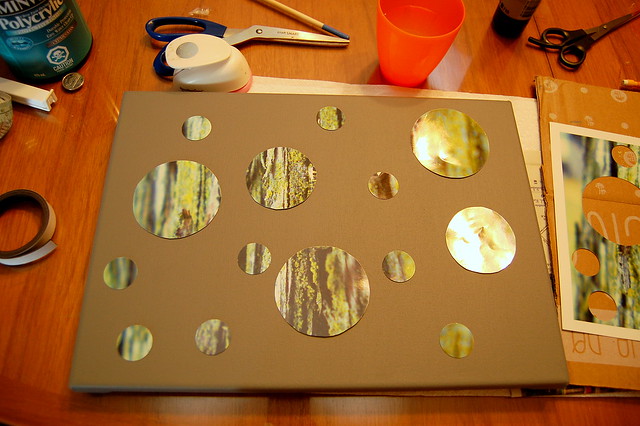
My photo was pretty abstract to begin with, so I opted to use more circles. Next time I do this project I will use a photo that is less abstract to see how that turns out.
The aftermath:
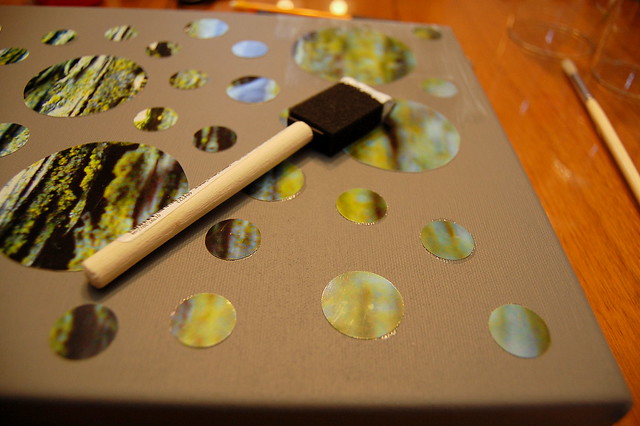
If your canvas is 100% dry, start Mod Podging your circles onto it!
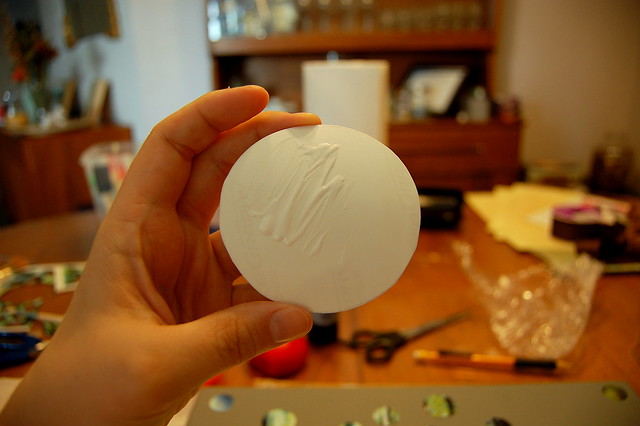
Once you've Mod Podged them all into place wait about 30 minutes for them to completely dry.
After they are all dry, go over the entire canvas, over the circles and all, with a layer of Mod Podge. (I did two layers, but that's completely up to you.)
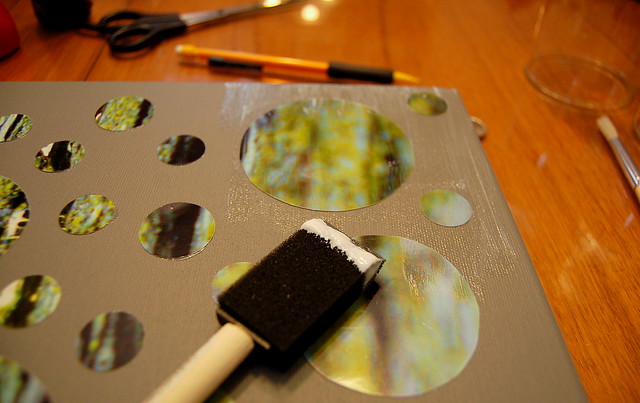
Don't forget to Mod Podge the sides of the canvas as well!
Now let it dry to a beautiful, sealed, shine.
That's it! You're done!
Ta Da!


Total Approximate Cost: 1 canvas - $6-$8, Photo Print - $1.00. Total = $7-$9
(The paint and the Mod Podge I already had laying about from other projects.)
Have you done a project like this? Did you do the wooden canvas version? What kind of photo did you use? Which ones work best? Please comment below, or tweet me @PinterMel.
Cheers!
-Melissa
No comments:
Post a Comment