The Process:
I *really* liked the look of this project; a nice framed tribute to your family for the front hall. My brother married his longtime girlfriend last weekend, and as soon as I saw this project I immediately knew that I wanted to make it for them. The Pinterest post explains how to make the letters using vinyl and a Cricut Machine, I don't have one of these, so I did it the old fashioned way; with scrapbook paper and a razor. I'm hardcore like that.
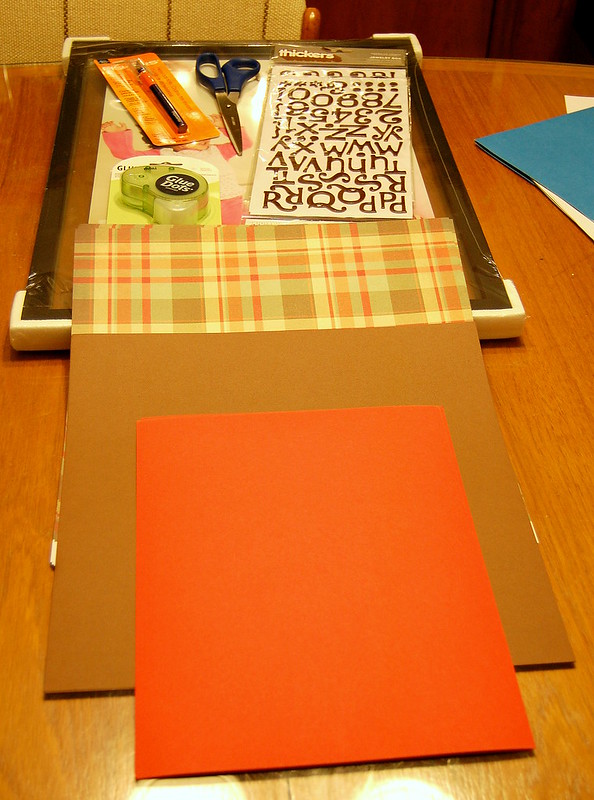
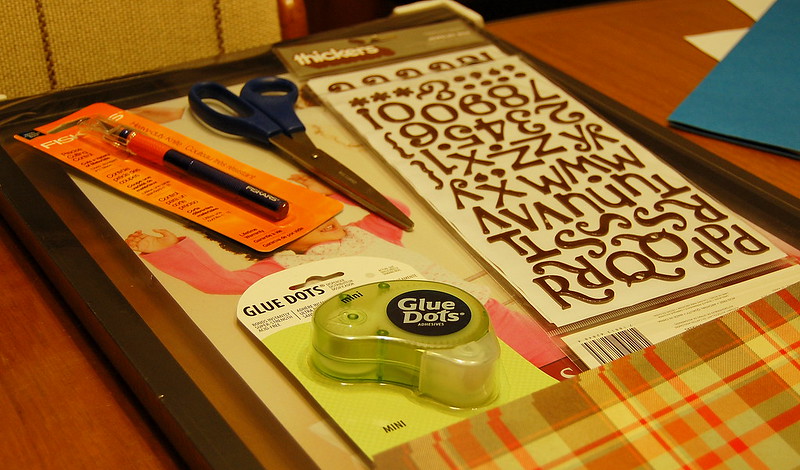
You will need:
- A floating frame, size of your choice
- A razor blade
- Scrapbook paper x 3-5 pieces, design and colours of your choice
- Glue Dots
- Cutting board
- Scissors
- Mod Podge
- Paint brush
- Letter stickers
I wasn't able to find stickers big enough and in a font and colour I liked enough to do the "The Flynn's" in, so I went on ye olde internet and sought out a font that would work.

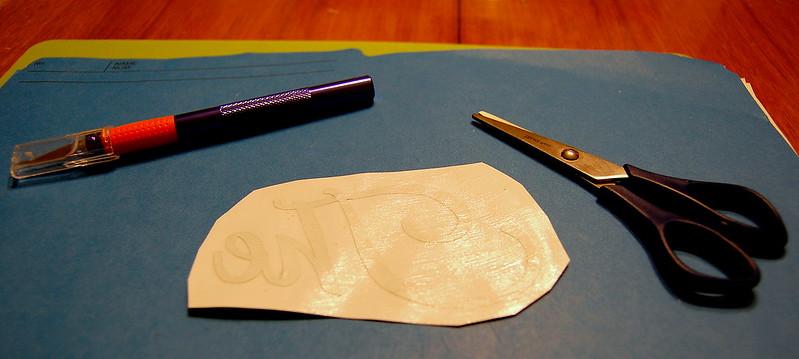
Here's the size I picked.
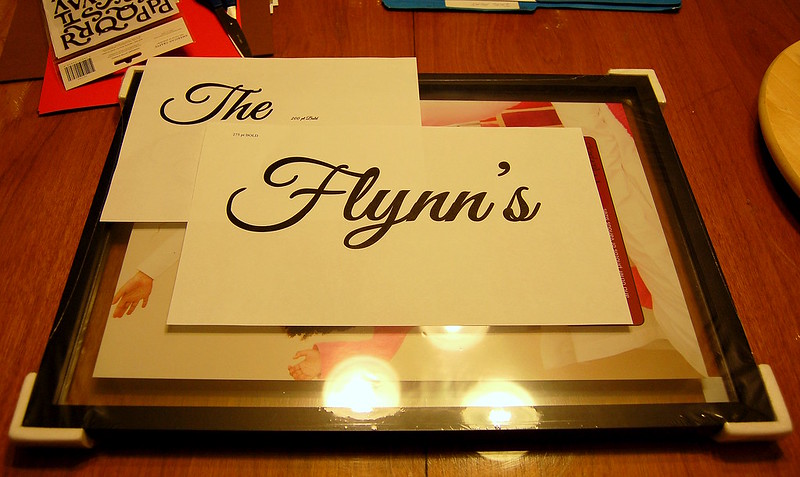
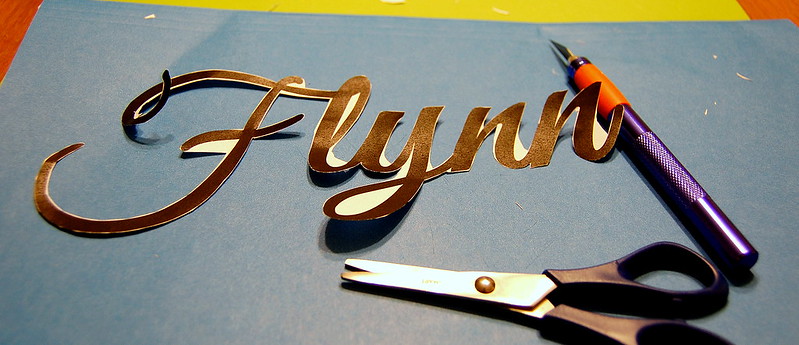
So I printed it out to the size I wanted, and then begun cutting and razoring it out. I recommend cutting as much as you can with scissors, and then doing the finer work with the razor. You'll be a lot less homicidal; trust.
Fun Fact: Before this project, I had never used a razor for crafty purposes. It's harder than it looks, but once you get the hang of it you'll wonder how you did without!

Pro Tip: Put the cutting board underneath BEFORE you start using the razor. Your table will thank you.
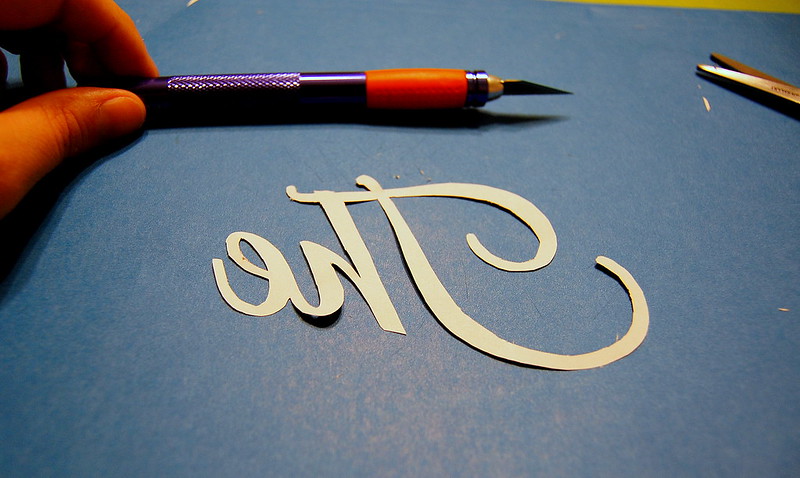
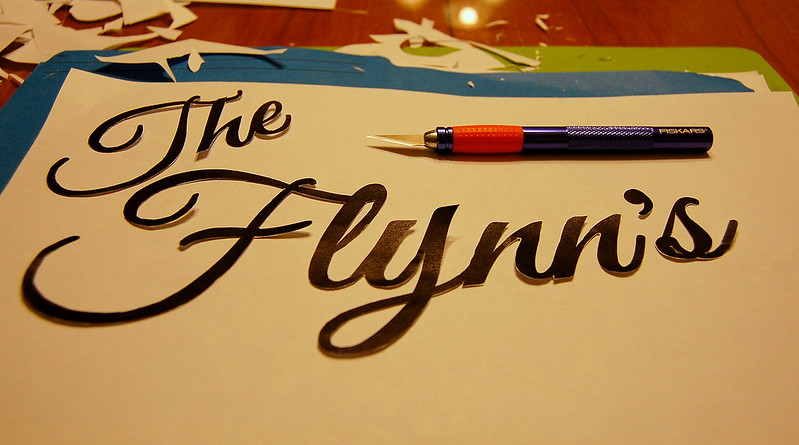
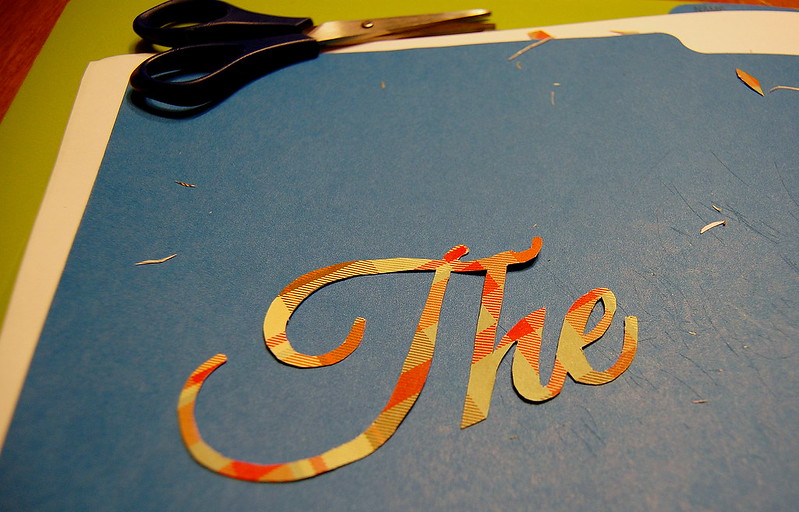
Once you have your "The 'insert your family name here'" cut out, you're going to glue it to the back of the scrapbook paper you chose for it. Make sure you glue it on black ink side down, so that when you cut out the scrapbook paper letters they're the right way.

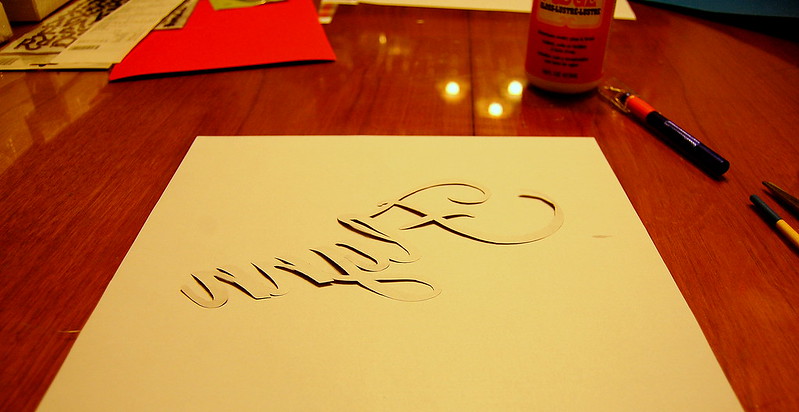

Let this dry for a couple hours. Once it's dry you can start cutting the letters out. You want it to be completely dry so that it's a bit stiff. Just as before, start with scissors and then move to razor for the more intricate bits.

Now that your letters are complete, grab your frame, and Windex the crap out of the glass until it's clean. You don't want to do it after you've affixed the letters because a) that would be stupid, and b) the Windex will absolutely discolour and ruin your paper.
Once you've cleaned the glass in your frame, carefully layout the letters you made trying extra hard to not get fingerprints all over the place, and lay out the approximate location of the stickers you'll be using for the names of your family members and the est. date.
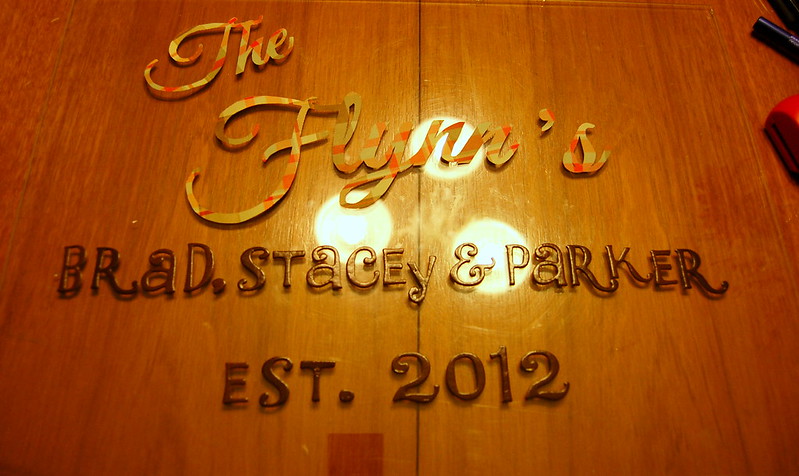
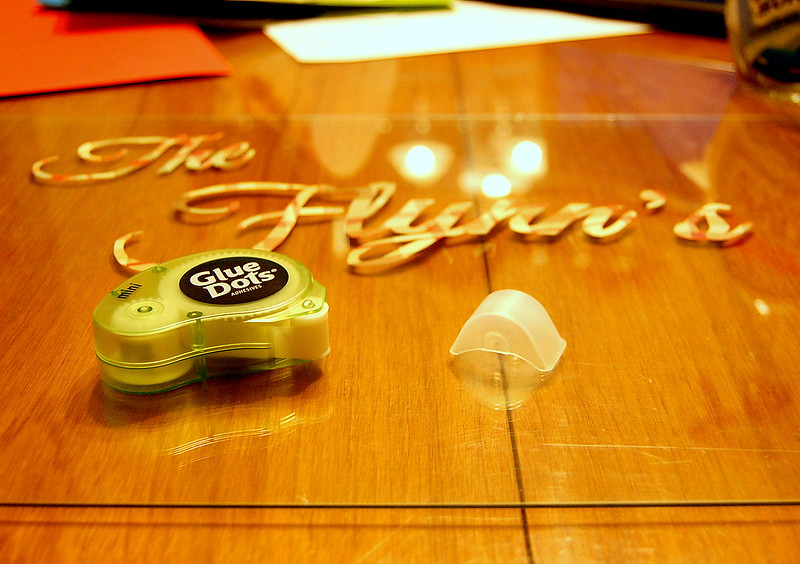
Once you're happy with placement, grab your Glue Dots and start sticking the letters you made on the glass.
Once you've affixed all the letters (as shown above), you can play around with embellishments if you like. I purchased a few different coordinated colours of scrapbook paper to do this with, and I had some different sized hole punchers from other projects, so I used those too.

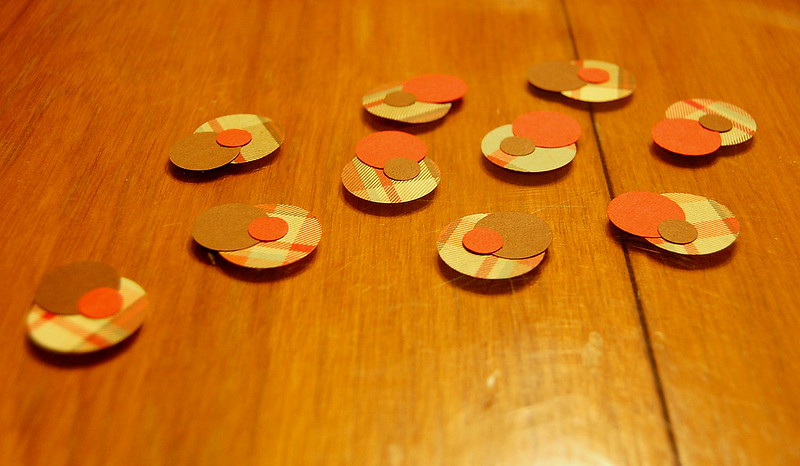
Layout your embellishments on the frame and affix them with a few Glue Dots.
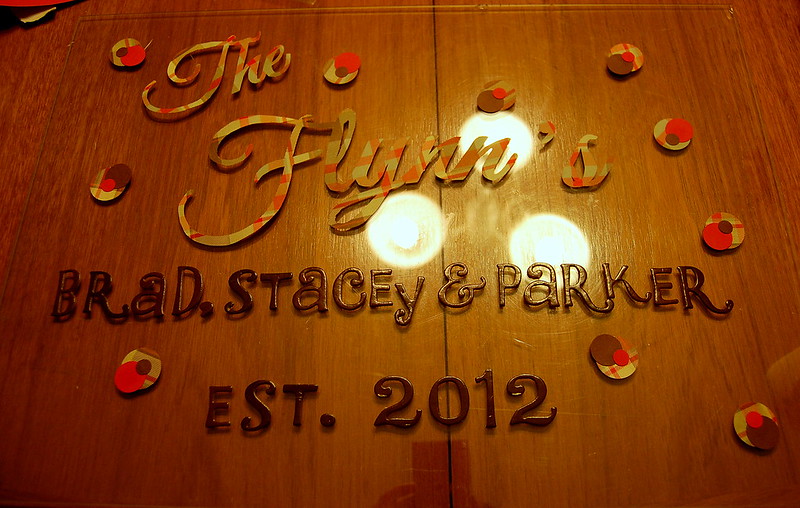
Author's Note: Sorry about the overhead lighting reflecting. It was late, and my boyfriend and I had watched about 4 episodes of Dog: The Bounty Hunter. I just wanted to go to bed at this point.
Once you're happy with how things are laid out on the glass, put your frame back together, Windex the outside glass of the frame to rid of any fingerprints, and you're DONE!
Voila!
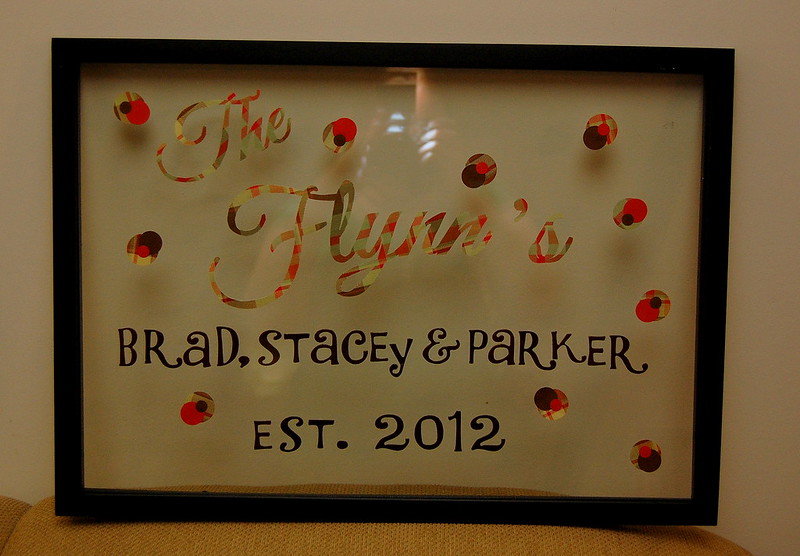
It's now ready to be gifted!
I'm not going to go into a detailed breakdown of cost on this project seeing as it was a wedding present. The cost can really fluxuate based on the quality of the floating frame you purchase. Everything I used for this project I purchased at Michael's.
Have you done a project like this before? How did you do your letters? Did you use a Cricut Machine? Should I prolly just buy one?
Please leave your responses below, or tweet me @PinterMel.
Cheers,
-Melissa
No comments:
Post a Comment