Last night I decided to take the plunge and start messing about with SCIENCE!!! (Prepare to be blinded!)
I put in a massive order to a company out of Montreal called Savon Populaire (don't worry all you non-French speaking folks, Google Translate does a great job of translating this site into English) last week, and all my goodies safely arrived this past Friday.
So last night I decided to start playing around with two projects: 1) Homemade "Vick's" Shower Steamers, and 2) Bath Bombs.
The shower steamers were dead easy, and I used the recipe from Frugal by Choice; seriously, baking soda, water, and a sh*t ton of eucalyptus (and lavender if you so choose).
They should look like paste, but smell like awesome. I left them out overnight to dry, however when I got up this morning they were still a little wetter than I wanted them to be so I popped them in the oven for 10 minutes @ 350F, and that seemed to do the trick.
[PRO TIP: Be mindful when taking them out of the oven, as they'll be ready to come out of the molds, and you could very easily end up with one in the bottom of your oven.]
I tried one of the finished shower tablets in the shower this morning, and they dissolve pretty quickly, and I definitely want more eucalyptus smell. SO next batch will be bigger and have like 5x's as much eucalyptus in it (and maybe some peppermint, it's frigging STRONG).
Next I moved onto bath bombs. Admittedly I have NEVER worked with citric acid before, so I had no idea how easily this stuff would fizz up when it was in contact with even the most minute amount of water. Hats off to people who make these for a living, it's an exercise in patience.
I used the recipe found here.
Verdict:
The orange ones (scented with orange and vanilla) in the top right-hand corner were my first attempt. I quickly learned that I had used too much water because it activated the corn starch which made them rise like a loaf of bread. I was able to still get a bath bomb out of them, however their fizz left a lot to be desired.
The green ones (scented with peppermint) in the bottom right-hand corner turned out much better as the measurements were much more balanced. However, I think I overdid it with the peppermint, as I'm certain that if you added one of those to your bath you would have clear sinuses for a month!
The purple ones (scented with lavender) in the middle are pretty awesome. They have just the right amount of scent, and in the kitchen sink test beat everyone hands down in fizziness. I can wait to try these ones out this week.
The blue ones (scented with a mix called "A Day at the Beach" which is pink grapefruit, bergamot, and orange, with aromatic essence of coconut), are also completely awesome. I think next time I will use slightly more scent though as they're a little weak smelling for my liking, however they could be perfectly fine for other folk's senses.
I now feel the overwhelming urge to make them pretty, by using ACTUAL molds and not muffin tins...that we use...for actual muffins.
So there you have it! My maiden voyage complete! Sorry for the spoiler family, but you'll be getting these and some other awesome handmade beauty products for Christmas this year.
Cheers,
-Melissa
Sunday, October 21, 2012
Thursday, October 18, 2012
Official Pinter*Mel Project FAIL #1: The Great Pumpkin Fail of 2012
I'd been perusing Pinterest looking for alternate ways to jazz up pumpkins for a DIY Fall-look around the house.
The Inspiration: Chevron painted pumpkins
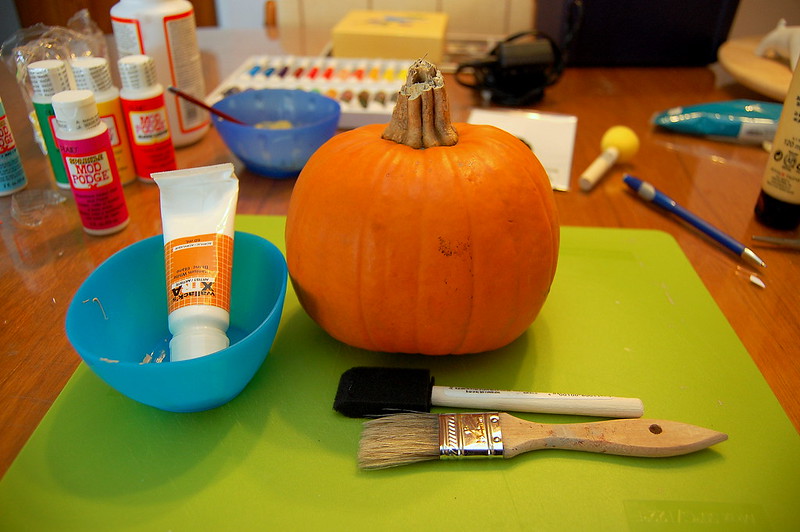
I purchased this perfect teeny pumpkin at my local grocery store for 99 cents. I didn't want to invest big money in pumpkins until I knew what I was going to do, and that what I was going to do was going to work.
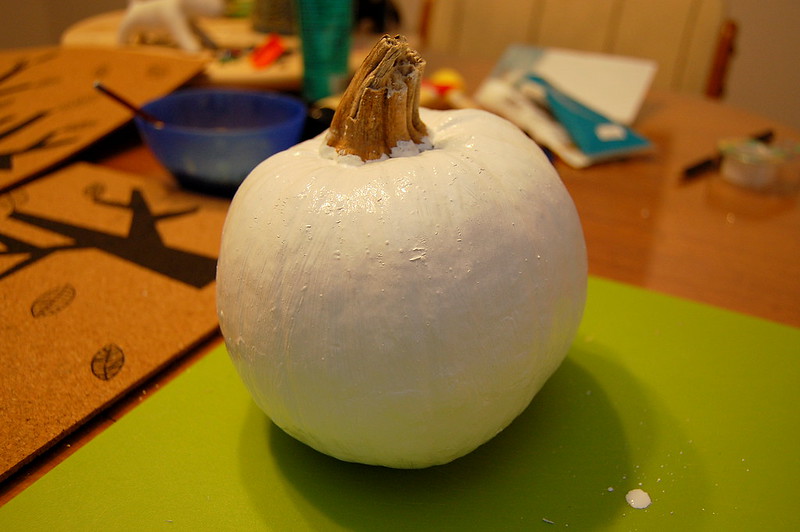
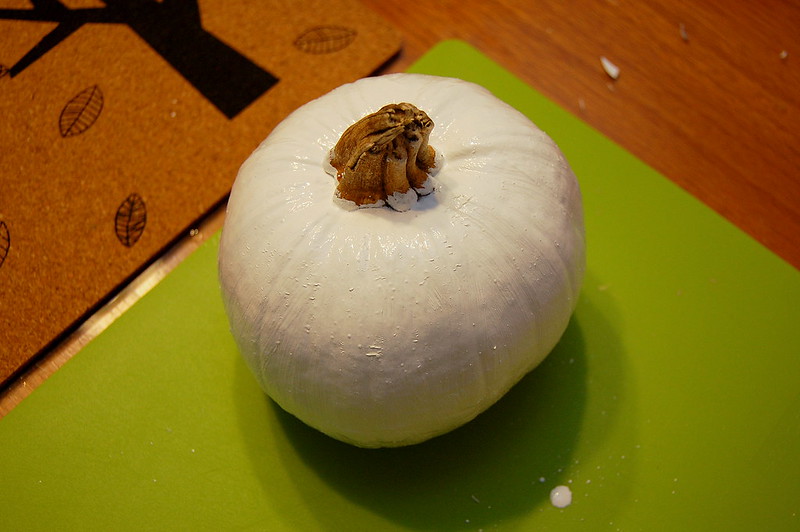
I painted this cutie pie white.
(PRO TIP: If you're planning on painting a pumpkin white, just get a white pumpkin and save yourself about 3 coats of paint.)
I let this pumpkin dry for like 24 hours. I wanted to make sure it was good and dry before I started putting more paint on it.
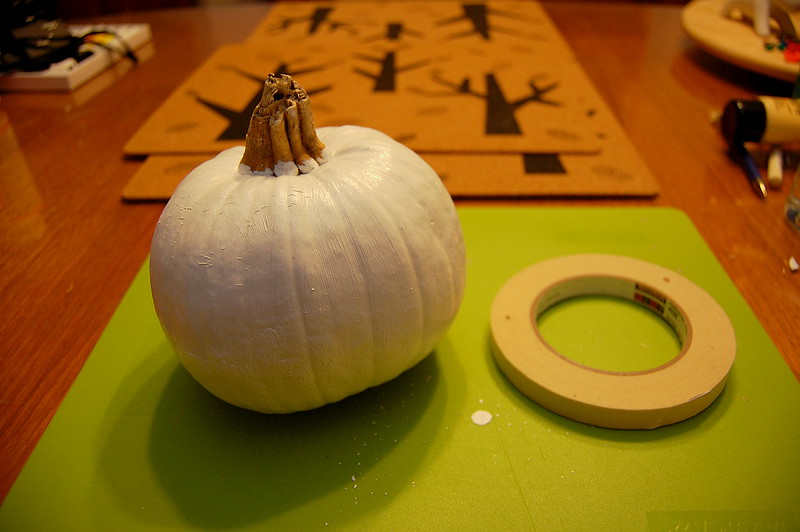
Then I figured I'd tape a pattern on the pumpkin to paint. I wasn't talented enough to do chevrons, so I chose an easier pattern to start with.
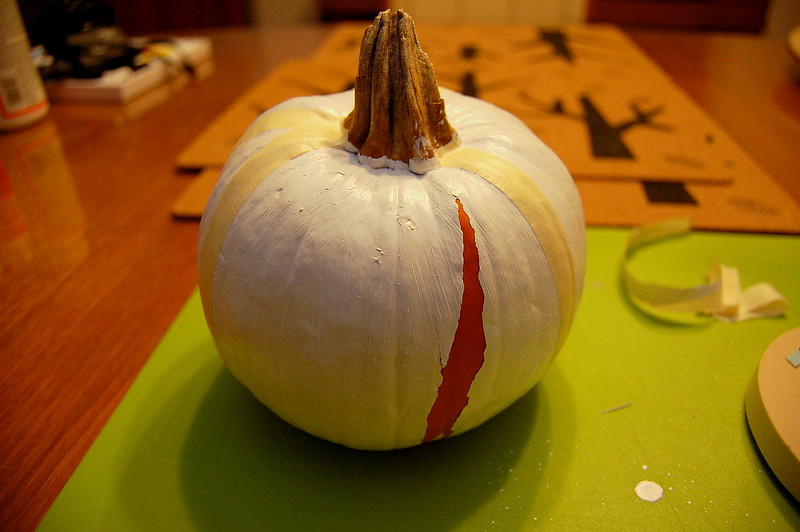
So I was taping away, when I noticed that one of my pieces of tape was a bit off centre, so I started to gently pull it off to reposition it when THIS happened...
That piece of bastard tape took the paint right off my pumpkin. I thought maybe it was just an isolated incident, and proceeded to try another piece of tape on the other side. It happened again. It happened with every piece of tape I put on the damn thing. By the time I had taken all the tape off I was left with my original orange pumpkin.
The moral of the story: Put the tape on BEFORE you paint. Yes, you'll be relegated to orange as one of your primary colour choices, but you won't end up with a naked pumpkin. One that SHOULD still have three coats of paint on it. Alternatively, you could also just freehand a design or drawing on the painted pumpkin, just as long as you don't put tape on the actual paint you should be fine.
Don't make the same mistake folks!
Cheers,
Melissa
Location:
Kanata, Ottawa, ON, Canada
Wednesday, October 17, 2012
Six Squared: The Big Send Off
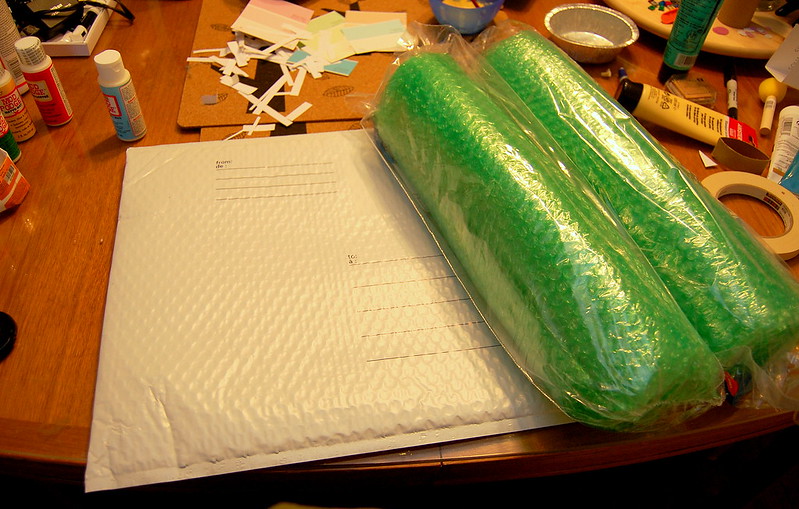
So on Monday I lovingly wrapped my 6 canvases in bubble wrap, placed them carefully inside a Canada Post bubble mailer, addressed it, then sealed it up.
Then I saw the envelope containing the submission form and my business cards laying on the table, because I forgot to put it in the package. There was no way that thing was going to be re-opened, whatever glue they put on these mailers could be used to hold aircraft together. So I ended up taping the envelope to the backside of the mailer.
Anywho, here are the pictures!
Here they are all finished:
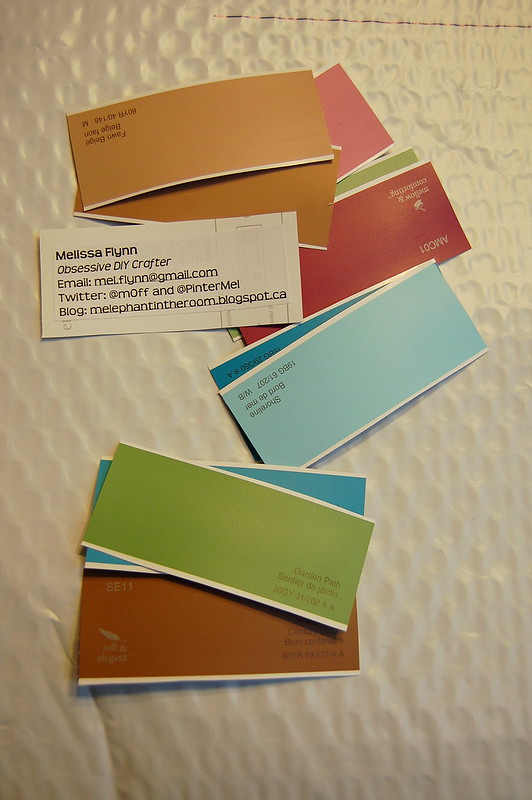
I made some "business cards" out of paint samples to hold me over until my actual profesh cards arrive.
All wrapped up!
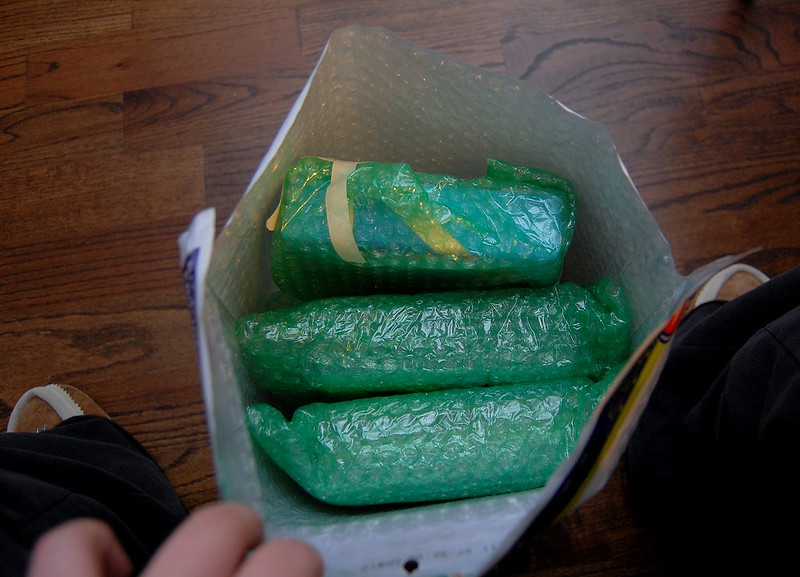
In ya go!
Addressed and ready to roll.
I'll be heading down to Kingston for the Six Squared Gala on Friday, November 16th. Can't wait to see all the other wonderful submissions!
Cheers,
Melissa
Then I saw the envelope containing the submission form and my business cards laying on the table, because I forgot to put it in the package. There was no way that thing was going to be re-opened, whatever glue they put on these mailers could be used to hold aircraft together. So I ended up taping the envelope to the backside of the mailer.
Anywho, here are the pictures!
Here they are all finished:
BERBLE WRERP!!!
I made some "business cards" out of paint samples to hold me over until my actual profesh cards arrive.
All wrapped up!
In ya go!
Addressed and ready to roll.
I'll be heading down to Kingston for the Six Squared Gala on Friday, November 16th. Can't wait to see all the other wonderful submissions!
Cheers,
Melissa
Labels:
Acrylic,
Artwork,
Canvas,
DIY,
Fundraiser,
Mod Podge,
Painting,
Paper Craft,
Pinterest,
Portlandia,
Put a Bird on it,
Six Squared,
Stencil
Location:
Kanata, Ottawa, ON, Canada
Friday, October 12, 2012
Six Squared: Canvas 6
Well friends, we've come to the final canvas. Thank you for taking this journey with me, it's been a blast!
Canvas 6: Put a Bird (Stencil) on it (YouTube video from Portlandia for context)
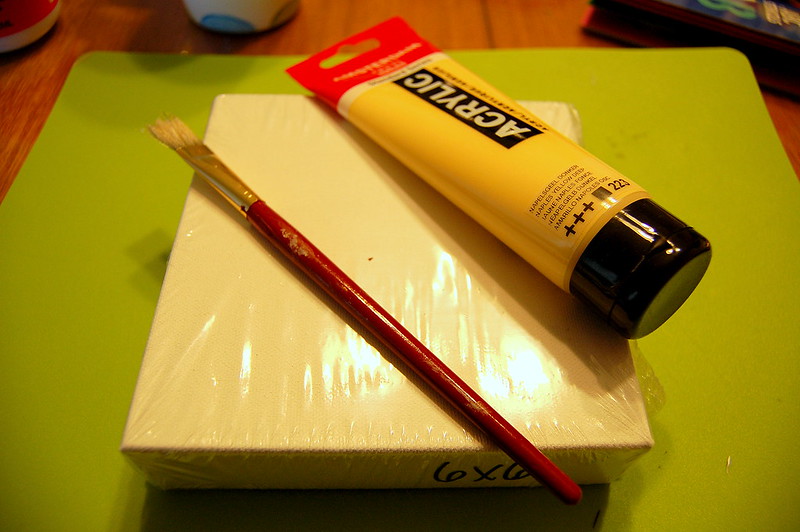
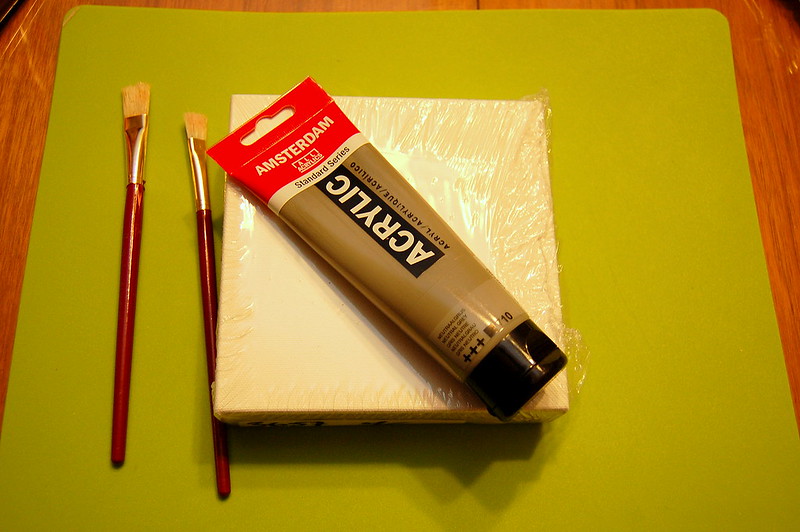
First I painted the canvas - two coats, just like always. It wouldn't make any sense to paint the stencil on it AND THEN paint it. That would just be silly.
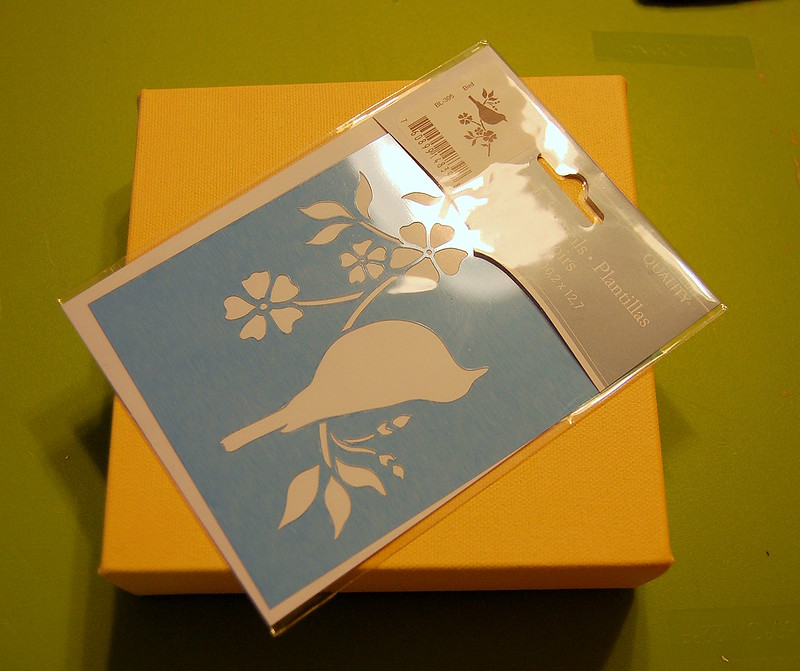
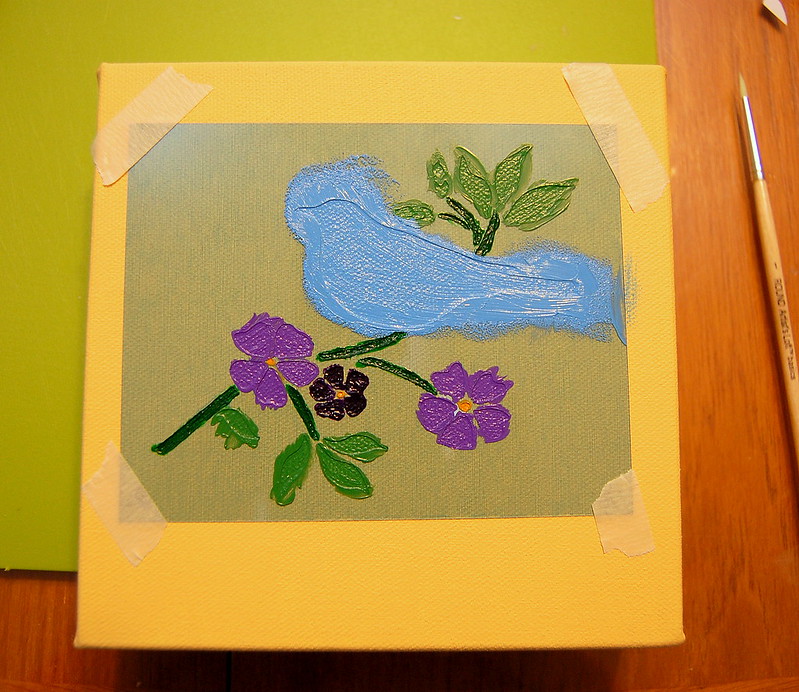
Then I selected the awesome bird stencil to paint on it.
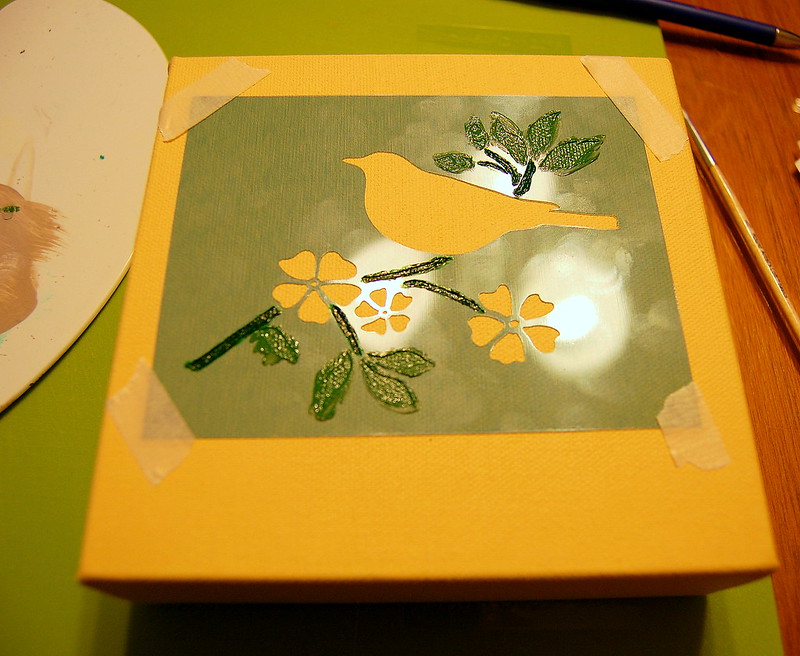
Then I taped that bad boy onto the canvas to it wouldn't move around and mess things up, and selected the colours I wanted to use, and a buncha small/thin paint brushes.
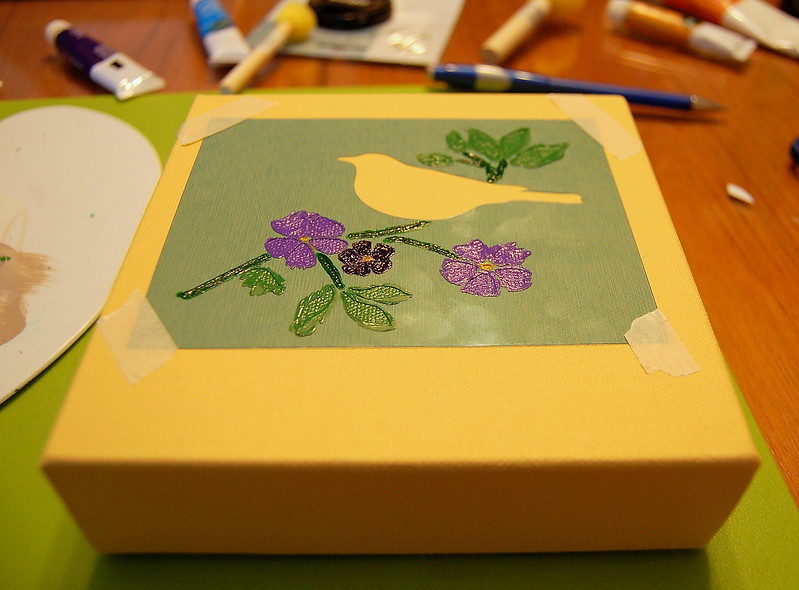
PAINT ALL THE POSITIVE SPACE!!! (Note: I just totally made that up. Does "positive space" even exist? I know negative space does, because I spent an inordinate amount of time filling it in with ModPodge in my screen printing post.)
Ugh, not to draw attention to it, but I totally borked the right side of the canvas by getting sloppy with my paint brush.
It's all good. I got this. FIXED!
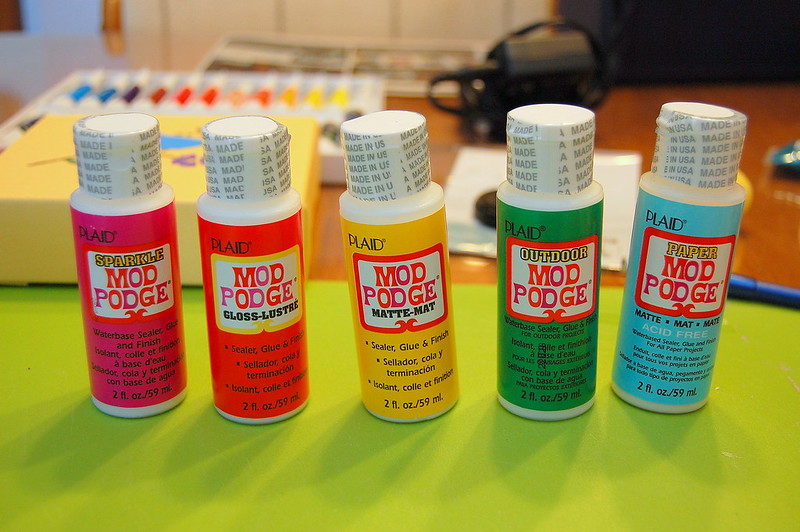
I picked up this tester kit of ModPodge at Deserres last weekend, and I couldn't help but notice that there's a SPARKLE MODPODGE (1st on the left). HOLY SH*T!!!
You better believe I smothered that canvas in glorious SPARKLE MODPODGE.
Ohhhhh!!! Try not to look directly at it; you could be blinded by it's sparkly, shiny awesomeness.
TADA!!!
Canvas 6: COMPLETE.
Labels:
Acrylic,
Artwork,
Canvas,
DIY,
Easy,
Fundraiser,
Mod Podge,
Painting,
Portlandia,
Put a Bird on it,
Six Squared,
Stencil
Location:
Kanata, Ottawa, ON, Canada
Tuesday, October 9, 2012
Six Squared: Canvas 5
Continuing with this series, here's canvas #5 for Six Squared in support or the Kingston Seniors Association.
Canvas 5: Who gives a hoot?
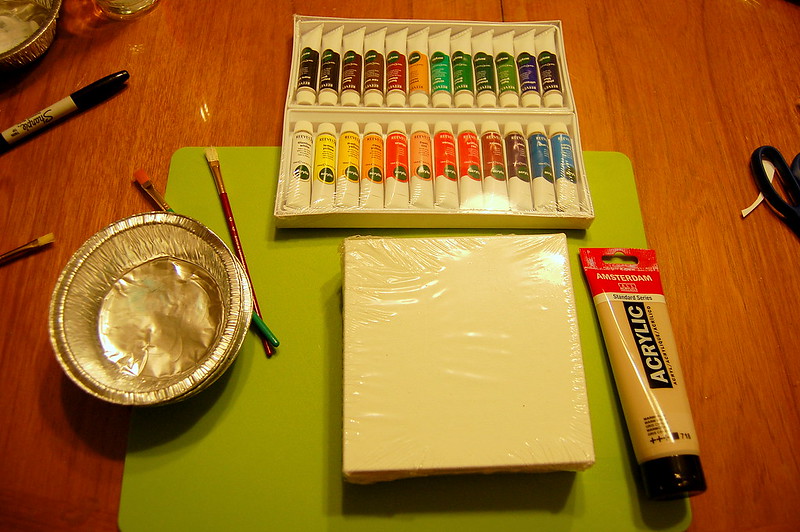
As always, I begin with painting my canvas; two coats.
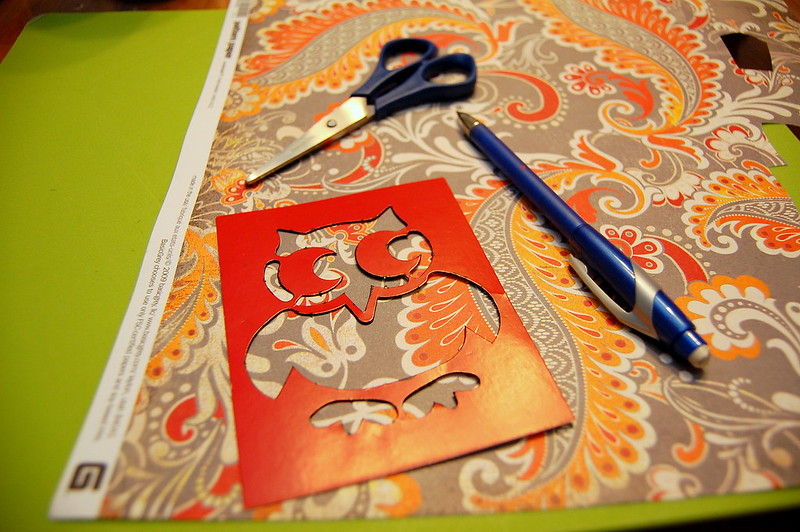
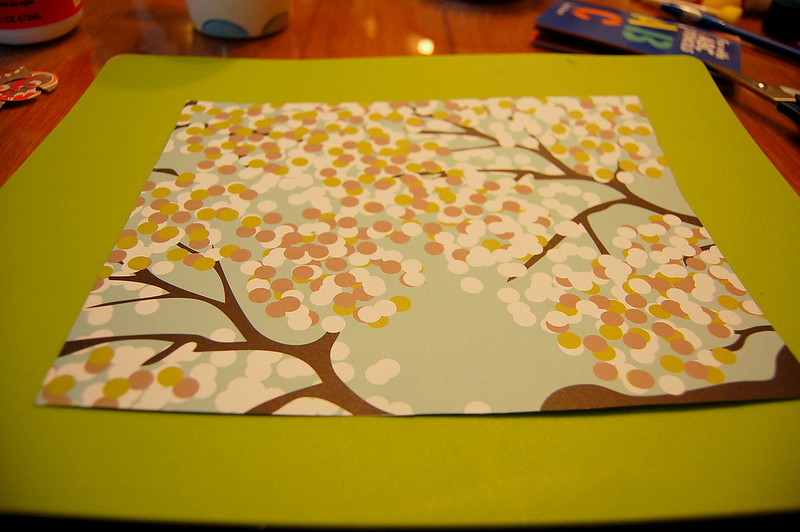
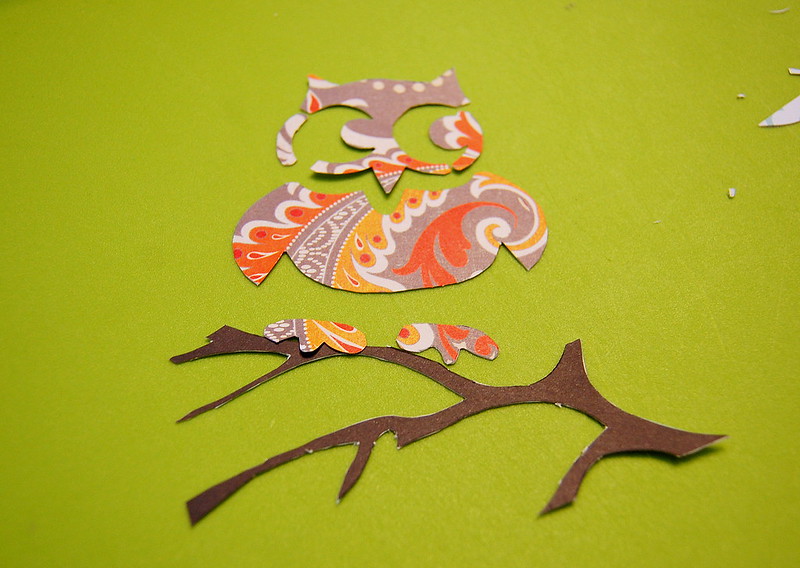
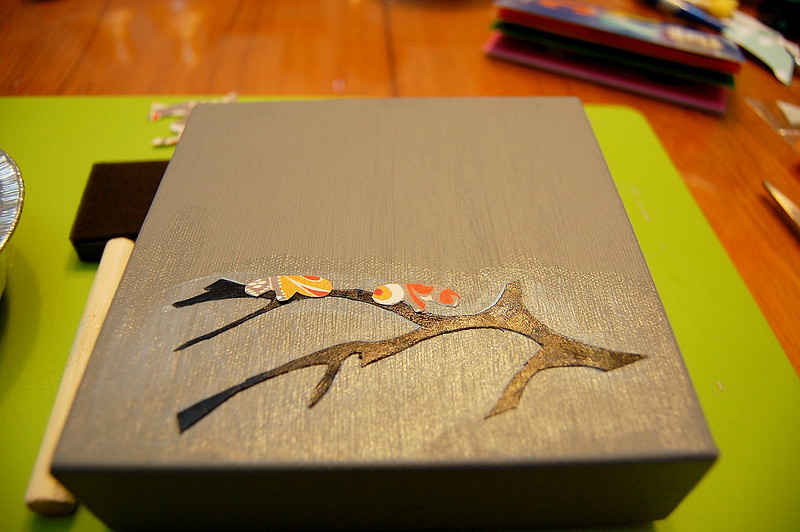
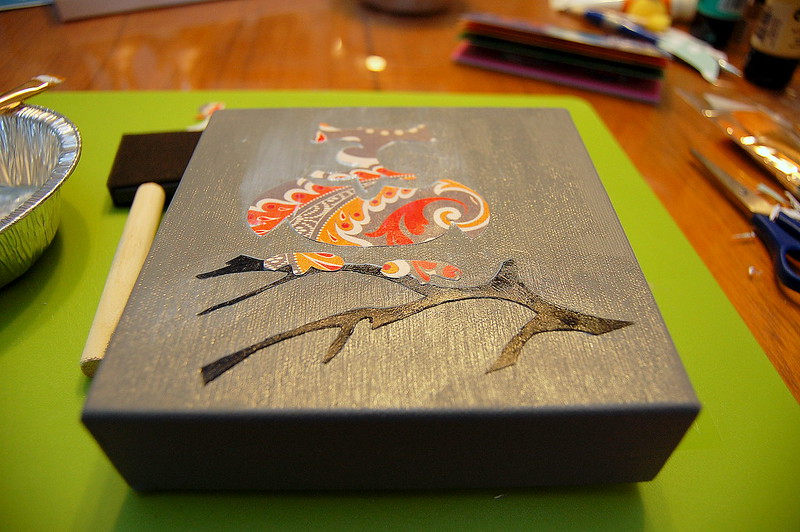
While that was drying I stenciled my favourite owl onto the back of some really pretty scrapbook paper I used last year for a Christmas present. I also cut out a branch for him to sit on from another piece of scrapbook paper too!
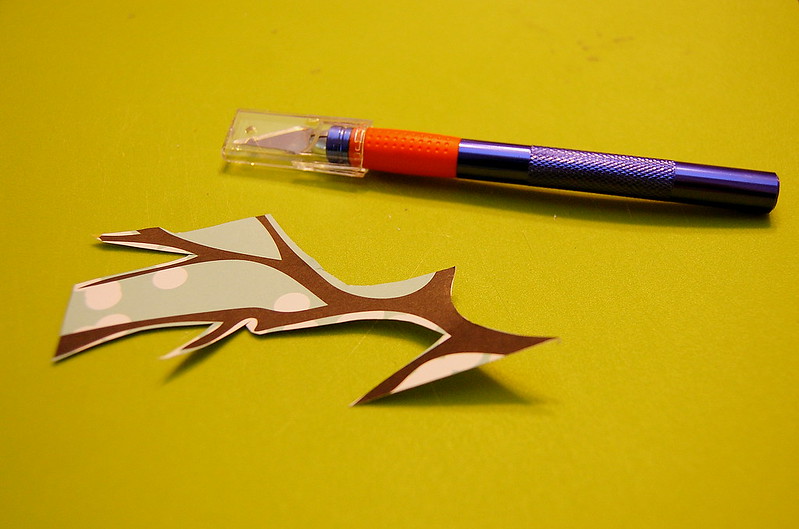
Used my scissors for the bigger, easier parts, but used my trusty razor blade for the rest.
Branch!
I found that the branch wasn't as black as I wanted it to be, so I gave it a coat of black acrylic paint to sharpen it up.
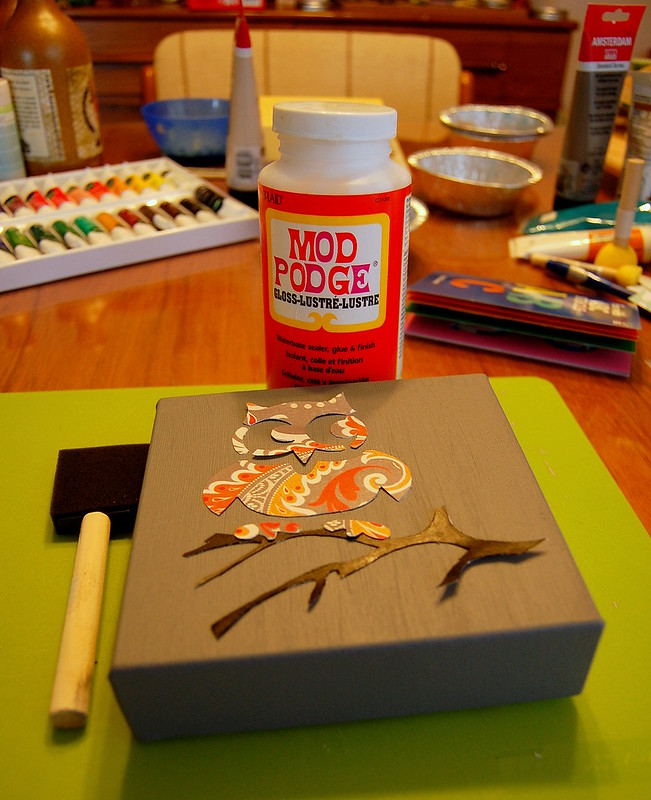
Once that dried, and my canvas was dried it was time to bust out the ModPodge and glue the owl and branch to the canvas.
It's impossible to use too much ModPodge on paper crafts like this; put it underneath to glue it on, and then brush it on over top.
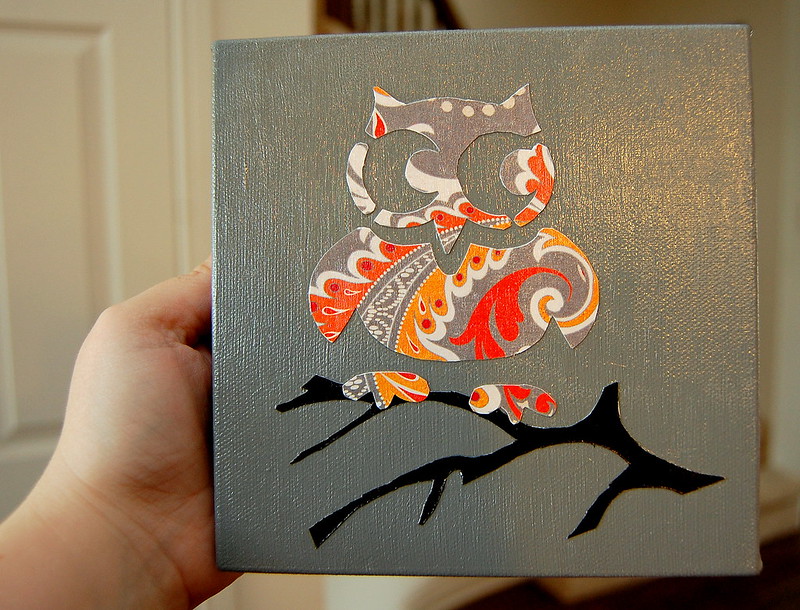
And always do another coat all over for good measure (and shine!)
Finished product; TADA!!!
Canvas #5: COMPLETE.
Canvas 5: Who gives a hoot?
As always, I begin with painting my canvas; two coats.
While that was drying I stenciled my favourite owl onto the back of some really pretty scrapbook paper I used last year for a Christmas present. I also cut out a branch for him to sit on from another piece of scrapbook paper too!
Used my scissors for the bigger, easier parts, but used my trusty razor blade for the rest.
Branch!
Once that dried, and my canvas was dried it was time to bust out the ModPodge and glue the owl and branch to the canvas.
It's impossible to use too much ModPodge on paper crafts like this; put it underneath to glue it on, and then brush it on over top.
And always do another coat all over for good measure (and shine!)
Finished product; TADA!!!
Canvas #5: COMPLETE.
Labels:
Acrylic,
Artwork,
Canvas,
DIY,
Easy,
Fundraiser,
Mod Podge,
Painting,
Paper Craft,
Six Squared
Sunday, October 7, 2012
Six Squared: Canvas 4
This week I finished up the remaining three canvases for Six Squared in support of the Kingston Seniors Association. Here's #4!
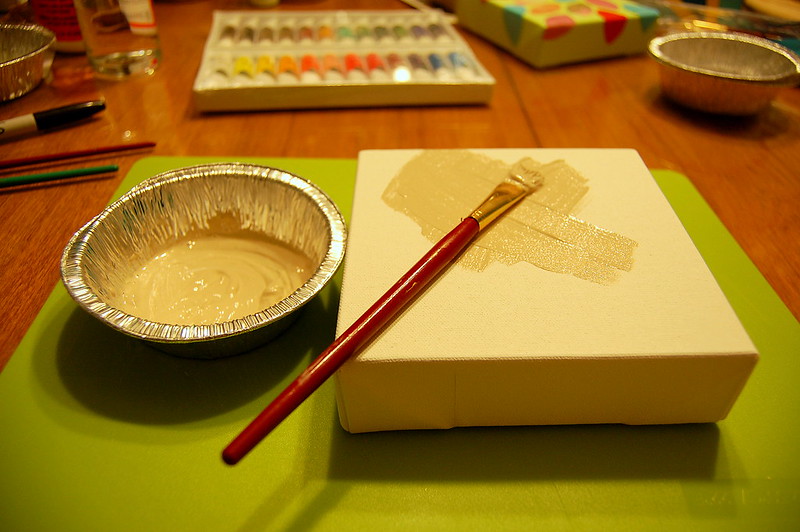
First, I painted the canvas a warm grey to help neutralize the whiteness of the canvas. I also find that a primed canvas holds other colours much better.
Once the base layer was dry, I grabbed a bunch of paint brushes and the lid of a big Tupperware container (because I'm too good for an actual palette, clearly).
Squirted out a glob of each of the colours I intended to use onto the lid.
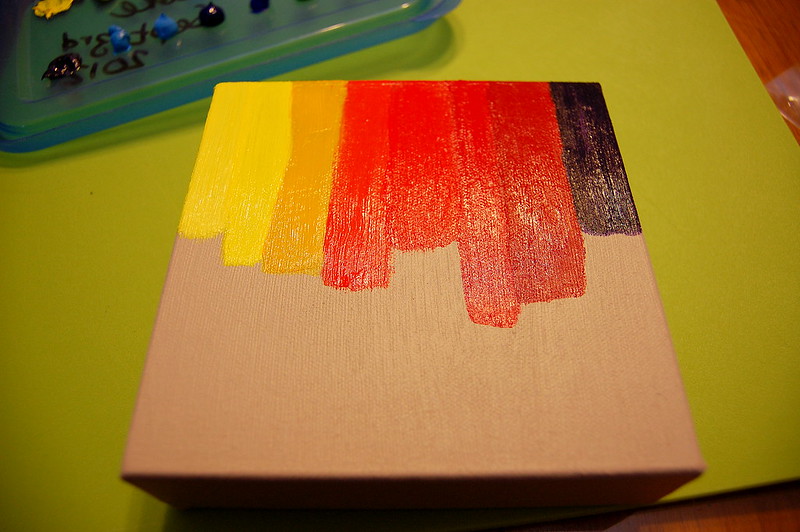
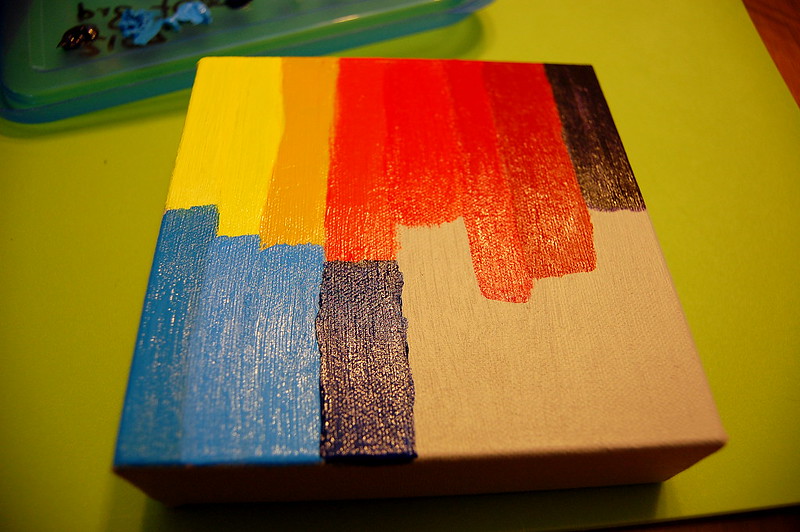
...and started painting free-hand.
I did two coats of each colour.
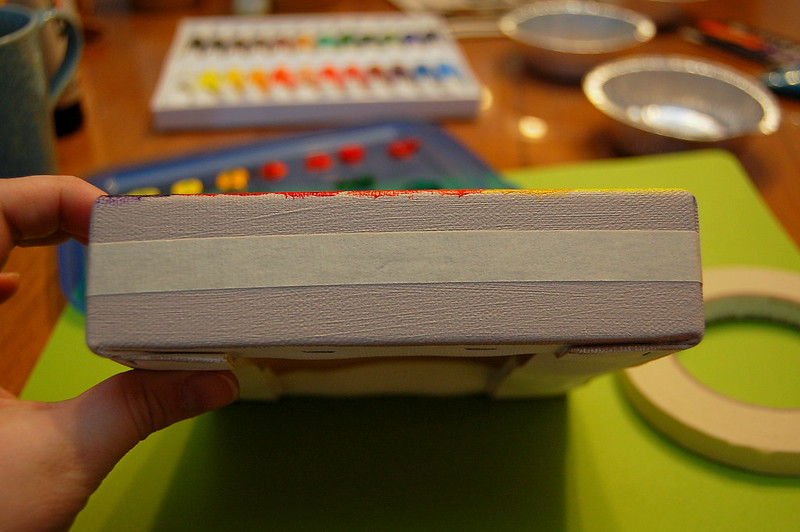
After the top of the canvas was done, I decided I wanted to do something with the sides.
Taped it off all the way around.
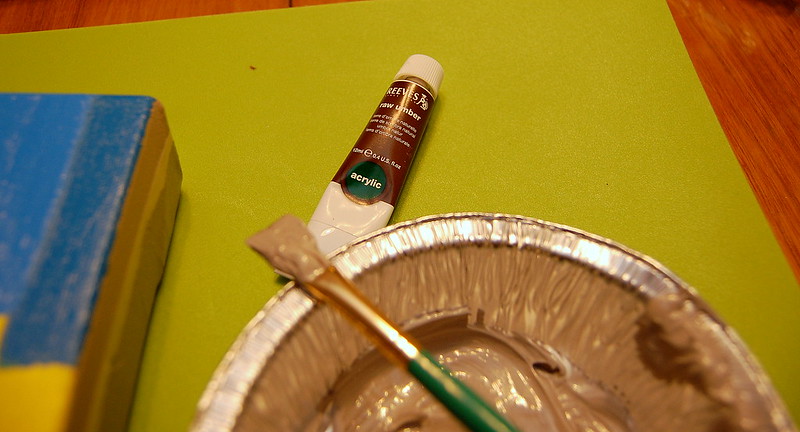
Played around with raw umber and white.
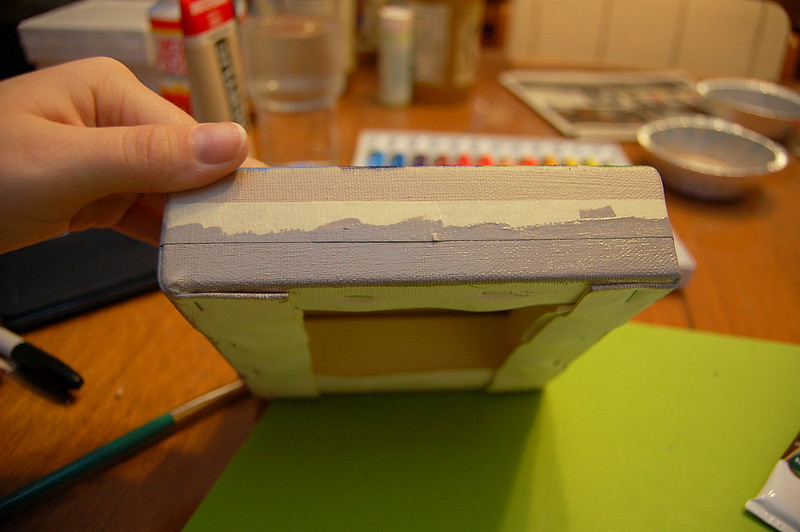
Then a slightly different colour for the top.
Waited for it to dry, and then pulled off the tape.
Then sealed it up with ModPodge!
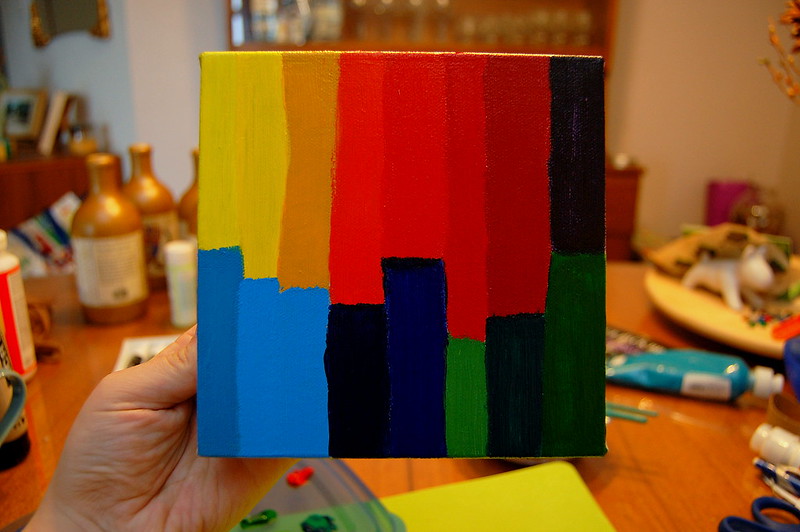
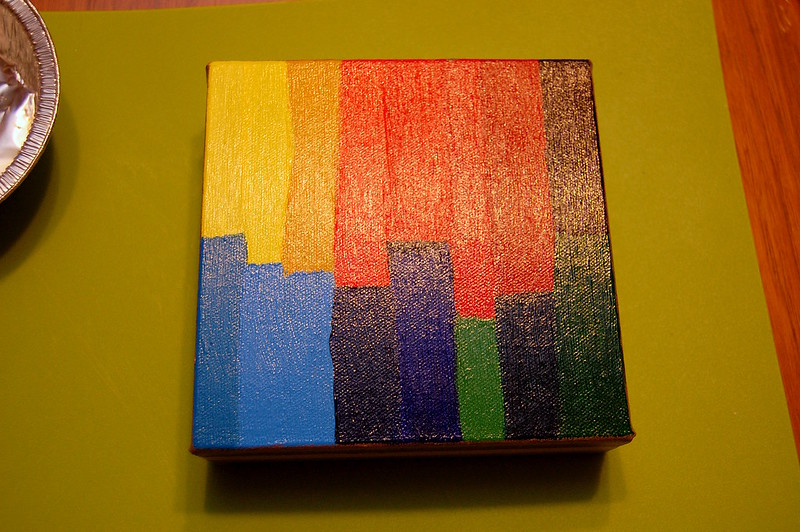
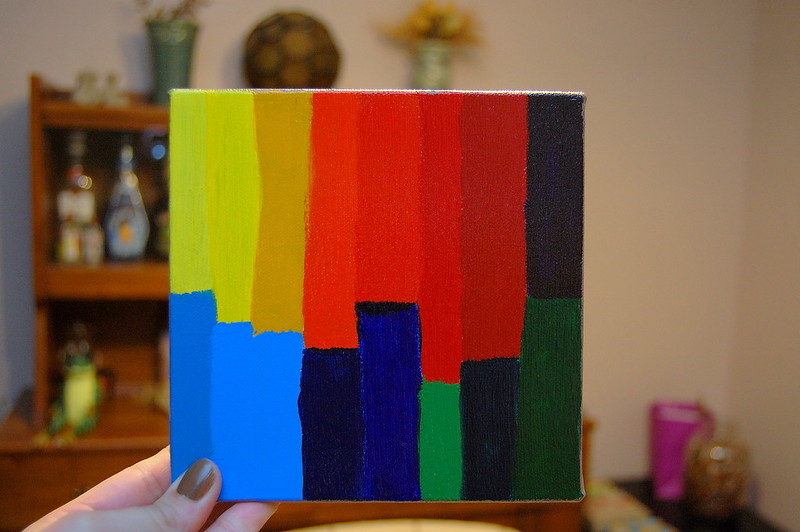
Canvas #4: Playing with Colours
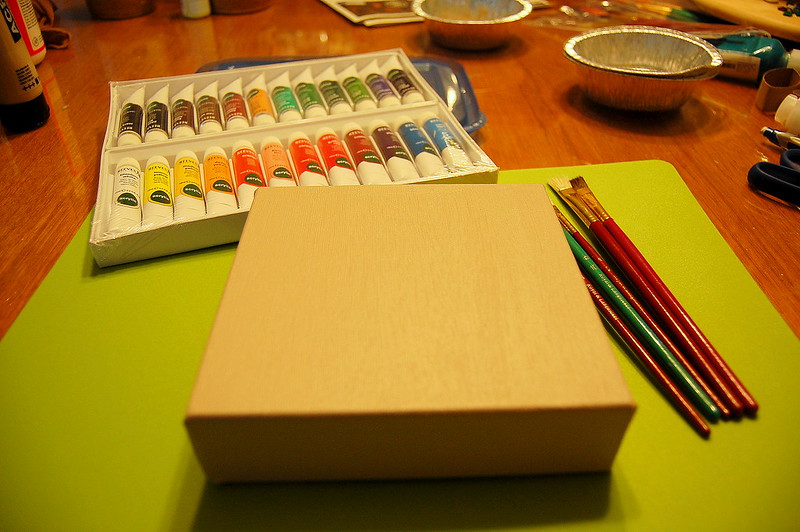
So I bought this massive pallet of colours from Wallack's last week, and absolutely couldn't wait to try them out! I decided to dedicate a canvas specifically to this endeavour.
First, I painted the canvas a warm grey to help neutralize the whiteness of the canvas. I also find that a primed canvas holds other colours much better.
Once the base layer was dry, I grabbed a bunch of paint brushes and the lid of a big Tupperware container (because I'm too good for an actual palette, clearly).
Squirted out a glob of each of the colours I intended to use onto the lid.
...and started painting free-hand.
I did two coats of each colour.
After the top of the canvas was done, I decided I wanted to do something with the sides.
Taped it off all the way around.
Played around with raw umber and white.
Bottom first.
Waited for it to dry, and then pulled off the tape.
Then sealed it up with ModPodge!
TADA!!!
Canvas #4: COMPLETE.
Labels:
Acrylic,
Artwork,
Canvas,
DIY,
Easy,
Fundraiser,
Mod Podge,
Six Squared
Subscribe to:
Posts (Atom)


