The Inspiration: Chevron painted pumpkins
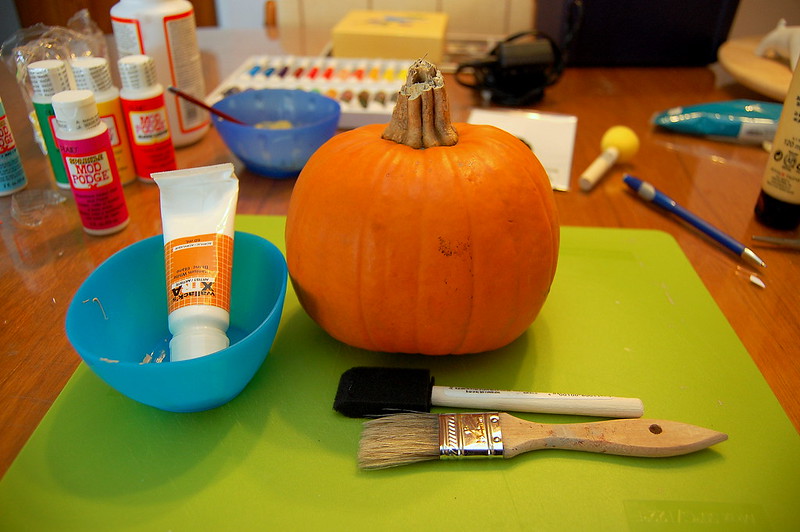
I purchased this perfect teeny pumpkin at my local grocery store for 99 cents. I didn't want to invest big money in pumpkins until I knew what I was going to do, and that what I was going to do was going to work.
I painted this cutie pie white.
(PRO TIP: If you're planning on painting a pumpkin white, just get a white pumpkin and save yourself about 3 coats of paint.)

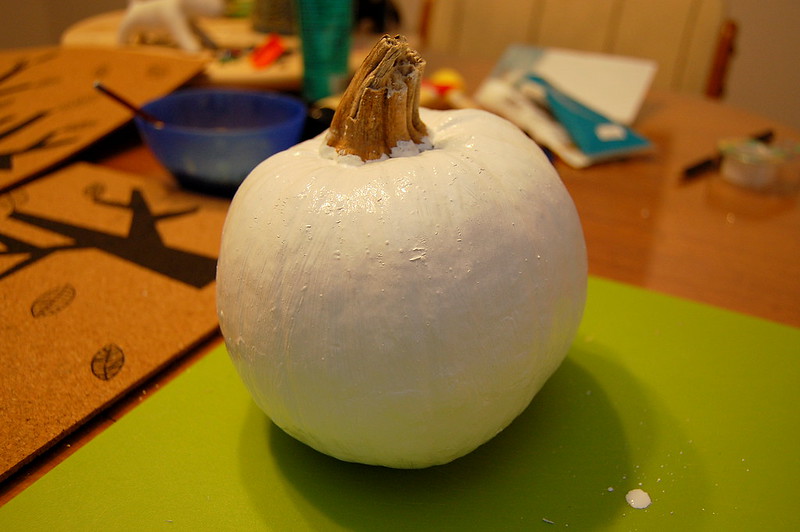
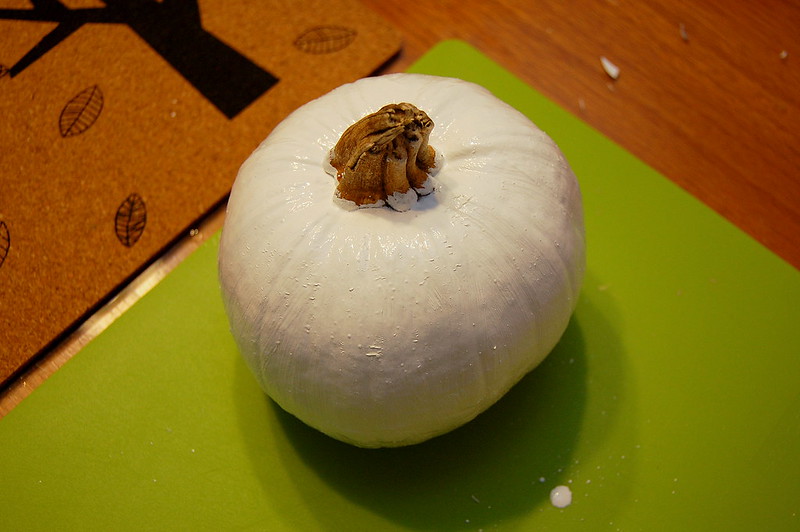
I let this pumpkin dry for like 24 hours. I wanted to make sure it was good and dry before I started putting more paint on it.
Then I figured I'd tape a pattern on the pumpkin to paint. I wasn't talented enough to do chevrons, so I chose an easier pattern to start with.
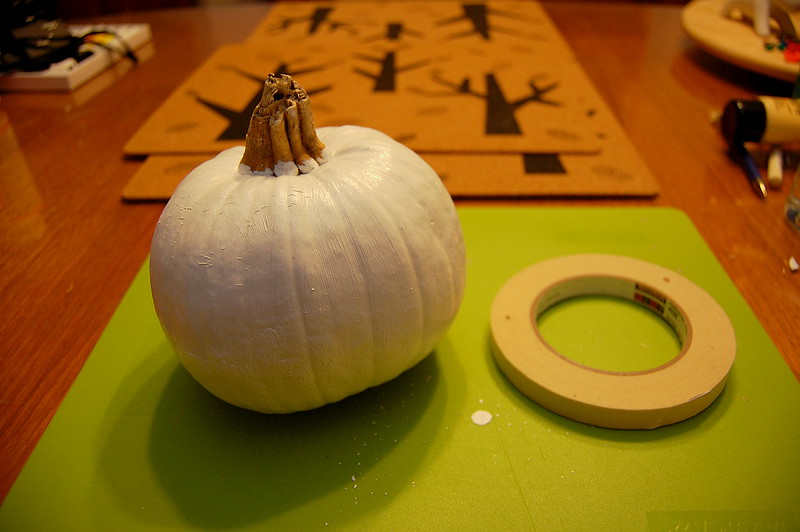
So I was taping away, when I noticed that one of my pieces of tape was a bit off centre, so I started to gently pull it off to reposition it when THIS happened...
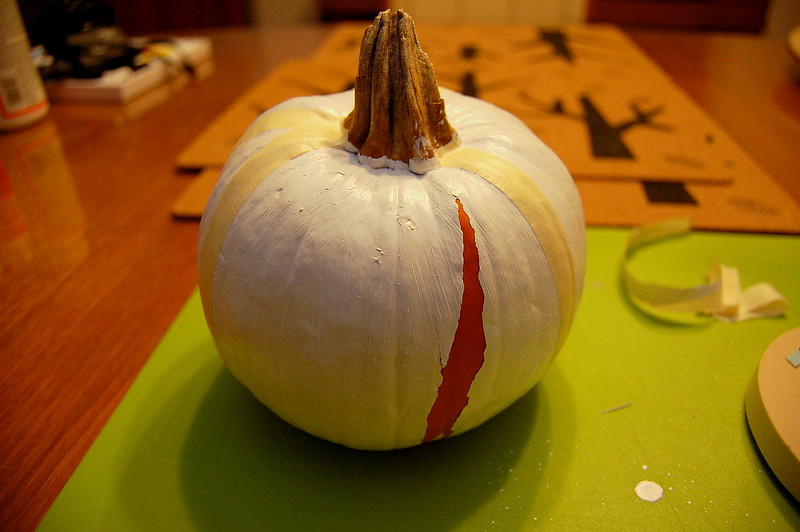
That piece of bastard tape took the paint right off my pumpkin. I thought maybe it was just an isolated incident, and proceeded to try another piece of tape on the other side. It happened again. It happened with every piece of tape I put on the damn thing. By the time I had taken all the tape off I was left with my original orange pumpkin.
The moral of the story: Put the tape on BEFORE you paint. Yes, you'll be relegated to orange as one of your primary colour choices, but you won't end up with a naked pumpkin. One that SHOULD still have three coats of paint on it. Alternatively, you could also just freehand a design or drawing on the painted pumpkin, just as long as you don't put tape on the actual paint you should be fine.
Don't make the same mistake folks!
Cheers,
Melissa
No comments:
Post a Comment