
The Inspiration: Carving a Pumpkin with a Drill
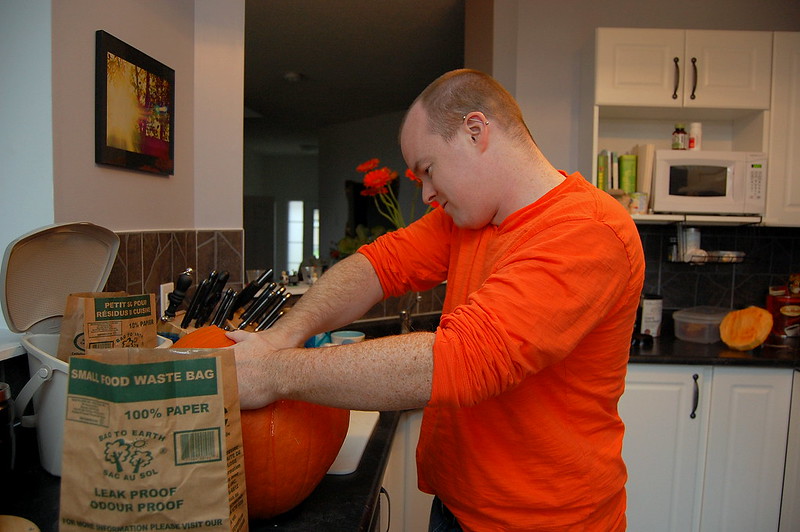
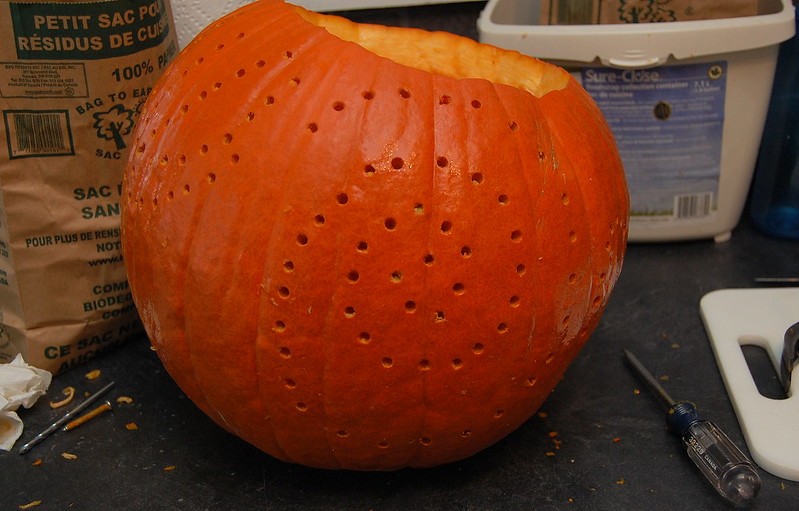
My partner helped to scoop out the guts, and while he was doing that I separated out all the seeds and roasted them!
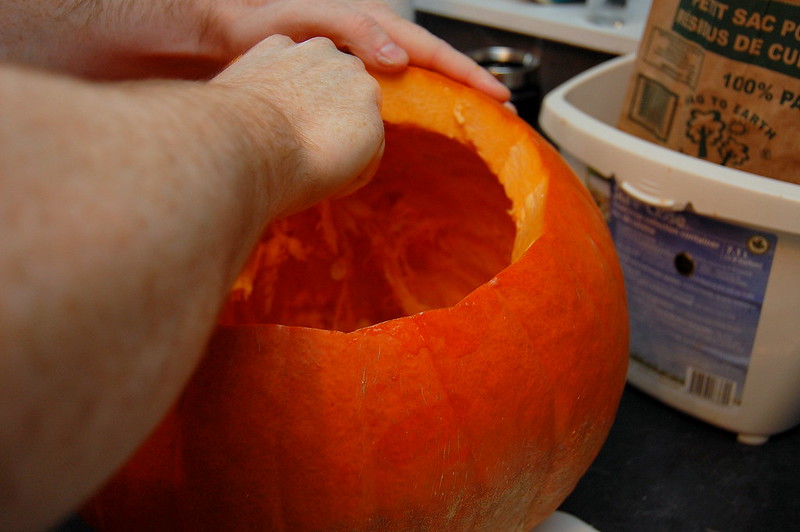
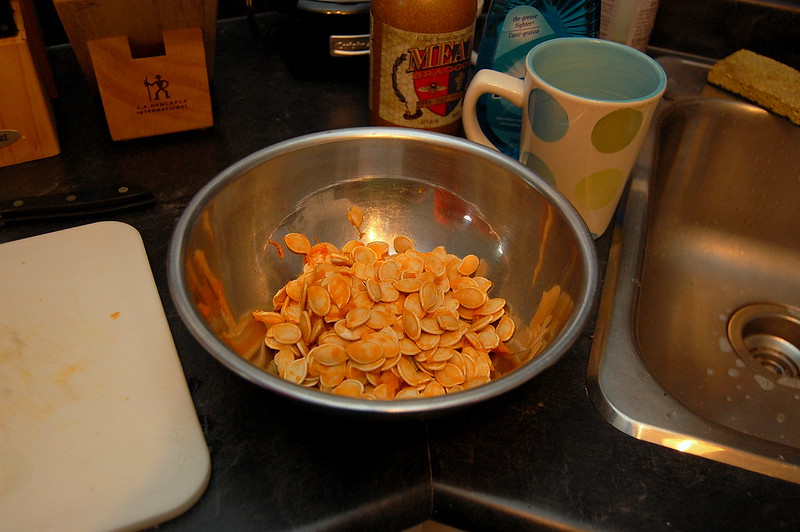
They can have guts on them, in fact it adds flavour, just make sure to remove any large chunks.

Preheat oven to 300F.
Mix pumpkin seeds, olive oil, salt, and garlic powder together.
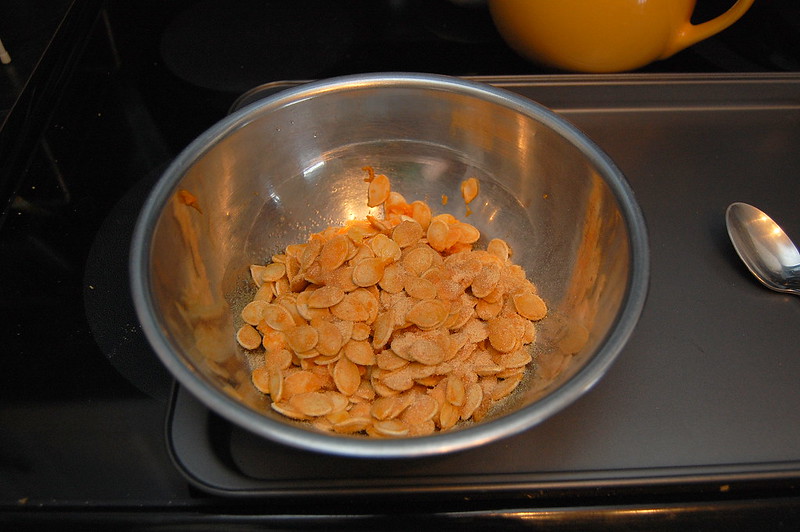
Then spread them out as evenly as possible on a cookie sheet.
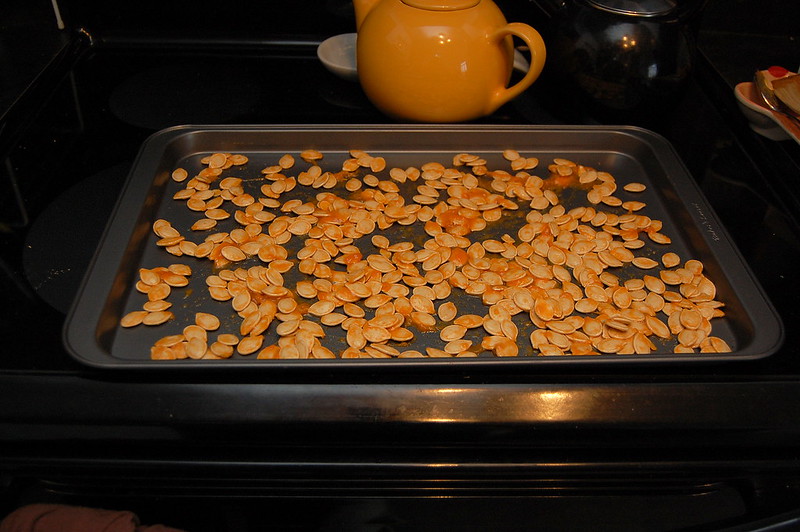
Throw it all in the oven for about 45 minutes, stirring every 15 minutes or so. Once they're done let them cool off a bit and enjoy!
Okay back to pumpkin carving...
Firstly, I was forbidden by my partner to use the drill for pumpkin carving purposes so I had to improvise.
Amongst our tools, I found a screw, and a random drill bit that didn't seem to go with our drill set.

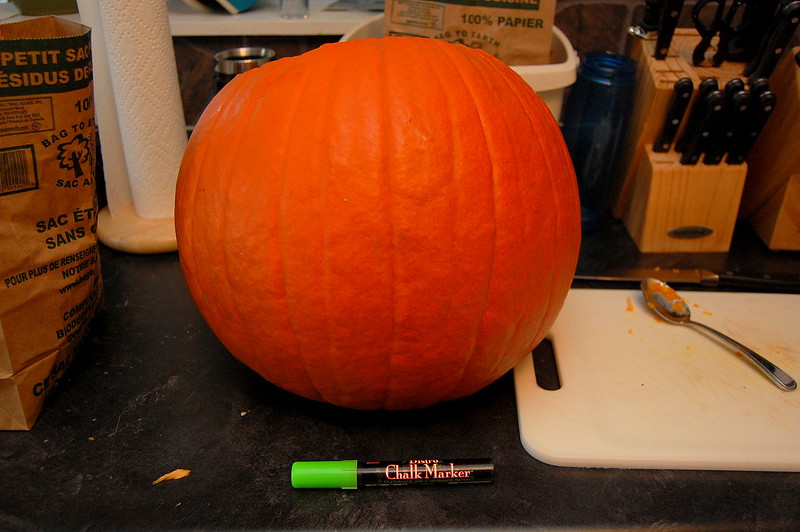
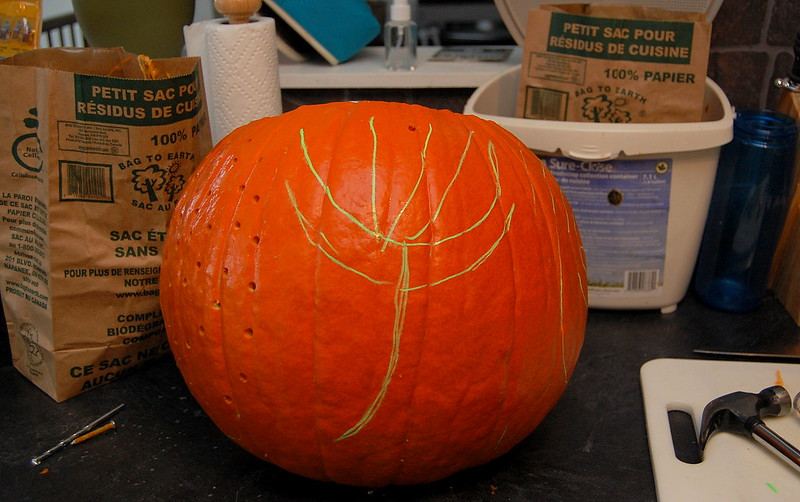
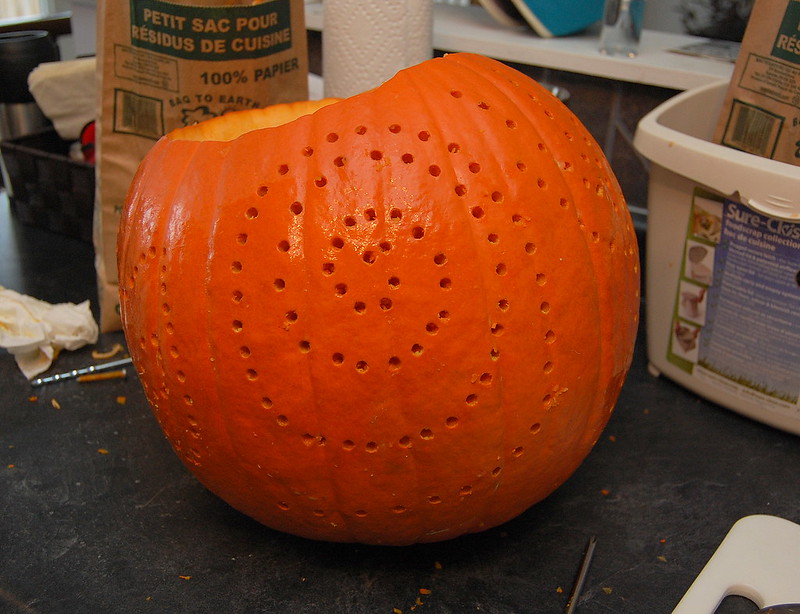
I used a bistro chalk marker to draw the design on my pumpkin. I used the chalk marker because it's hella water soluble.
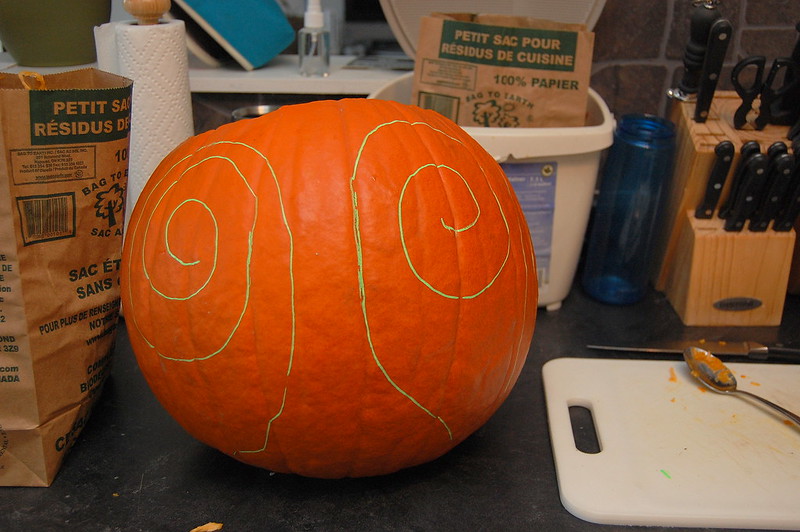
Once I had my design plotted out I started to go to town with the screw and the hammer.
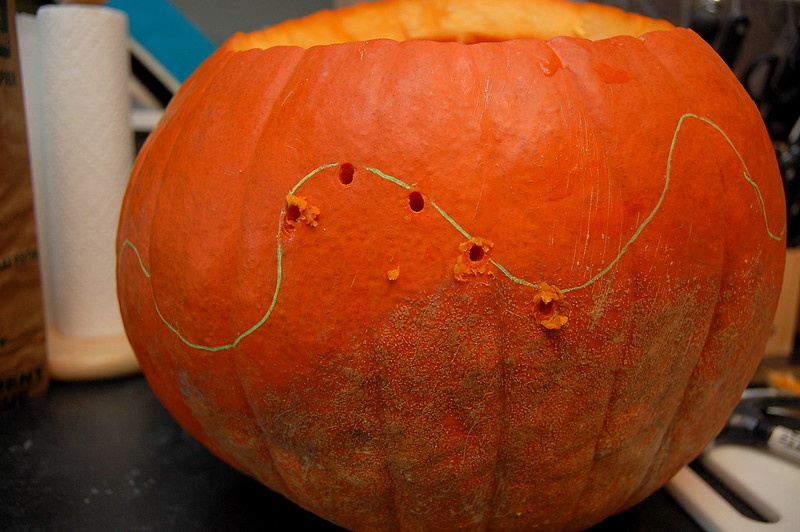
I very quickly realized that this method was tedious and not producing the size of hole I needed.
So I went back downstairs to the tool box to look for inspiration...
and I found it.

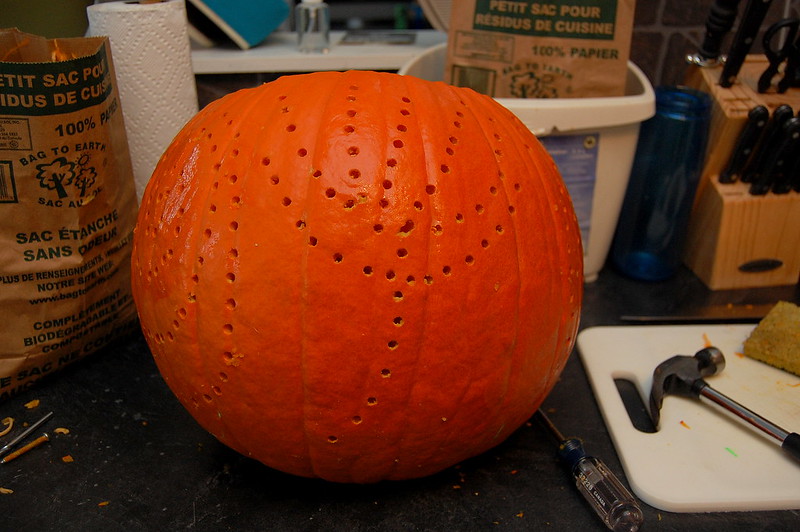
#2 Phillips Screwdriver to the rescue.
I didn't even have to use the hammer. Just poked the screwdriver through the pumpkin.
I was mentally preparing myself to be dazzled...
and then this happened...

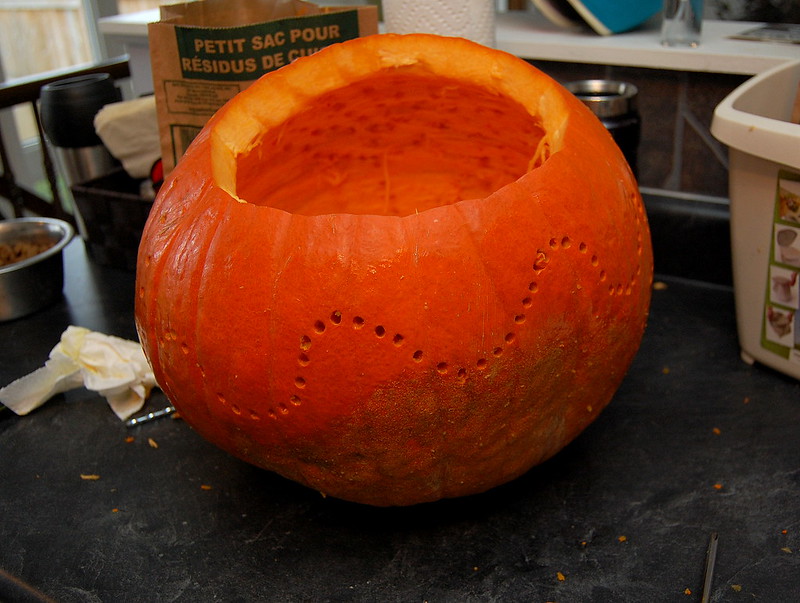
SO, I took the drill bit and threaded it through EACH AND EVERY hole in the pumpkin to make sure the hole was clean and free of pumpkin innards.
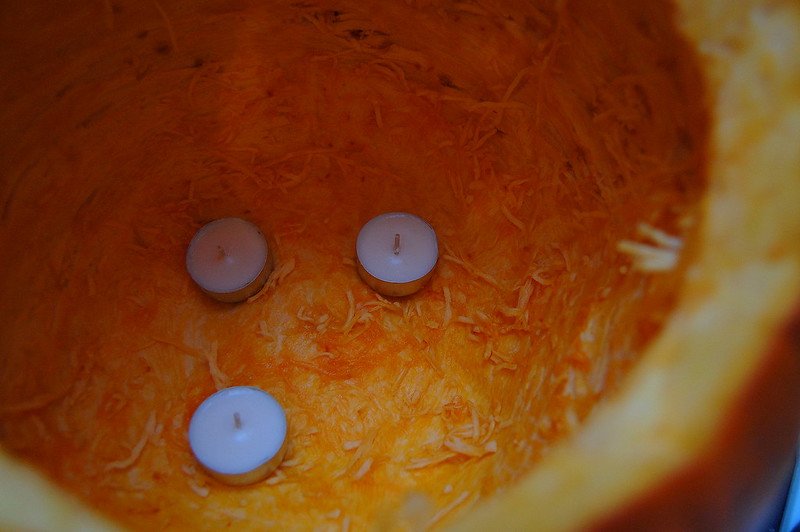
I tried lighting it again....
and....

It worked!!! Woot!
I did, however, have to take the lid back off after about 2 minutes because not enough oxygen was getting to the candles.
PRO TIP: If your partner forbids you from using the drill for pumpkin carving purposes, IGNORE HIM/HER!!! Use that drill FFS!!!
Have a safe and happy Halloween!
Cheers,
-Melissa
No comments:
Post a Comment