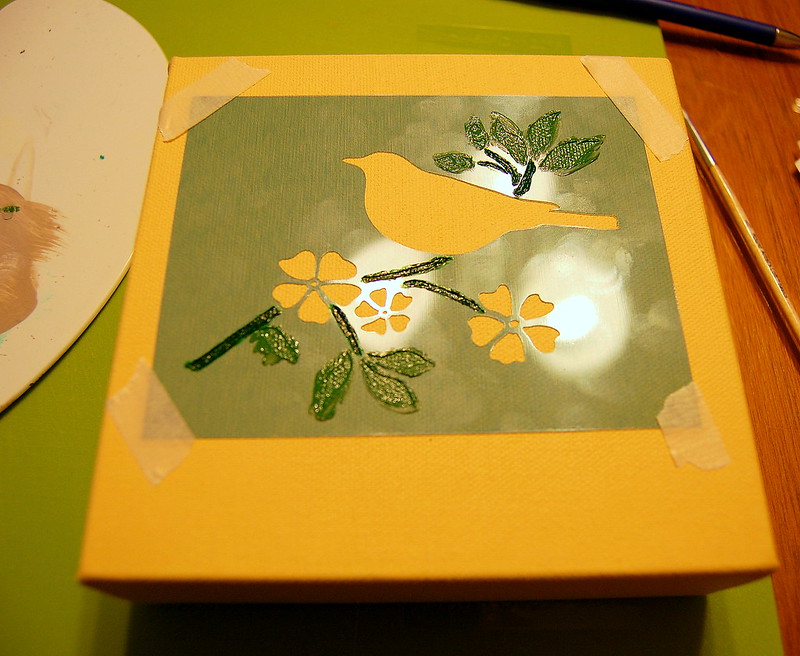
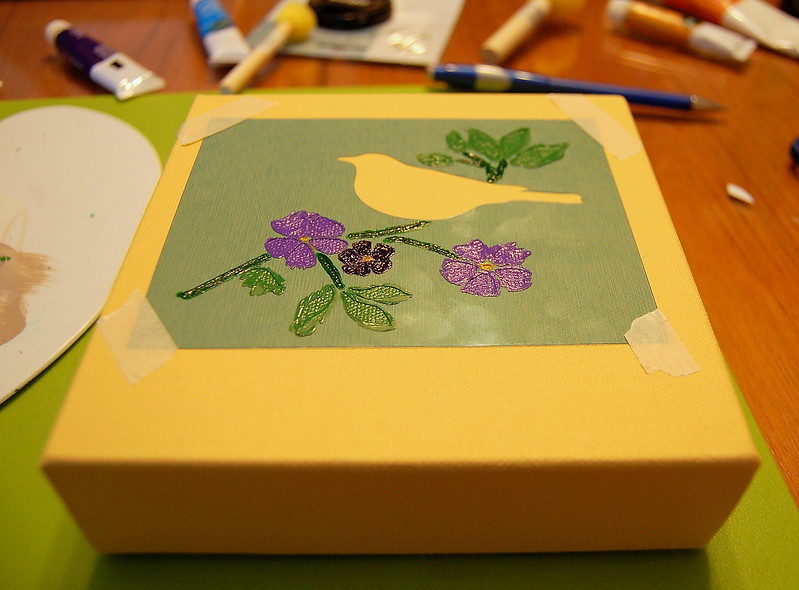
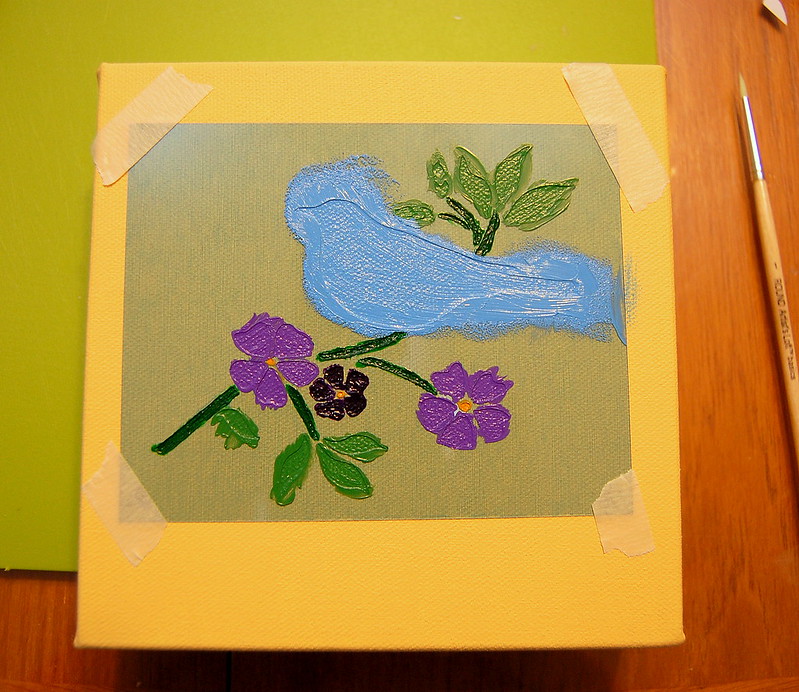
This week I worked on canvases 2 and 3 for the Six Squared event in support of the Kingston Seniors Association. They are both paper-craft focused, and kinda girlie.
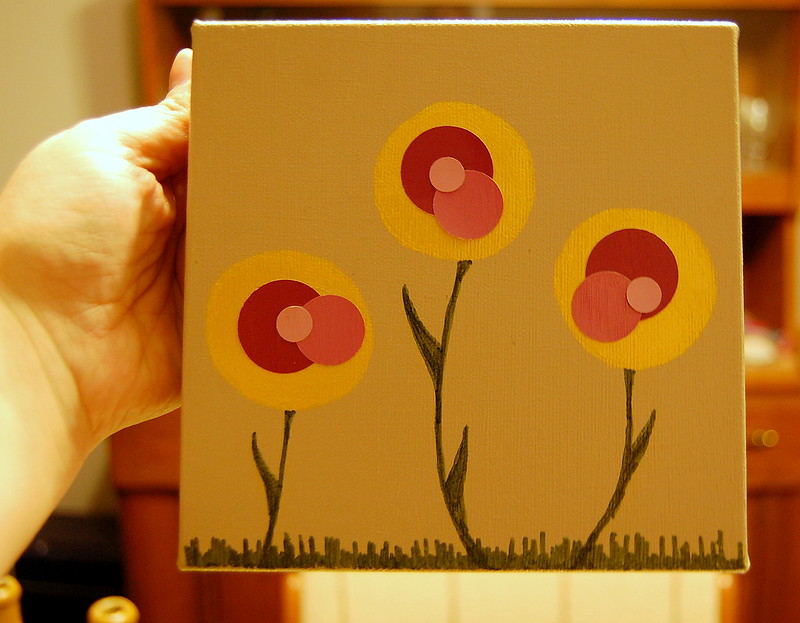
Canvas #2 - Paint-chip Flowers
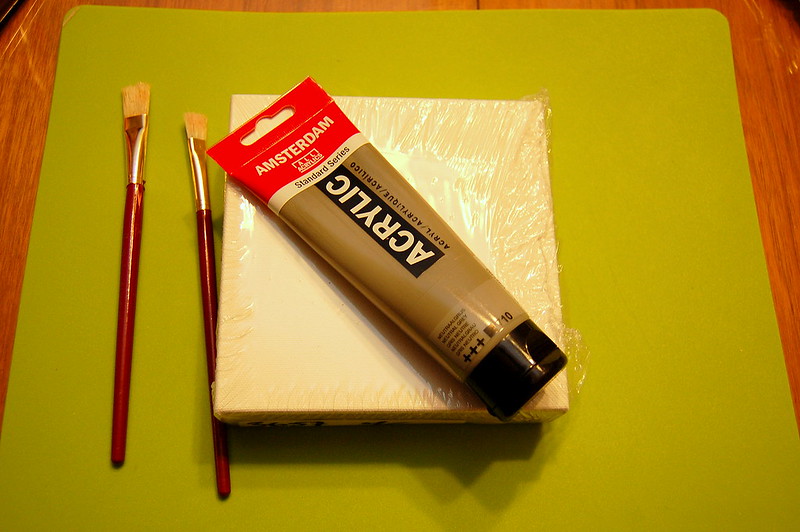
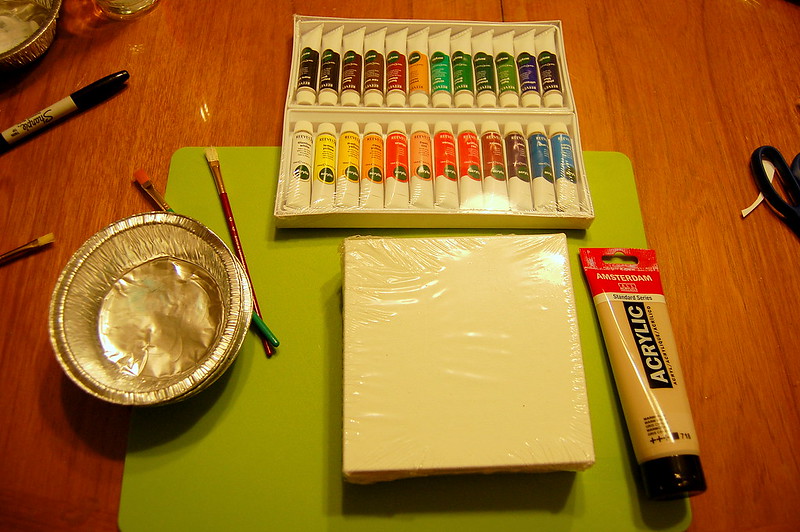
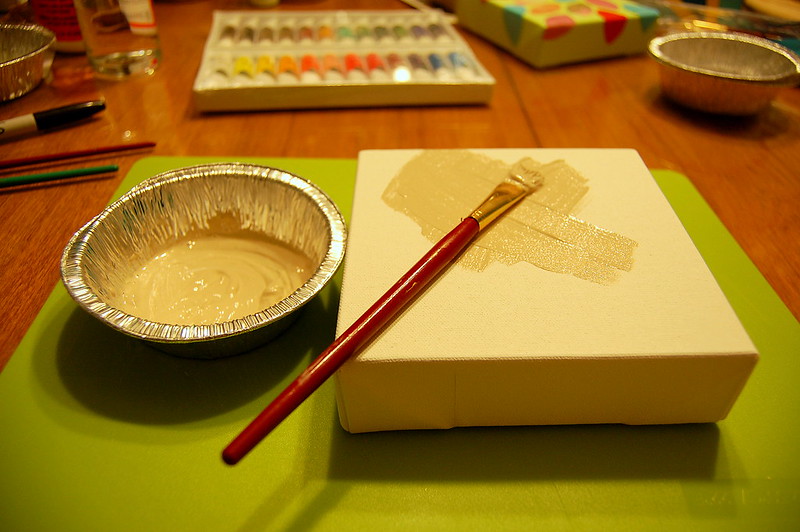
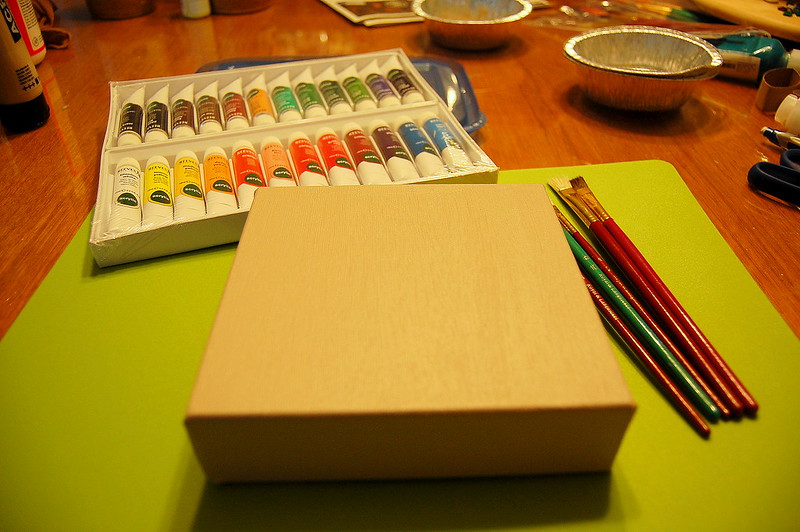
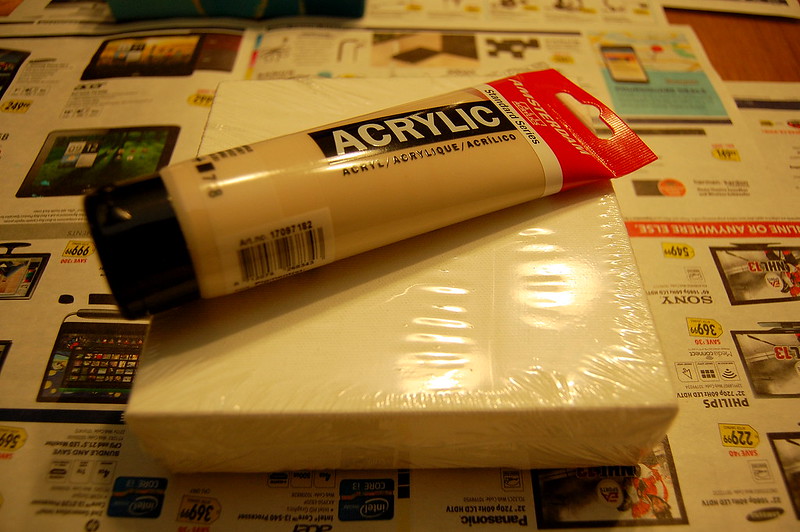
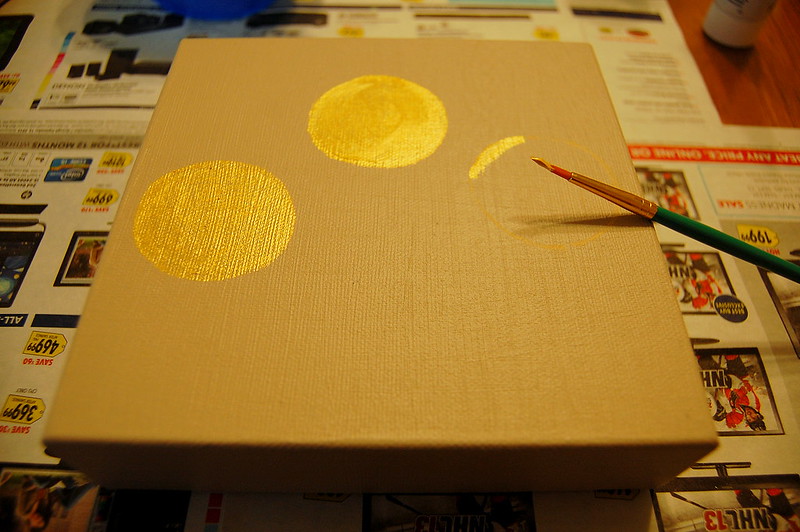
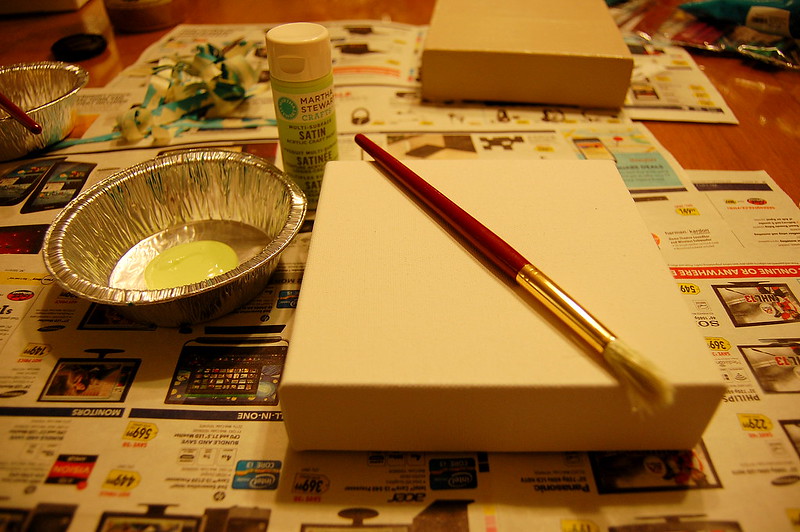
First I painted my canvas with 2 coats of acrylic.
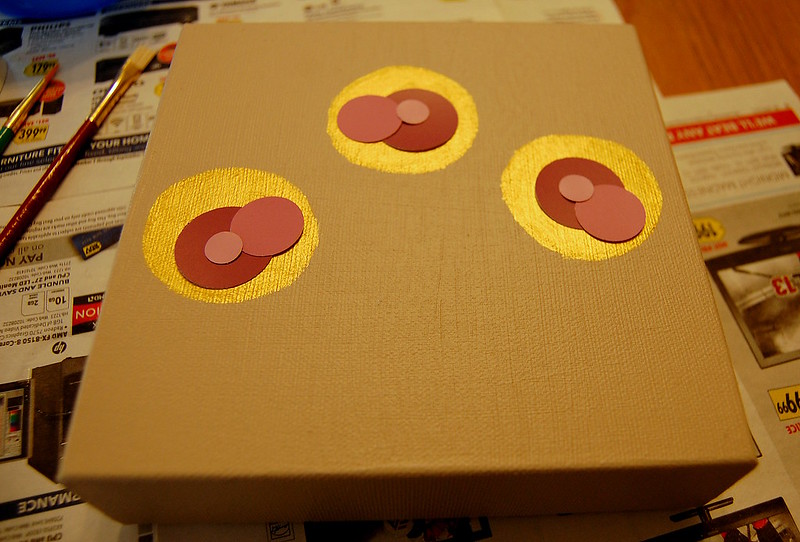
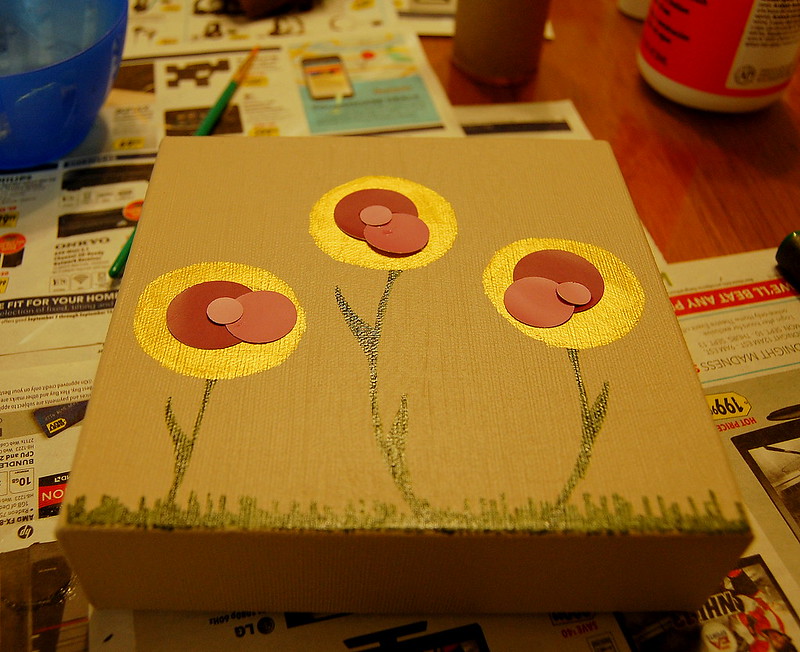
Then, once the paint had dried, I traced three circles randomly on the canvas using a toilet paper roll dipped in some gold ink I had from another project.
The I started painting the circles in with some gold acrylic paint.
I did two coats of the gold paint to make sure I got full coverage.
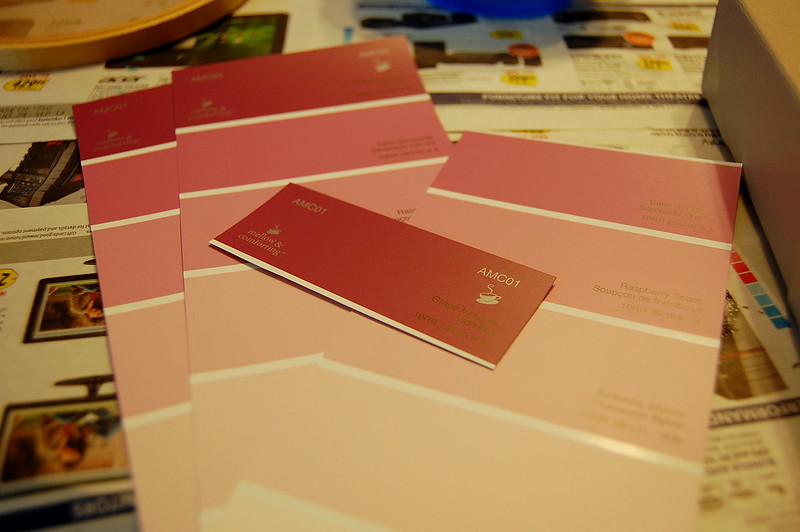
While these were drying I picked out the paint chips I wanted to use (yes, I have about a zillion paint chips laying about from artwork I did last year), and selected three different sized hole punchers to use.
Let's make some flowers!
Lay'em out...
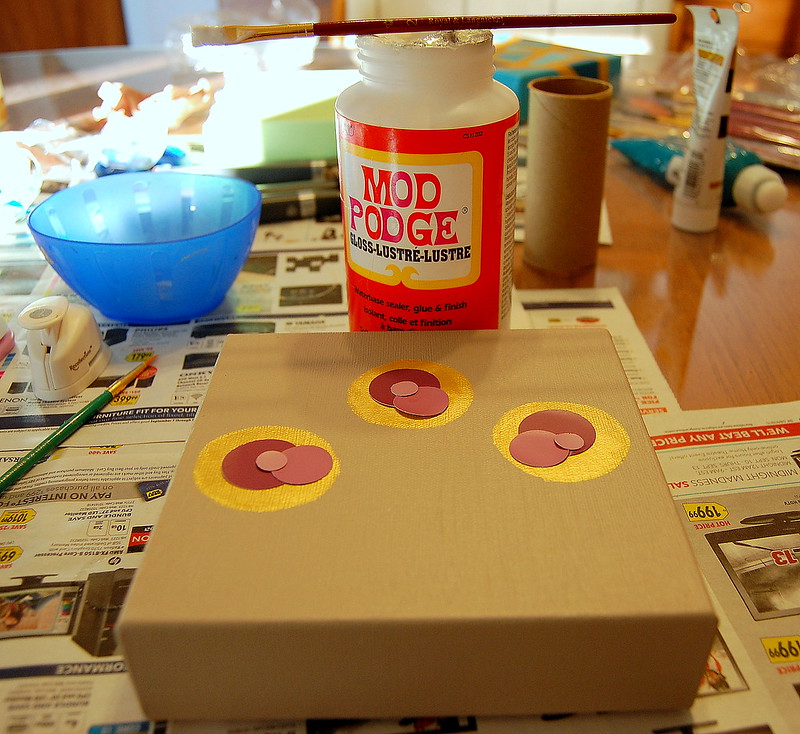
Mod Podge'em on...
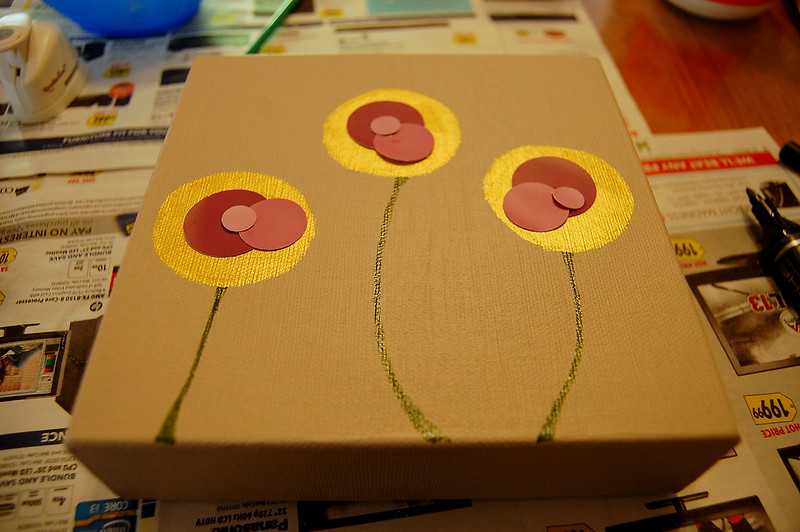
Now comes the artistic part; drawing some stems and leaves. If you suck at drawing like I do, just keep it as simple as possible.
First, find a green marker. I use these markers because they're awesome. You can get them at Wallacks. (I used the green one at the bottom.)
Oh and add some grass in too, for effect.
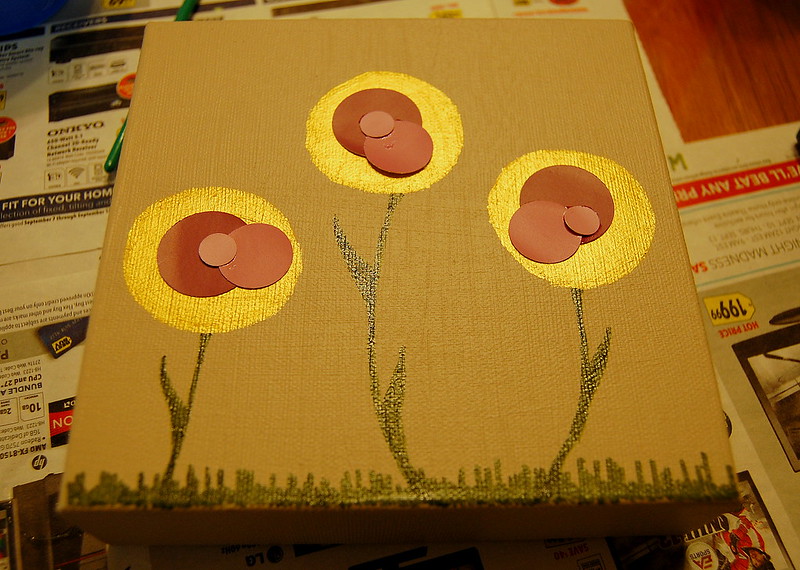
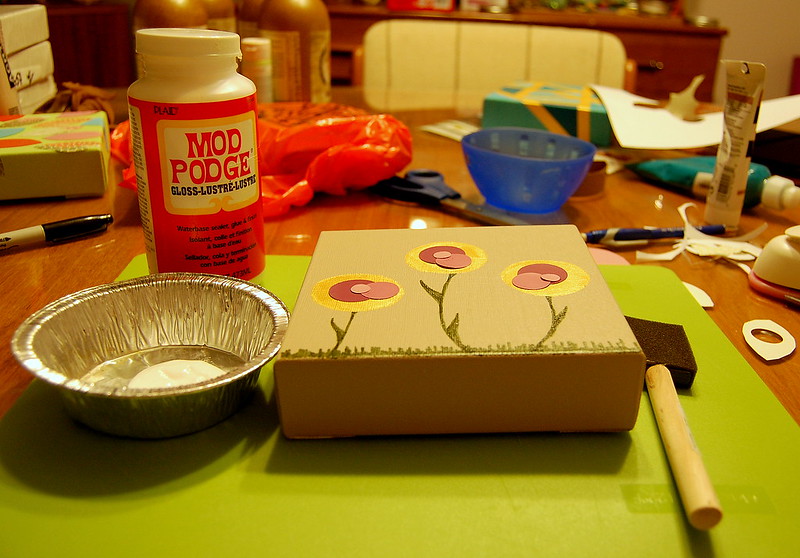
Once your drawing is dry, go over everything with a thin coat of Mod Podge.
Now let that beast dry, and you're all done!
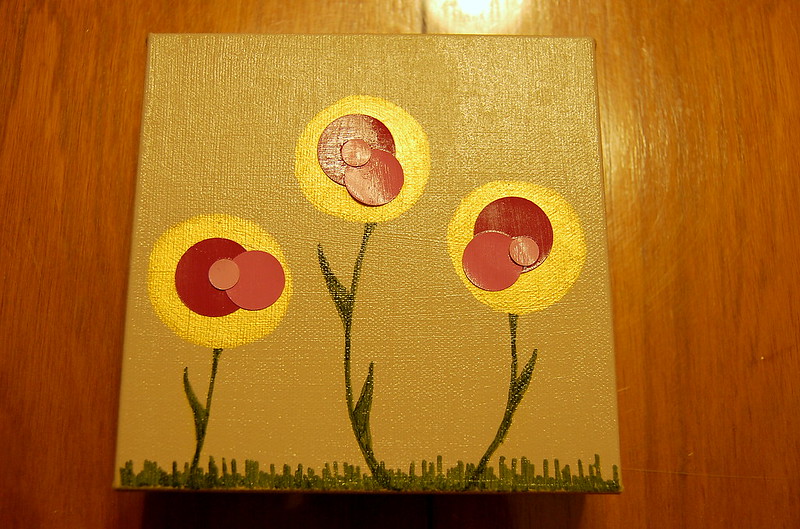
CANVAS #2: COMPLETE.
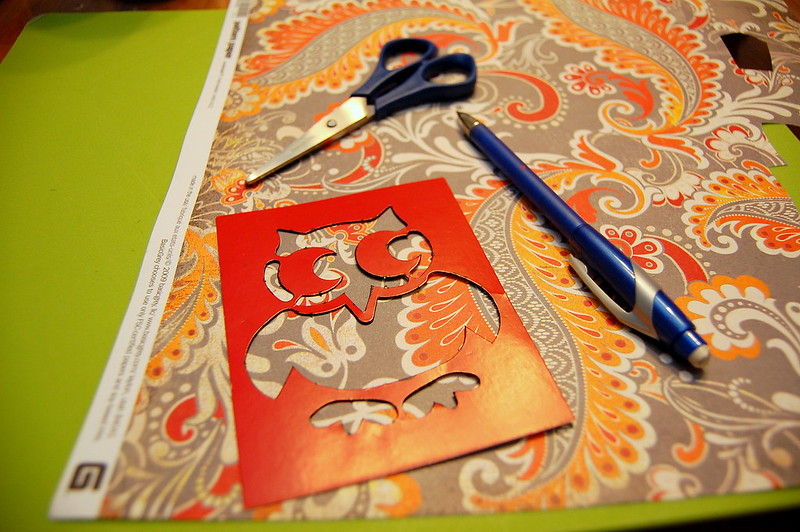
Canvas #3 - Scrapbook Paper Flower
Those of you who have read my blog before will immediately recognize this craft; it's an homage to my first official Pinter*Mel project!
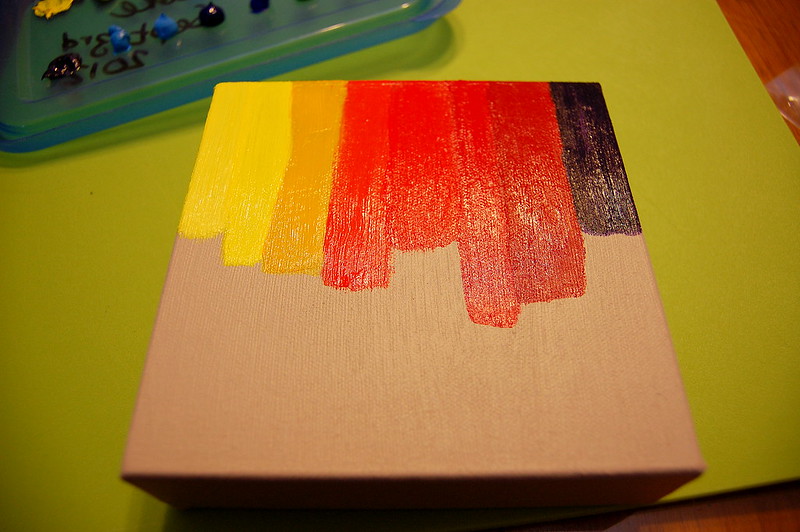
As always, paint the canvas! 2 coats!
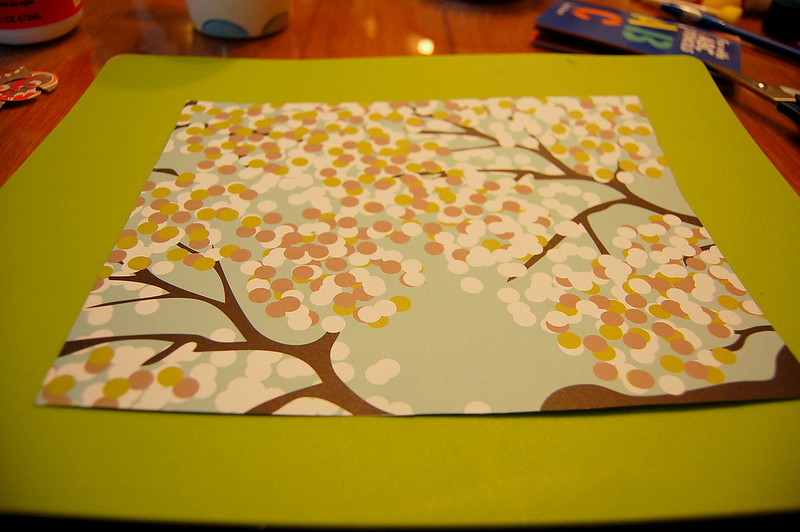
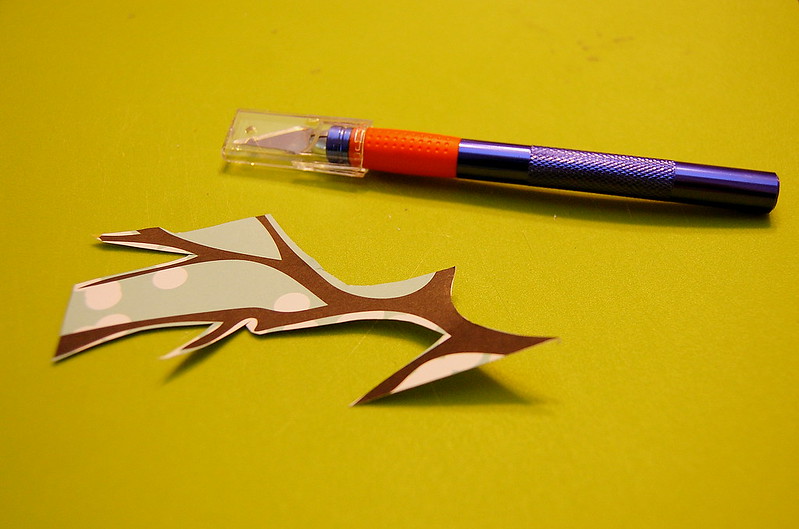
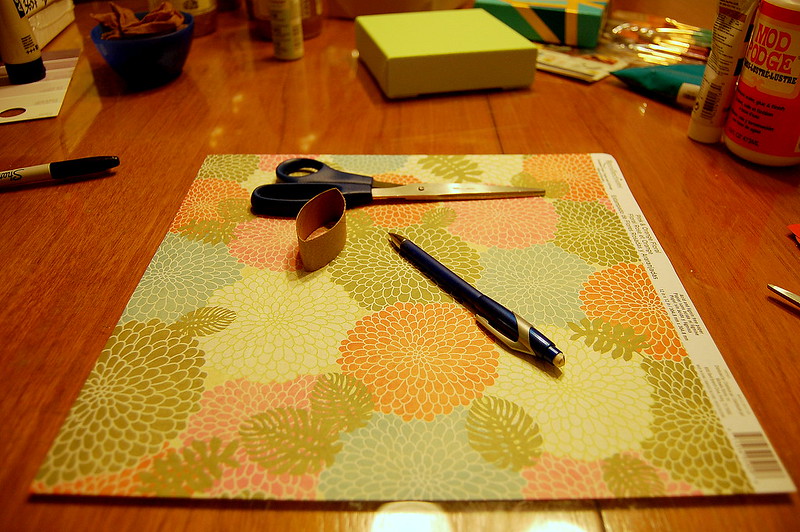
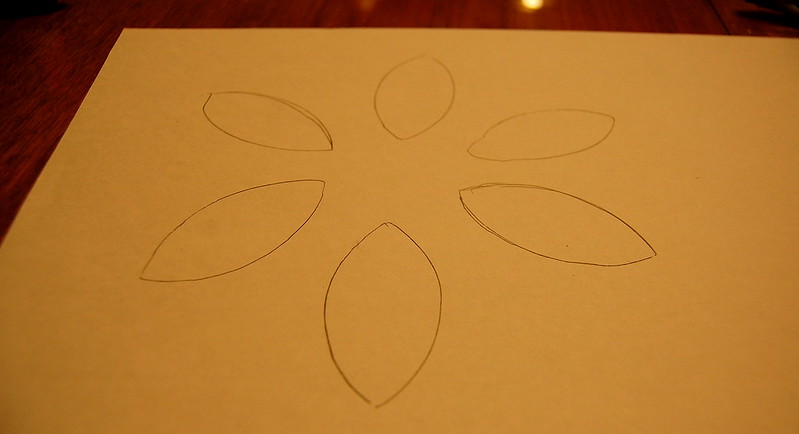
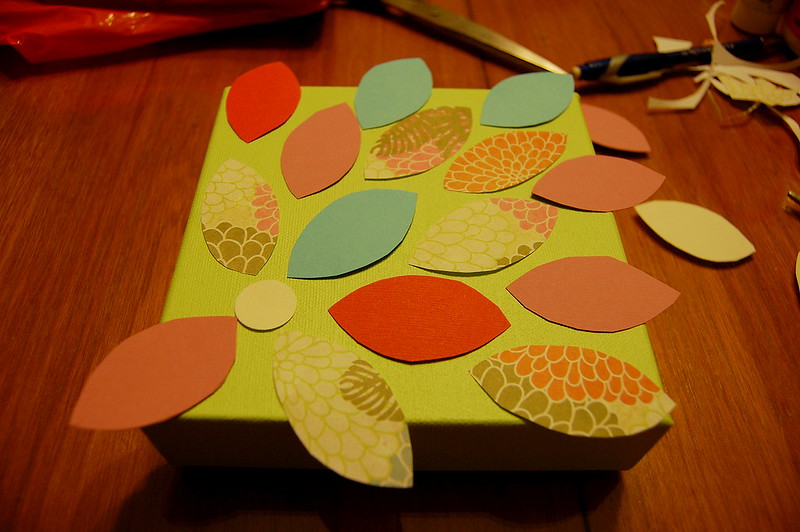
While that's drying, take a folded toilet paper tube and a pencil and trace your flower petals on the back of the scrapbook paper you chose to use.
Cut'em out, and lay them out on your canvas. I had some extra petals laying around from the first project so I used them to fill in some sparse spots.
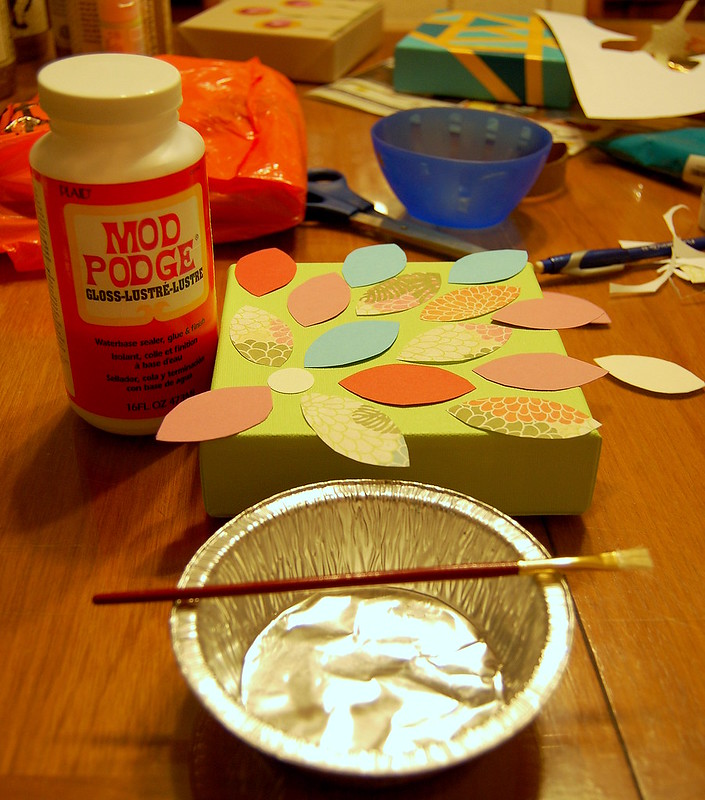
Once you're satisfied with how they're laid out, start Mod Podging them into place.
Make sure to Mod Podge the overlapping edges of the petals down the sides of the canvas.
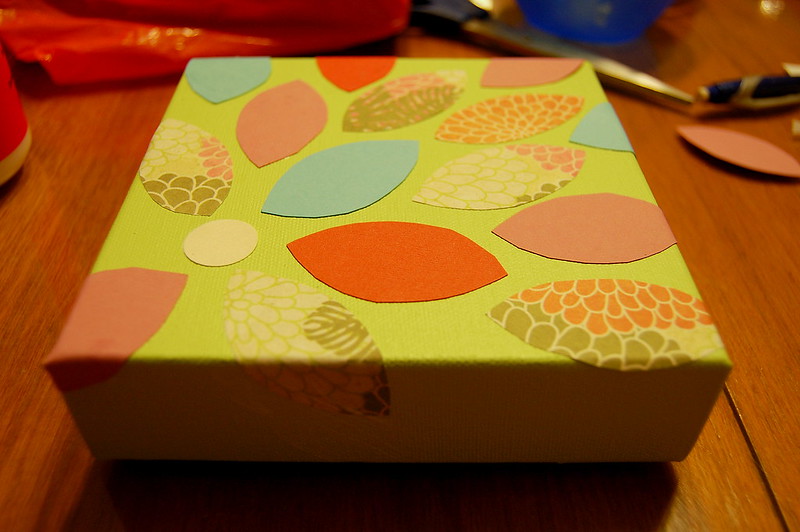
Go over the entire canvas with a thin layer of Mod Podge.
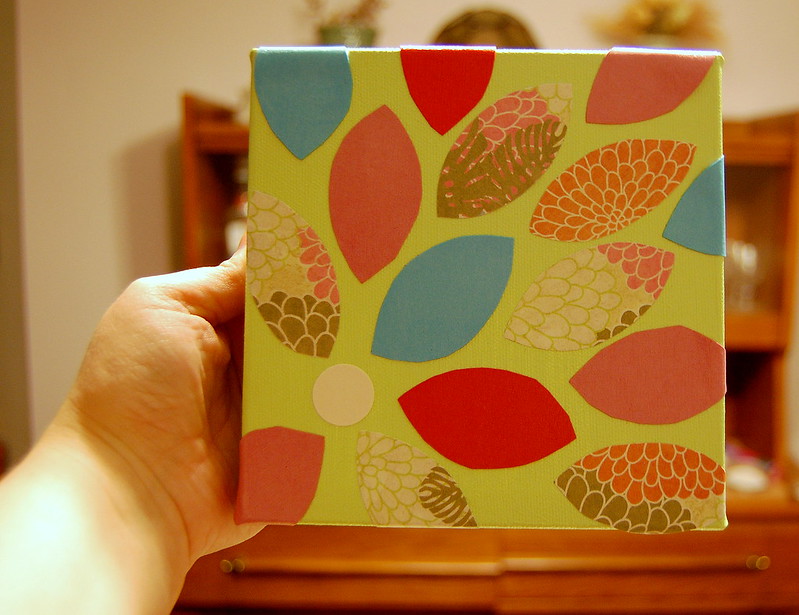
Let the Mod Podge dry and you're finished!
CANVAS #3: COMPLETE.