Showing posts with label Pinterest. Show all posts

Friday, November 23, 2012

Official Pinter*Mel Project #10 - Fun with Vintage Scrabble Tiles

First and foremost, I'm sorry I've been kinda out of the craft blogging loop for the past couple weeks, BUT.....


WAIT FOR IT.....
.
.
.
.
.
.
I GOT ENGAGED!!! 

So now all that creepy wedding pinning I do on Pinterest can be for real!!! Yay!!! So expect this blog to take a DIY Wedding turn come January 2013. 


Anyways, back to the craft at hand. 

The Inspiration: Scrabble Tile Family Signs


First thing I did was hit up eBay for a killer deal on 500 vintage Scrabble tiles. Bonus; they were from Quebec, so a) I didn't wait 2+ weeks for them, and b) I didn't get hosed by US shipping. 


Then once I picked out all the tiles for the Scrabble tile family signs (which was more painstaking that you think, Y's are few and far between and extremely popular in pretty much all names), I moseyed over to my local purveyor of shadow boxes and emptied their stock (and for the record, they're still out). 


Then I laid out the Scrabble tiles on the matting and centre them as much as possible so it doesn't look lopsided. 
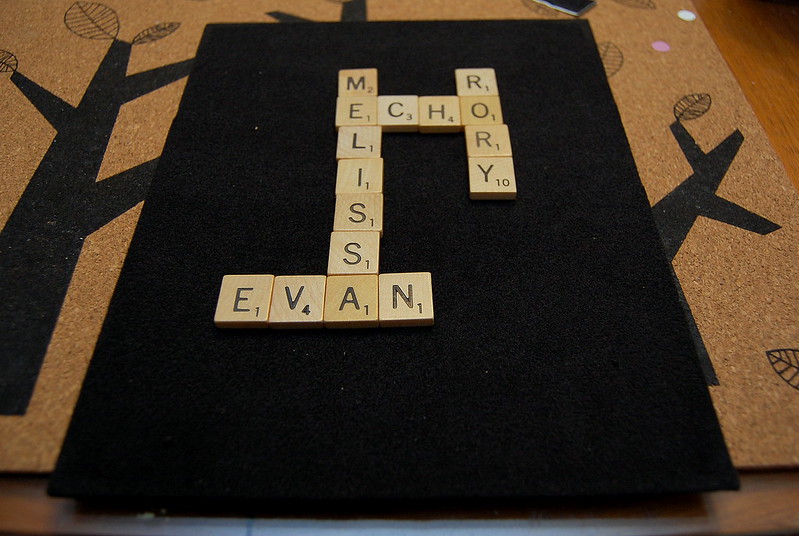

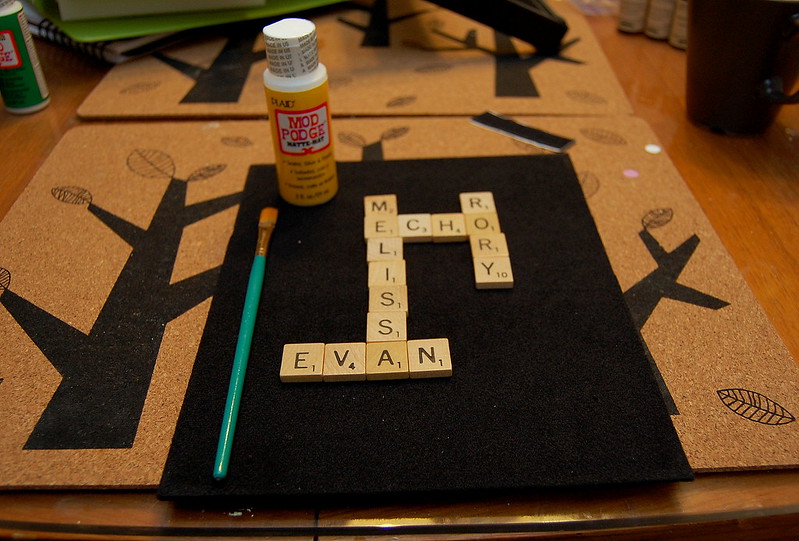
Once satisfied with placement, I used Mod Podge Matte to affix the tiles to the matting. 

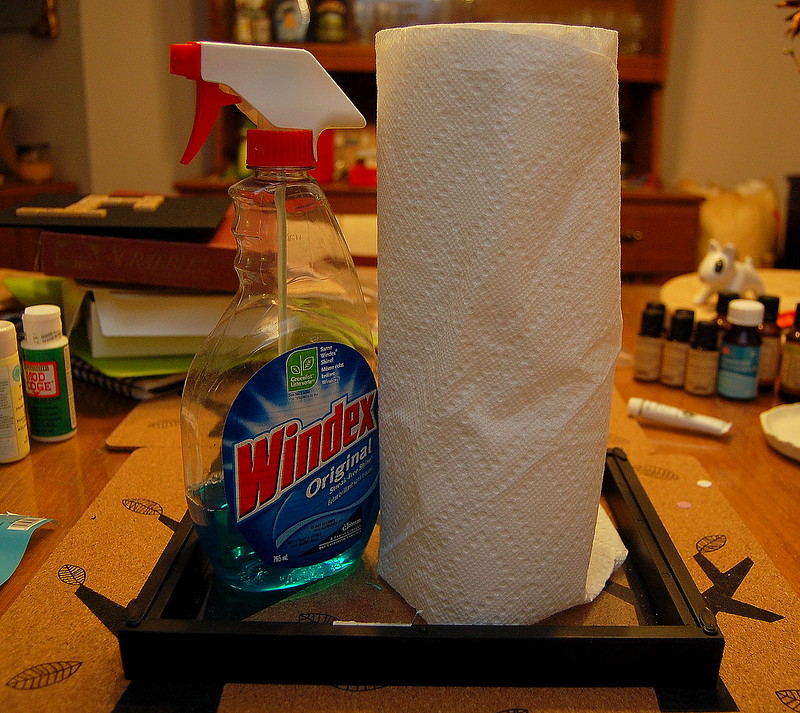
While waiting for the tiles to finish drying, I Windexed the crap out of the glass. 

Then popped the matting back into the shadow box and voila! 
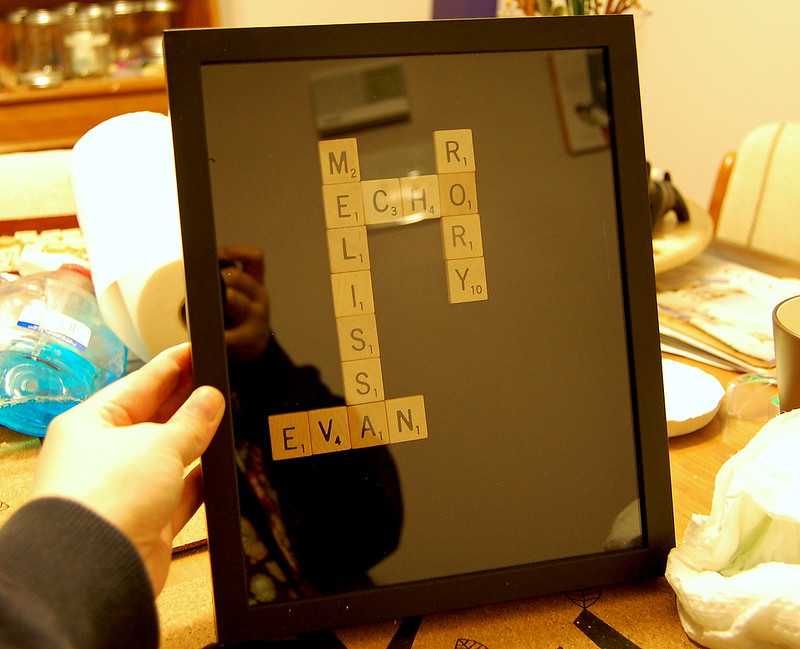

But wait, there's all that blank space in the bottom right-hand corner, something needs to go there...something both my fiancé and I love....

LEGO!!!
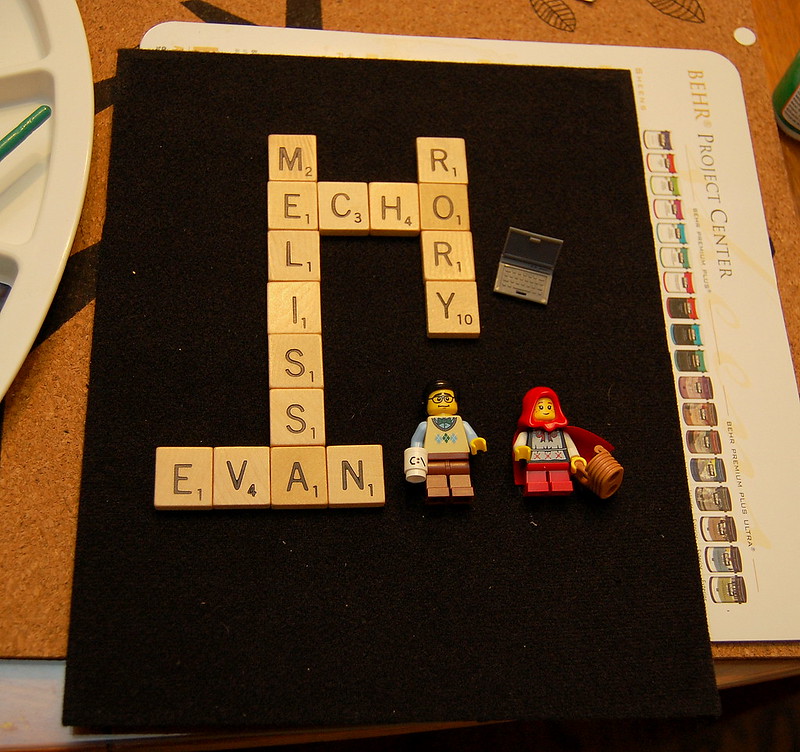

I used Glue Dots and Mod Podge Outdoor to get these Minifigs to stay put. 


Yay!!! Much better. 

My parents came up to Ottawa the day after we got engaged, so I decided to make them a Christmas ornament. 

First I dug out the letters. J, also difficult to find! 
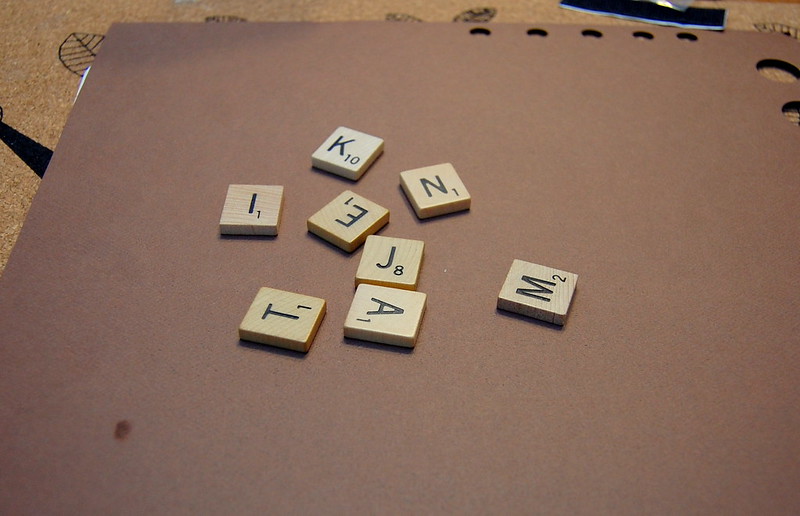


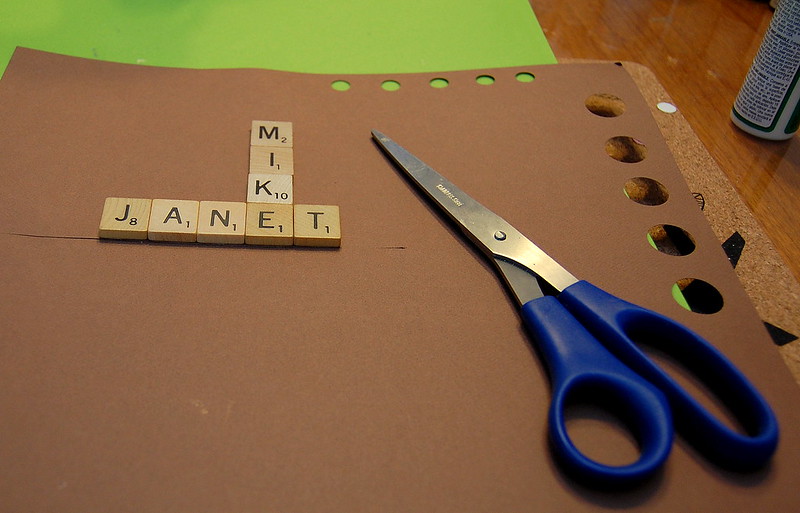
Then I glued them to a piece of card stock using Mod Podge Matte. 


After they were completely dry I cut them out using plain ole scissors, and my razor to get in the edges. 

I used a piece of ribbon for the ornament hanger. Cut a piece long enough to fit around a tree branch, glued it down in a criss-cross on the back of the ornament. 
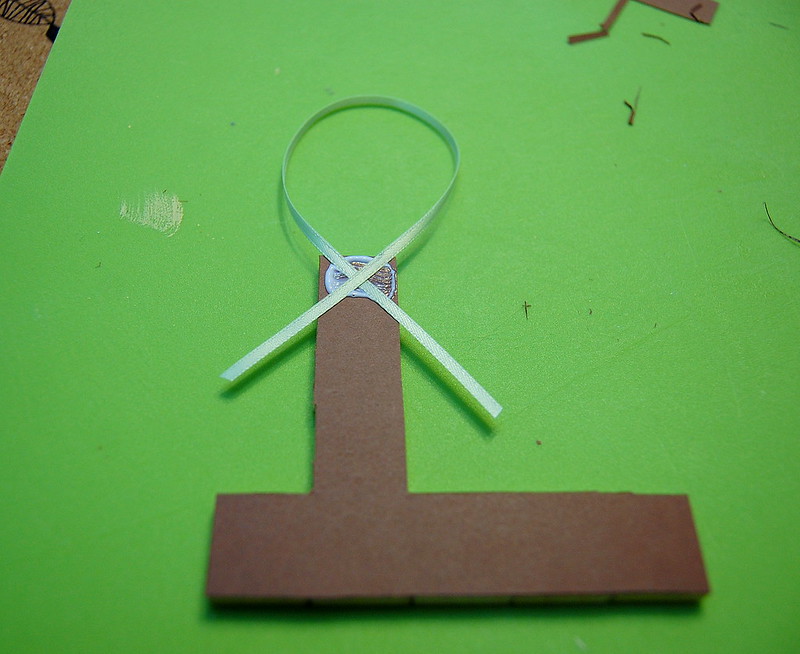


Then to secure the ornament hanger I cut out another piece of card stock and stuck it to the back of the ribbon and ornament; making a ribbon sammich. 
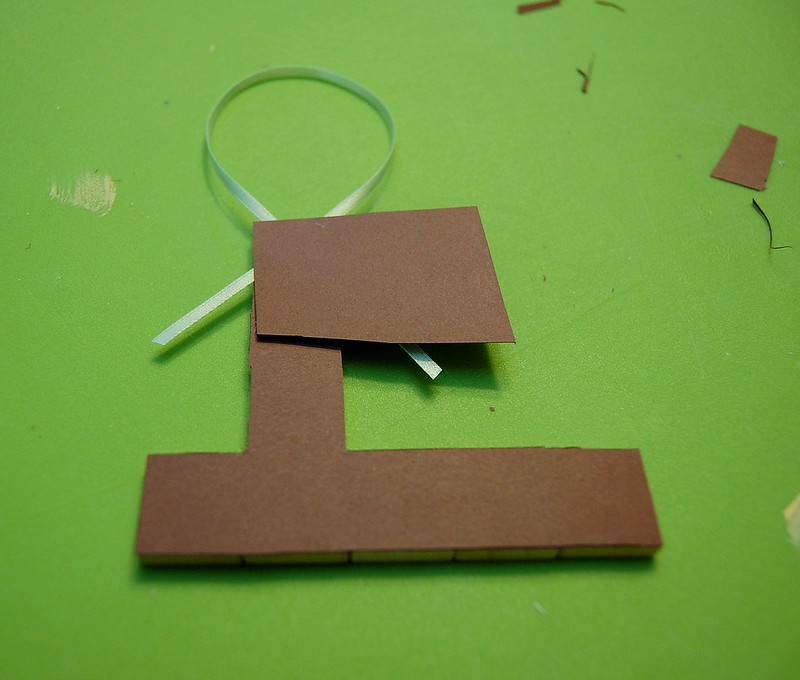

Trimmed off the excess using my razor. 
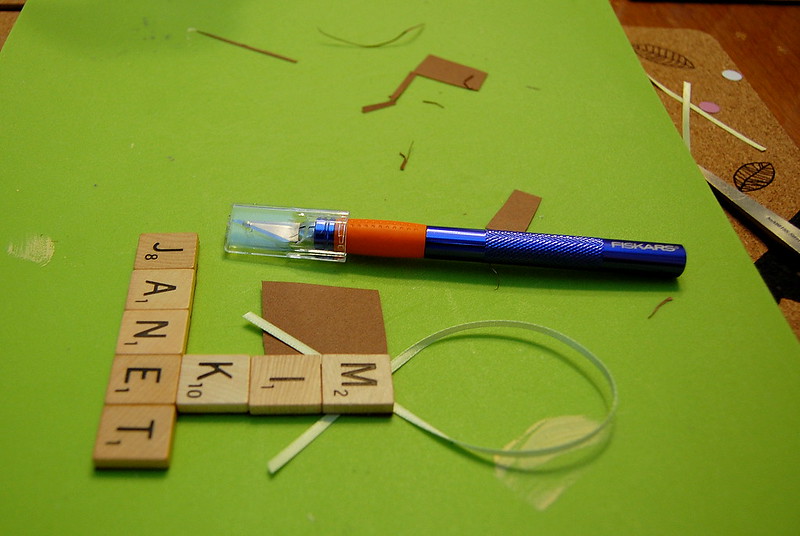


And there you have it! An adorable, personalized, Christmas ornament!
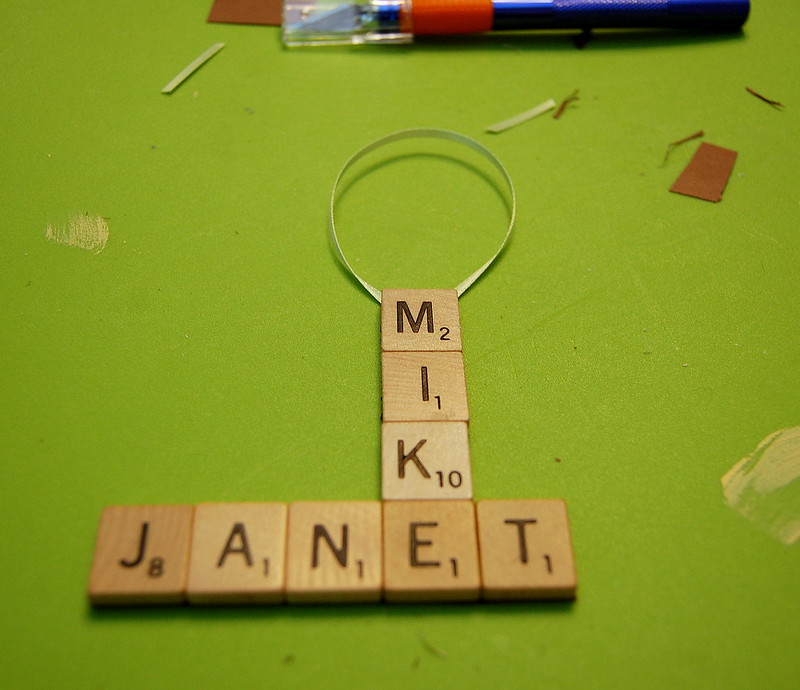


For all you crafty types who are looking for something ridiculously simple, yet awesome, to do with your children for Christmas presents this year, THIS IS IT. Seriously, paper, glue, Scrabble tiles, and some ribbon. That's it. You are only limited by your imagination! 


Have you used Scrabble tiles, or any other game tiles or computer keys to make something personalized? If so, please share in the comments below, I'd LOVE to hear about your projects!


Cheers, 

-Melissa

Thursday, October 18, 2012

Official Pinter*Mel Project FAIL #1: The Great Pumpkin Fail of 2012

I'd been perusing Pinterest looking for alternate ways to jazz up pumpkins for a DIY Fall-look around the house. 

The Inspiration: Chevron painted pumpkins 

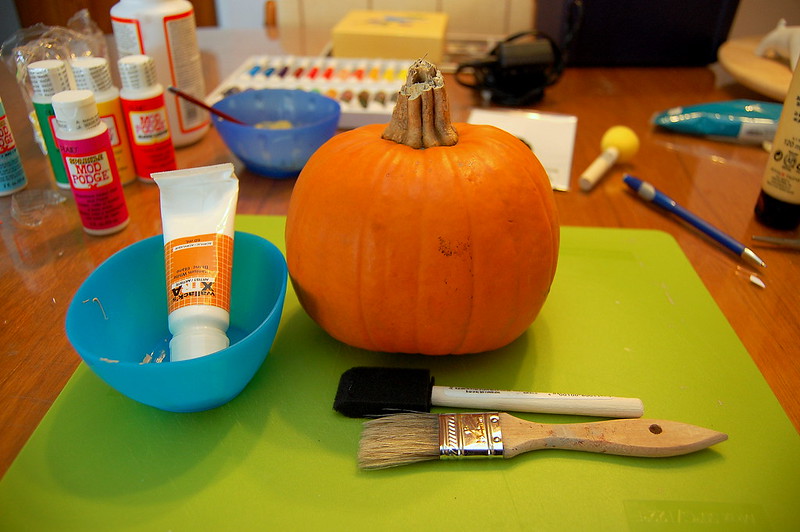
I purchased this perfect teeny pumpkin at my local grocery store for 99 cents. I didn't want to invest big money in pumpkins until I knew what I was going to do, and that what I was going to do was going to work. 


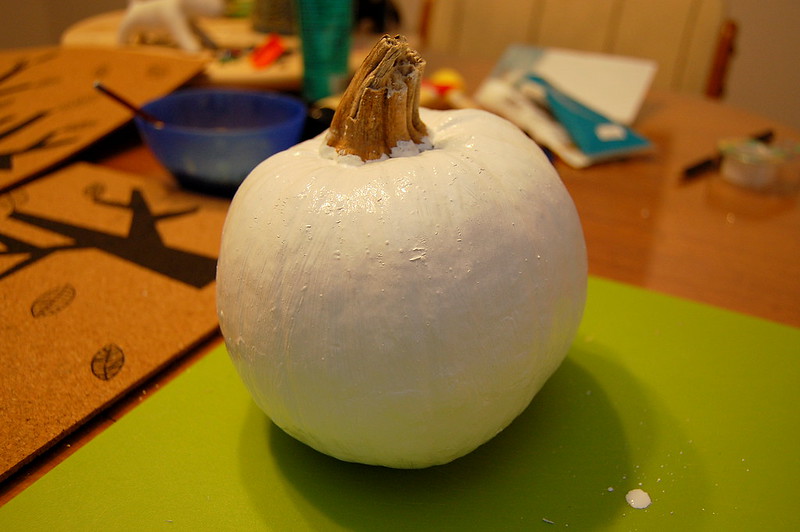
I painted this cutie pie white. 
(PRO TIP: If you're planning on painting a pumpkin white, just get a white pumpkin and save yourself about 3 coats of paint.)


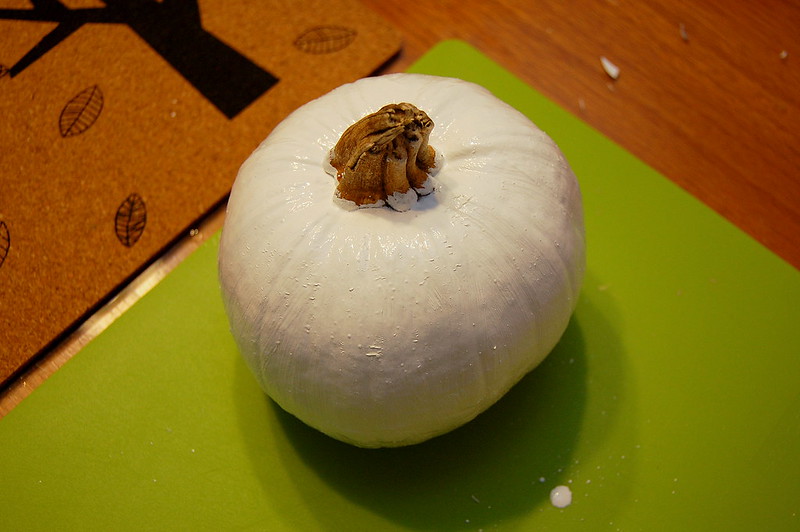
I let this pumpkin dry for like 24 hours. I wanted to make sure it was good and dry before I started putting more paint on it. 

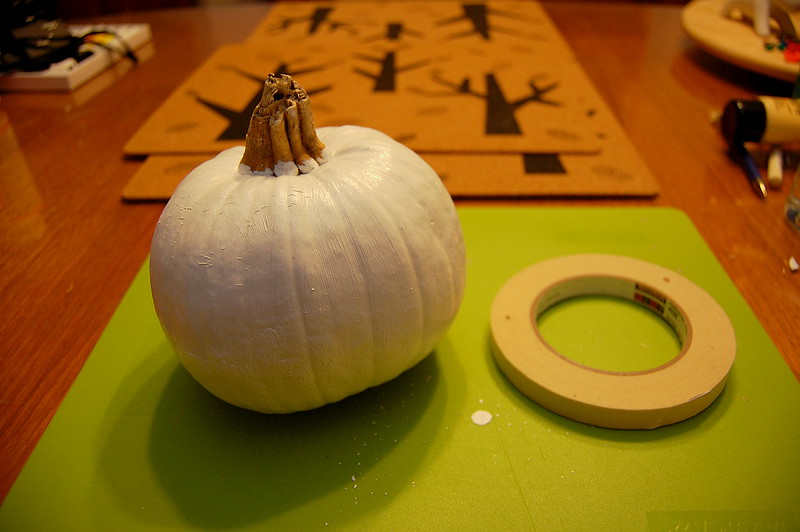
Then I figured I'd tape a pattern on the pumpkin to paint. I wasn't talented enough to do chevrons, so I chose an easier pattern to start with. 


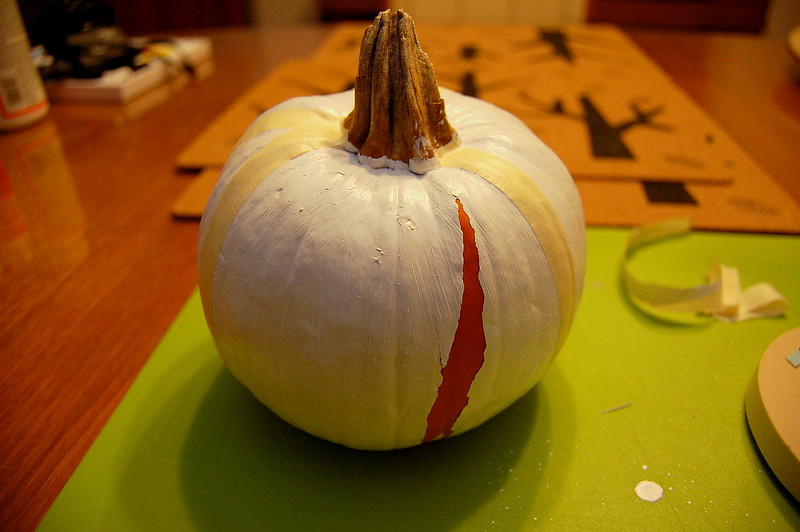
So I was taping away, when I noticed that one of my pieces of tape was a bit off centre, so I started to gently pull it off to reposition it when THIS happened...


That piece of bastard tape took the paint right off my pumpkin. I thought maybe it was just an isolated incident, and proceeded to try another piece of tape on the other side. It happened again. It happened with every piece of tape I put on the damn thing. By the time I had taken all the tape off I was left with my original orange pumpkin. 

The moral of the story: Put the tape on BEFORE you paint. Yes, you'll be relegated to orange as one of your primary colour choices, but you won't end up with a naked pumpkin. One that SHOULD still have three coats of paint on it. Alternatively, you could also just freehand a design or drawing on the painted pumpkin, just as long as you don't put tape on the actual paint you should be fine. 

Don't make the same mistake folks! 

Cheers, 

Melissa

Wednesday, October 17, 2012

Six Squared: The Big Send Off

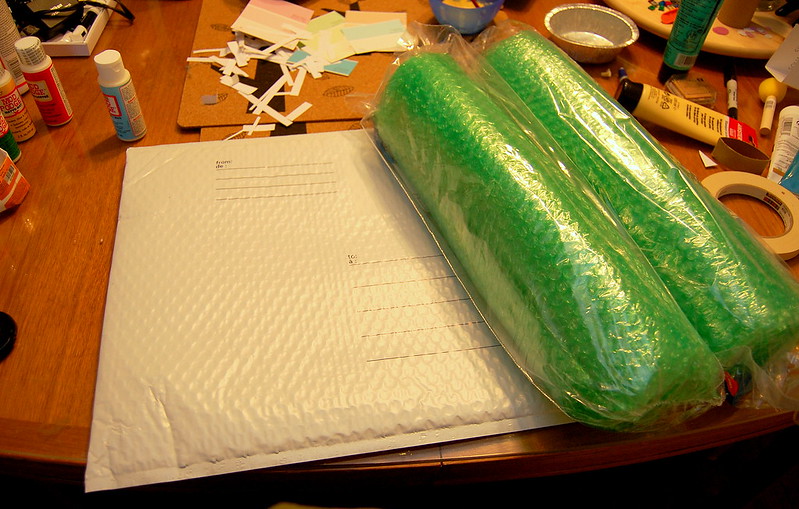
So on Monday I lovingly wrapped my 6 canvases in bubble wrap, placed them carefully inside a Canada Post bubble mailer, addressed it, then sealed it up. 

Then I saw the envelope containing the submission form and my business cards laying on the table, because I forgot to put it in the package. There was no way that thing was going to be re-opened, whatever glue they put on these mailers could be used to hold aircraft together. So I ended up taping the envelope to the backside of the mailer. 

Anywho, here are the pictures! 

Here they are all finished: 


BERBLE WRERP!!!


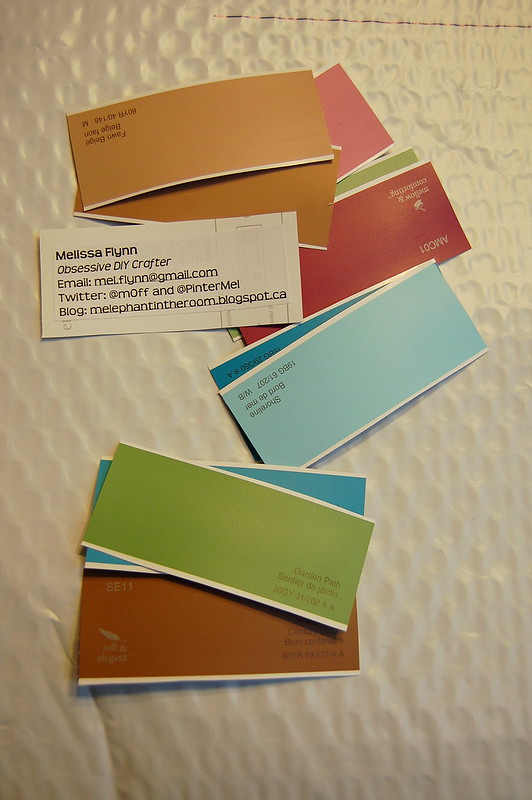
I made some "business cards" out of paint samples to hold me over until my actual profesh cards arrive. 


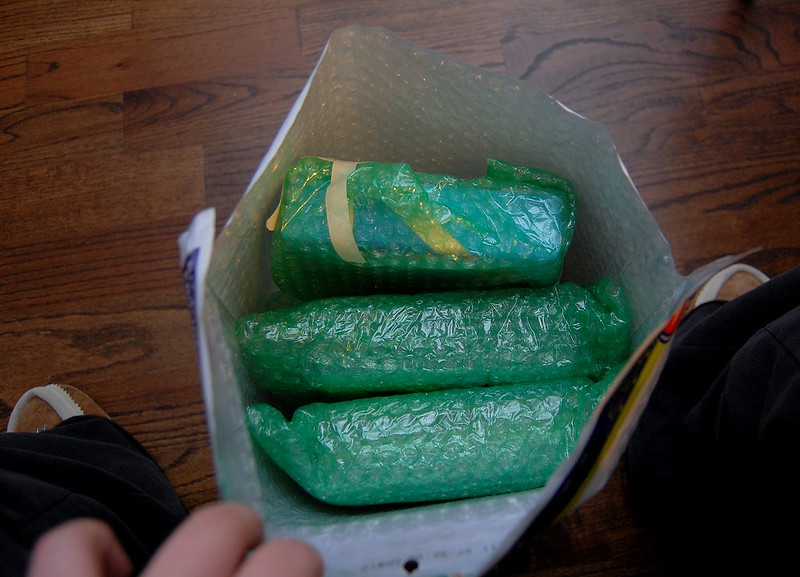
All wrapped up! 


In ya go! 


Addressed and ready to roll. 


I'll be heading down to Kingston for the Six Squared Gala on Friday, November 16th. Can't wait to see all the other wonderful submissions! 


Cheers, 

Melissa
Sunday, September 30, 2012

Six Squared: Canvases 2 and 3

This week I worked on canvases 2 and 3 for the Six Squared event in support of the Kingston Seniors Association. They are both paper-craft focused, and kinda girlie. 
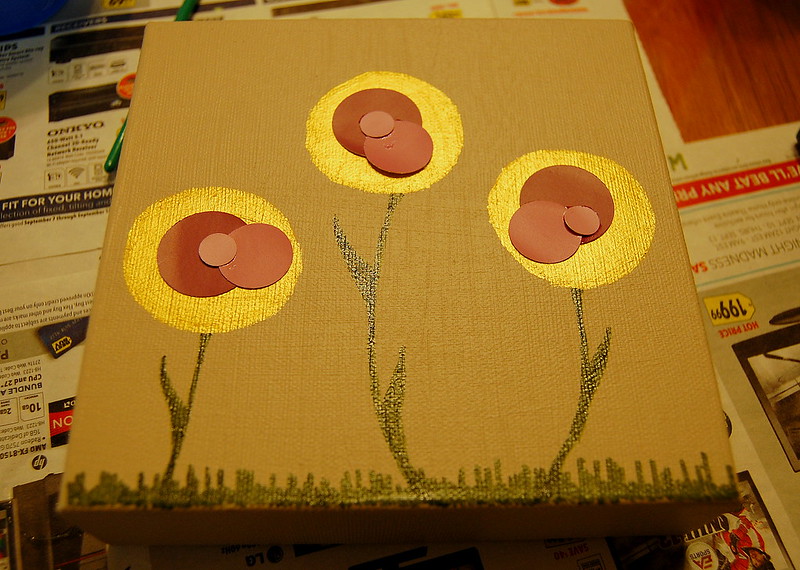
Canvas #2 - Paint-chip Flowers

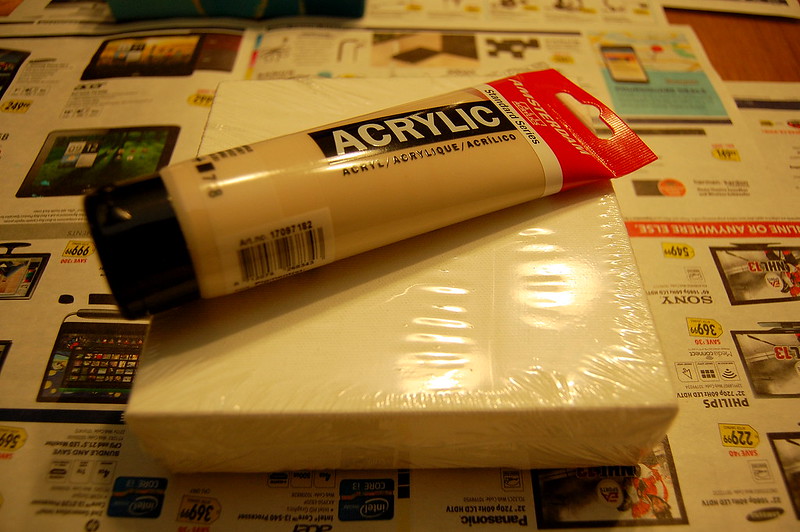
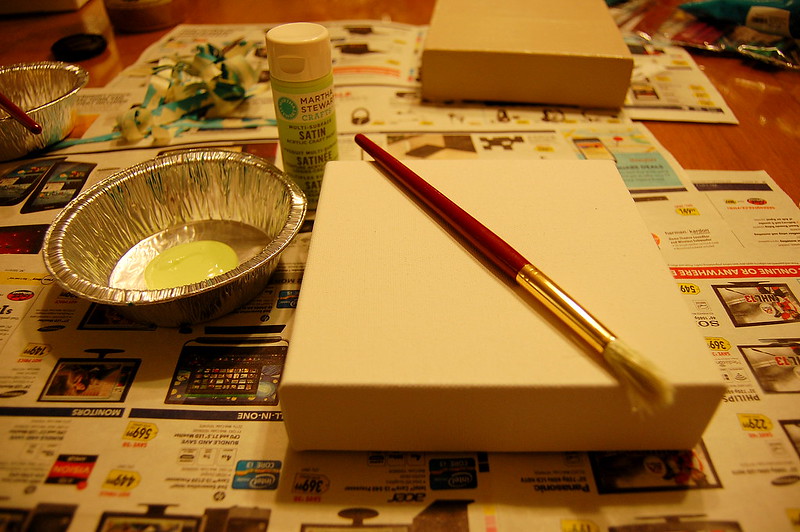
First I painted my canvas with 2 coats of acrylic.


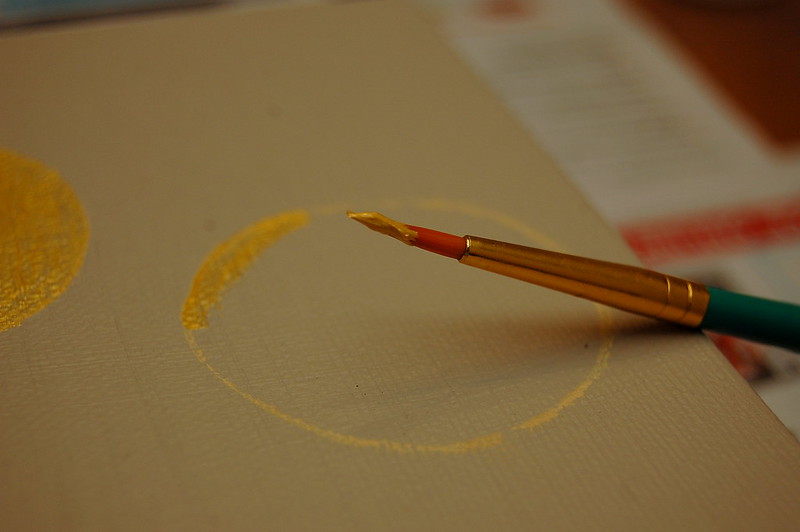
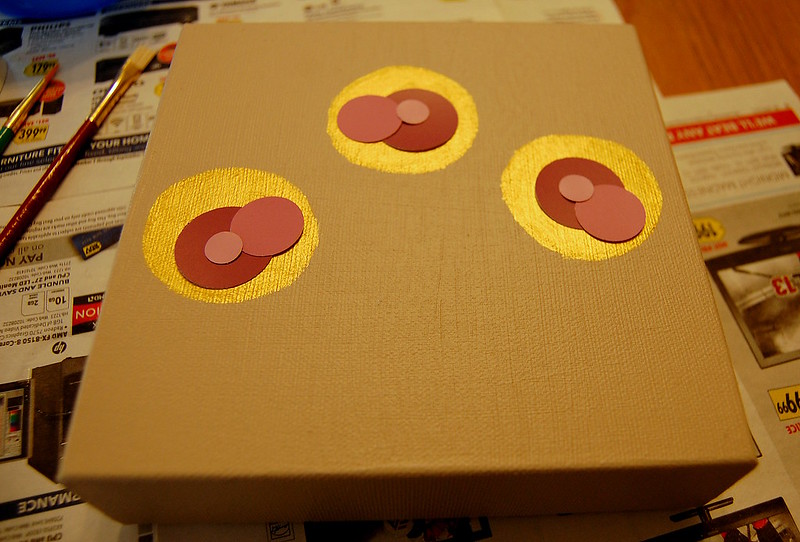
Then, once the paint had dried, I traced three circles randomly on the canvas using a toilet paper roll dipped in some gold ink I had from another project. 


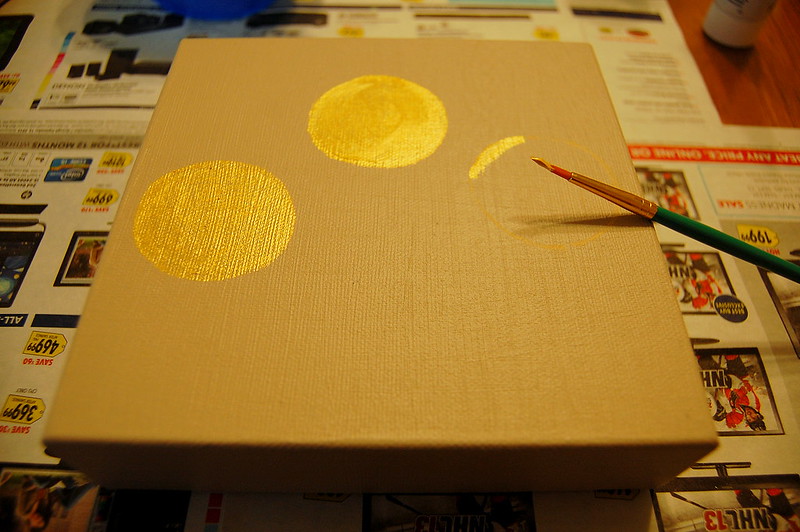
The I started painting the circles in with some gold acrylic paint. 


I did two coats of the gold paint to make sure I got full coverage. 

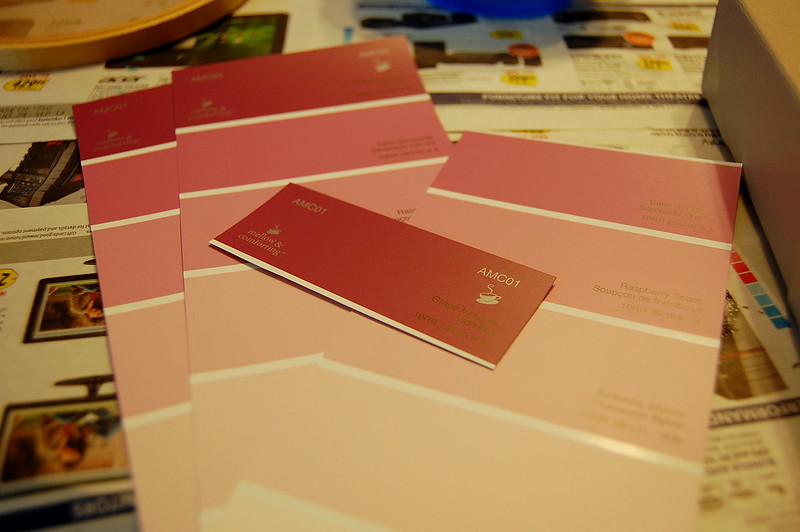
While these were drying I picked out the paint chips I wanted to use (yes, I have about a zillion paint chips laying about from artwork I did last year), and selected three different sized hole punchers to use. 


Let's make some flowers!
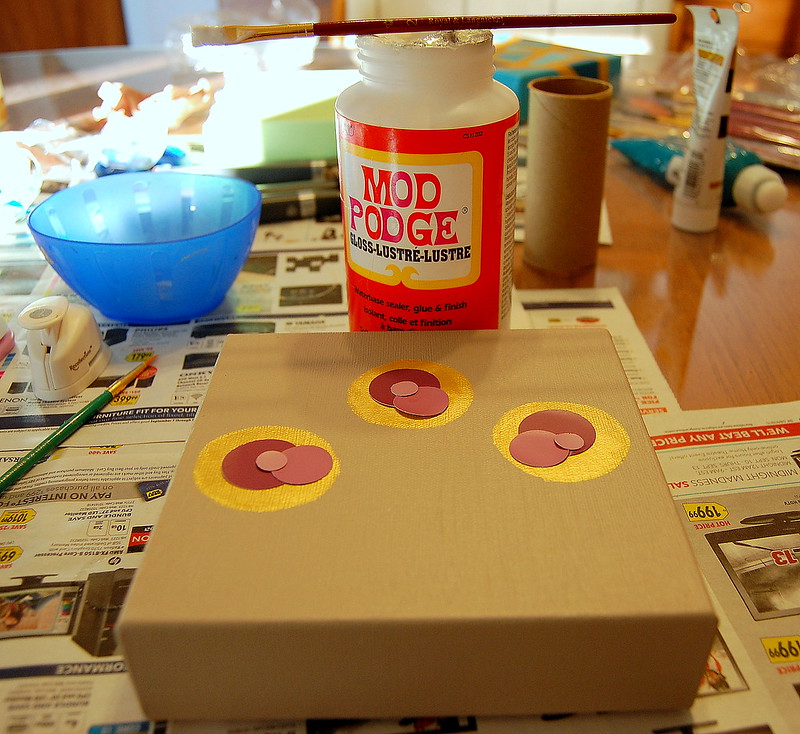
Lay'em out...


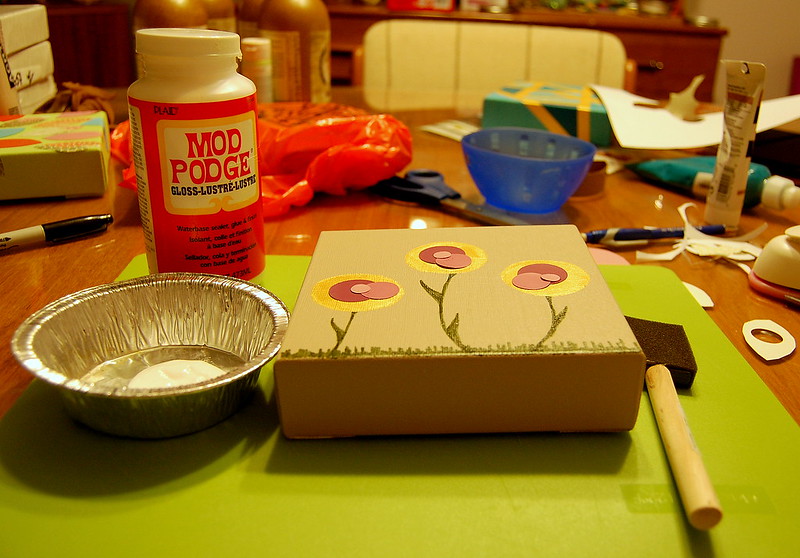
Mod Podge'em on...


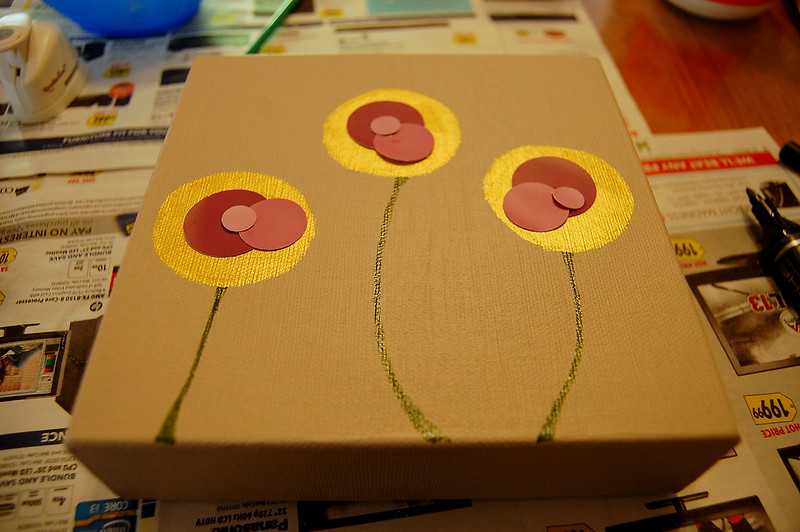
Now comes the artistic part; drawing some stems and leaves. If you suck at drawing like I do, just keep it as simple as possible. 

First, find a green marker. I use these markers because they're awesome. You can get them at Wallacks. (I used the green one at the bottom.)


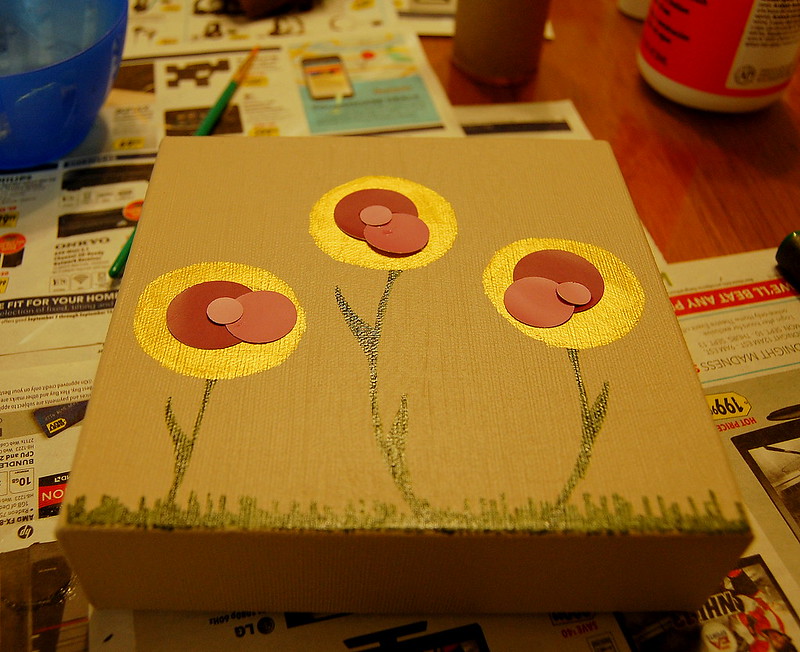
Oh and add some grass in too, for effect. 


Once your drawing is dry, go over everything with a thin coat of Mod Podge. 


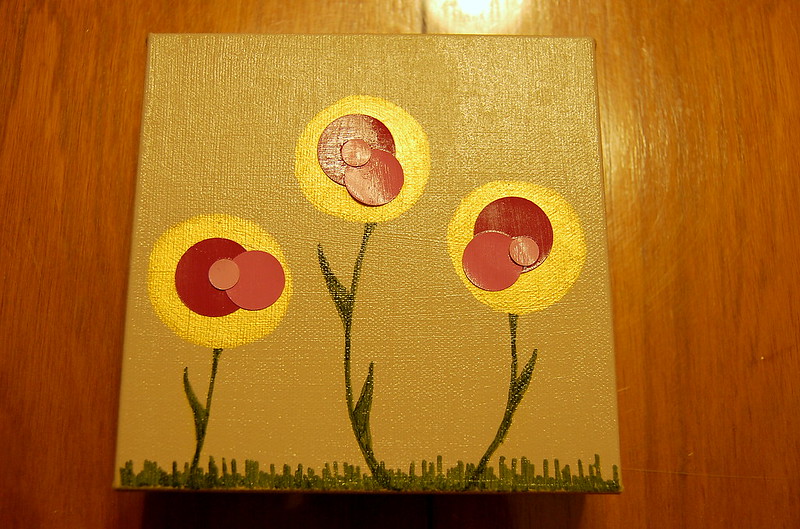
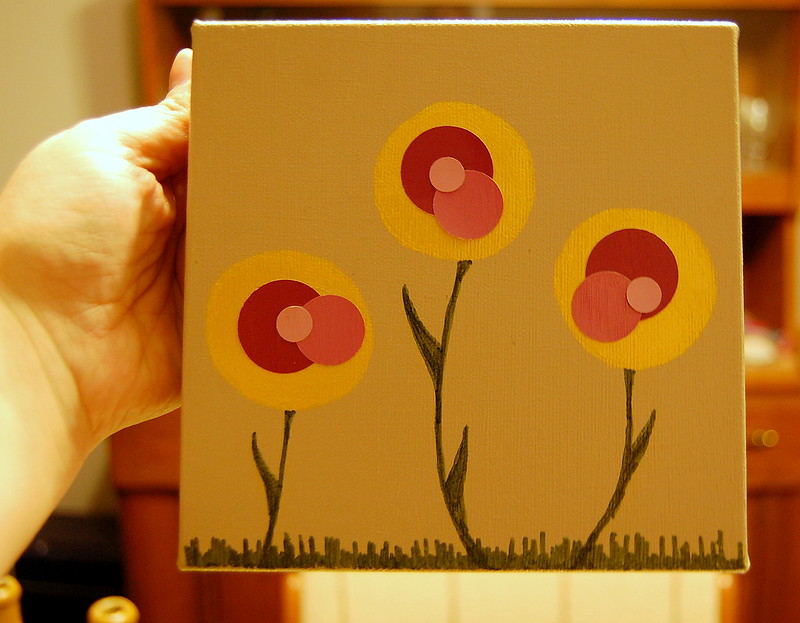
Now let that beast dry, and you're all done! 


CANVAS #2: COMPLETE.


Canvas #3 - Scrapbook Paper Flower
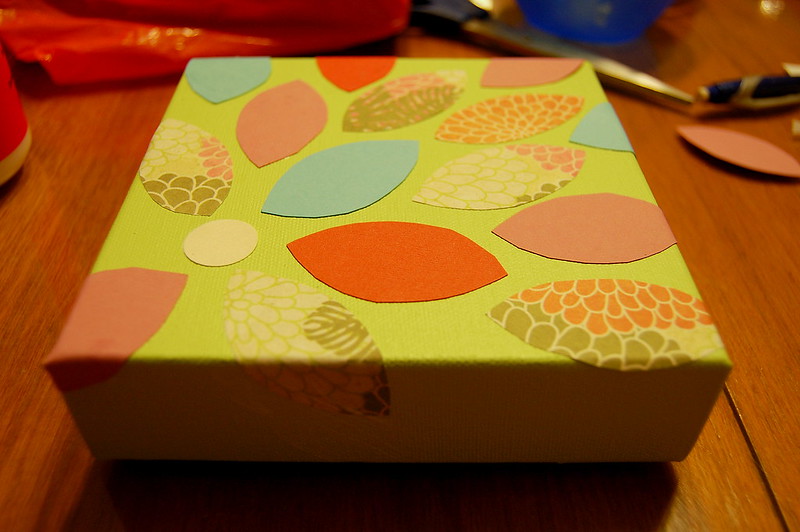
Those of you who have read my blog before will immediately recognize this craft; it's an homage to my first official Pinter*Mel project! 

As always, paint the canvas! 2 coats! 


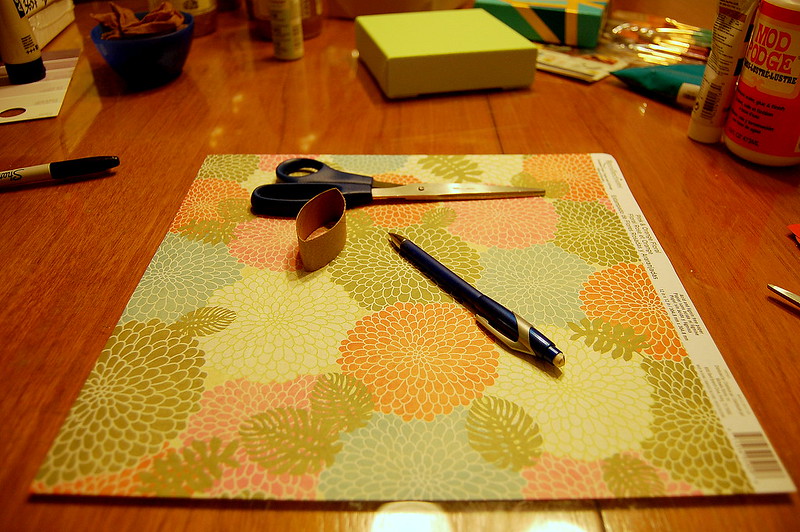
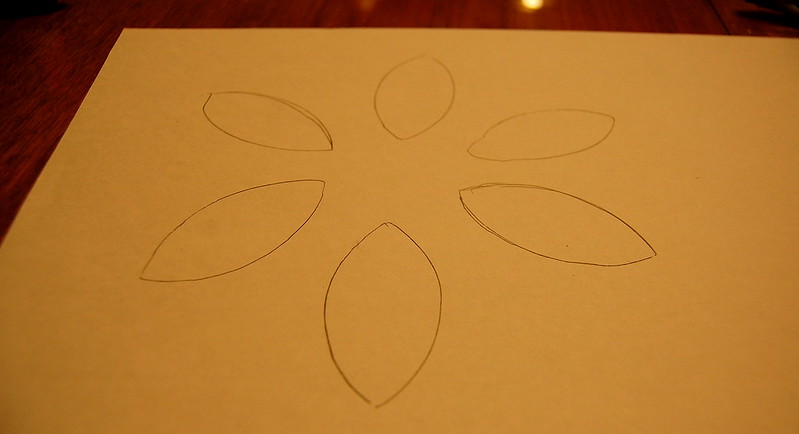
While that's drying, take a folded toilet paper tube and a pencil and trace your flower petals on the back of the scrapbook paper you chose to use. 


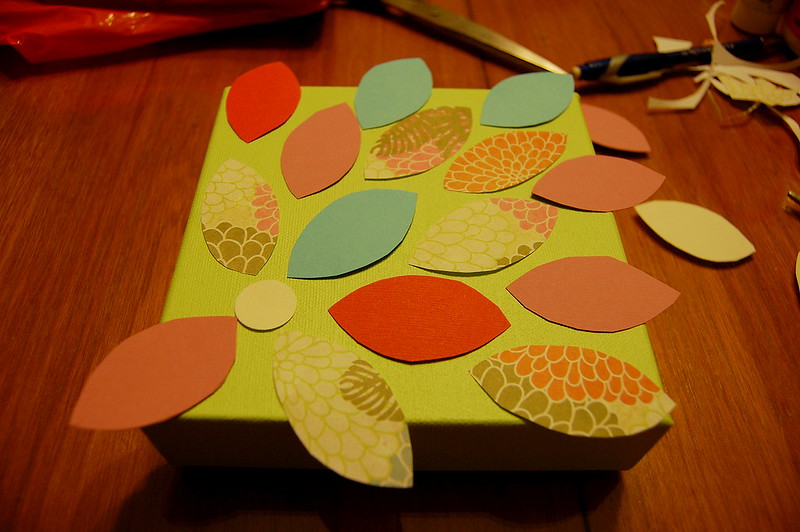
Cut'em out, and lay them out on your canvas. I had some extra petals laying around from the first project so I used them to fill in some sparse spots. 


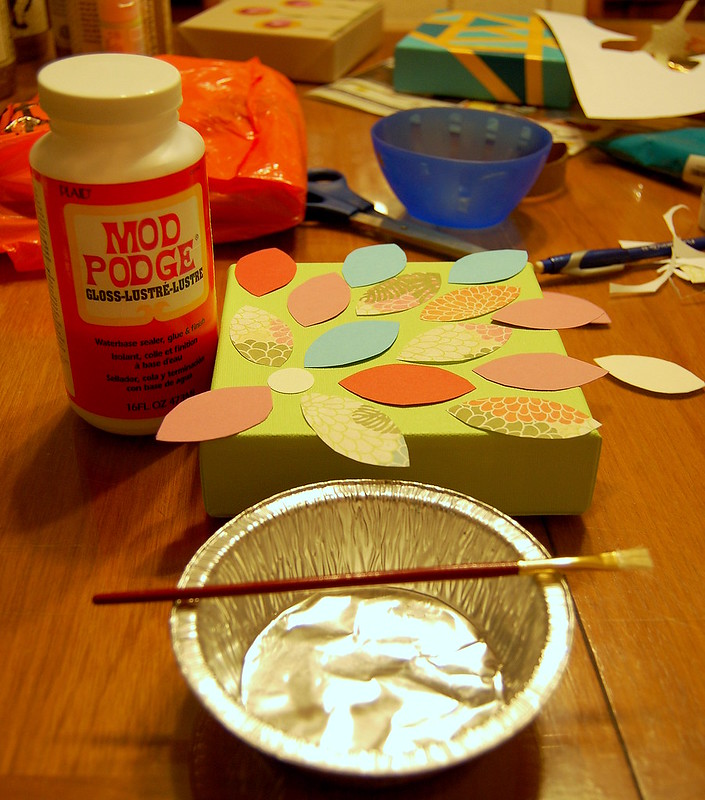
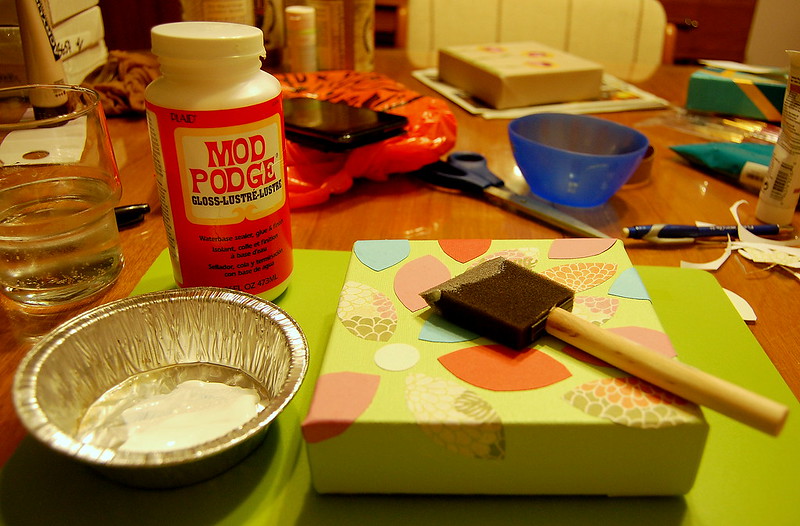
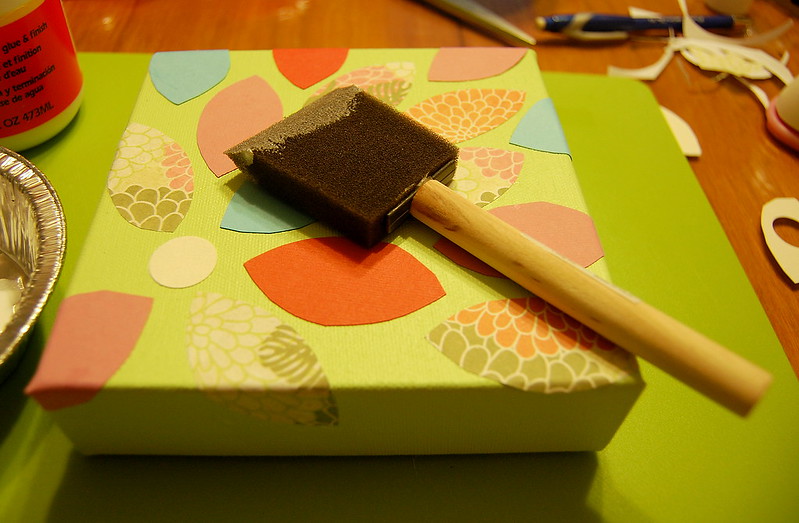
Once you're satisfied with how they're laid out, start Mod Podging them into place. 


Make sure to Mod Podge the overlapping edges of the petals down the sides of the canvas. 


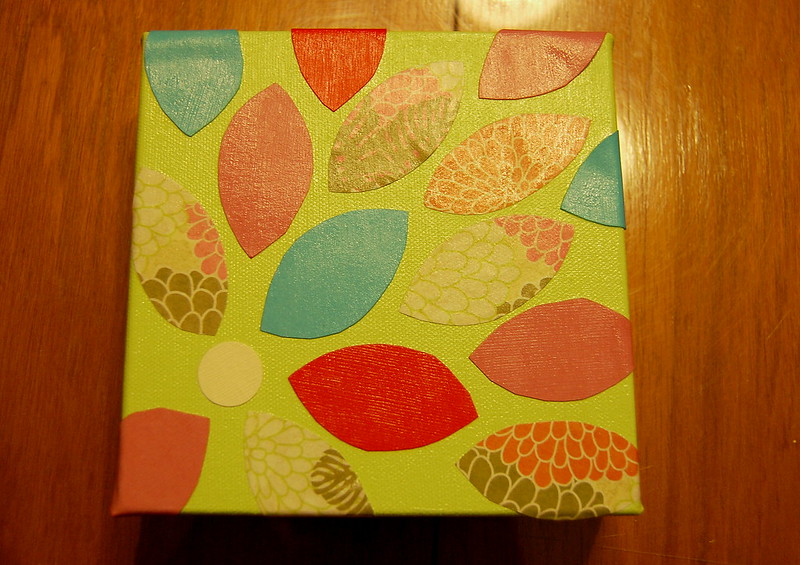
Go over the entire canvas with a thin layer of Mod Podge. 


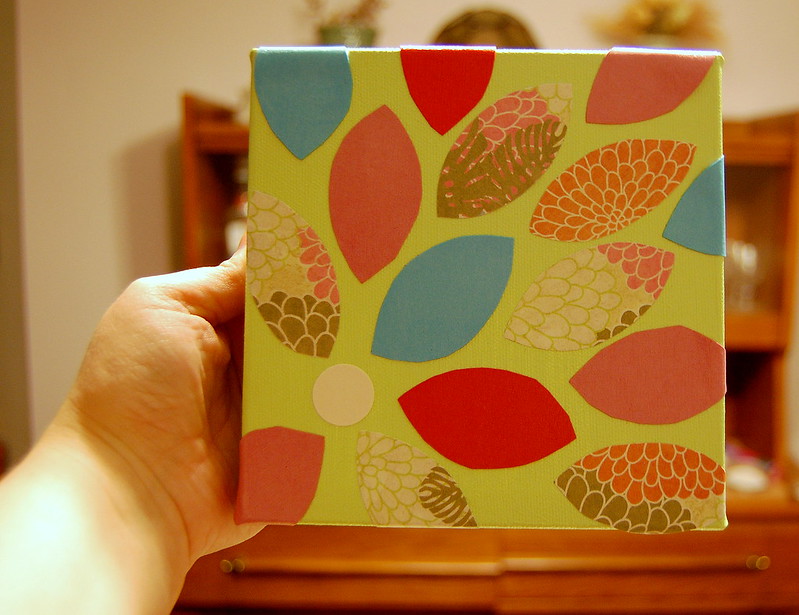
Let the Mod Podge dry and you're finished! 


CANVAS #3: COMPLETE.