Showing posts with label Craft. Show all posts

Friday, November 23, 2012

Official Pinter*Mel Project #10 - Fun with Vintage Scrabble Tiles

First and foremost, I'm sorry I've been kinda out of the craft blogging loop for the past couple weeks, BUT.....


WAIT FOR IT.....
.
.
.
.
.
.
I GOT ENGAGED!!! 

So now all that creepy wedding pinning I do on Pinterest can be for real!!! Yay!!! So expect this blog to take a DIY Wedding turn come January 2013. 


Anyways, back to the craft at hand. 

The Inspiration: Scrabble Tile Family Signs


First thing I did was hit up eBay for a killer deal on 500 vintage Scrabble tiles. Bonus; they were from Quebec, so a) I didn't wait 2+ weeks for them, and b) I didn't get hosed by US shipping. 


Then once I picked out all the tiles for the Scrabble tile family signs (which was more painstaking that you think, Y's are few and far between and extremely popular in pretty much all names), I moseyed over to my local purveyor of shadow boxes and emptied their stock (and for the record, they're still out). 


Then I laid out the Scrabble tiles on the matting and centre them as much as possible so it doesn't look lopsided. 
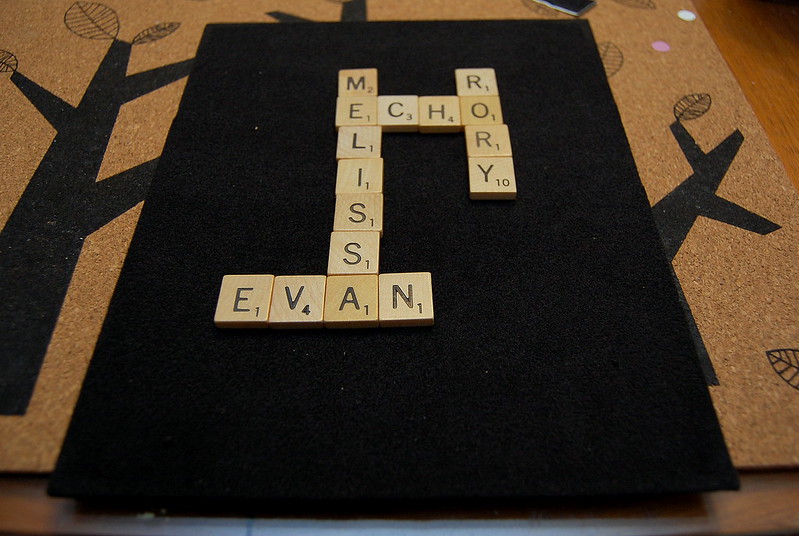

Once satisfied with placement, I used Mod Podge Matte to affix the tiles to the matting. 
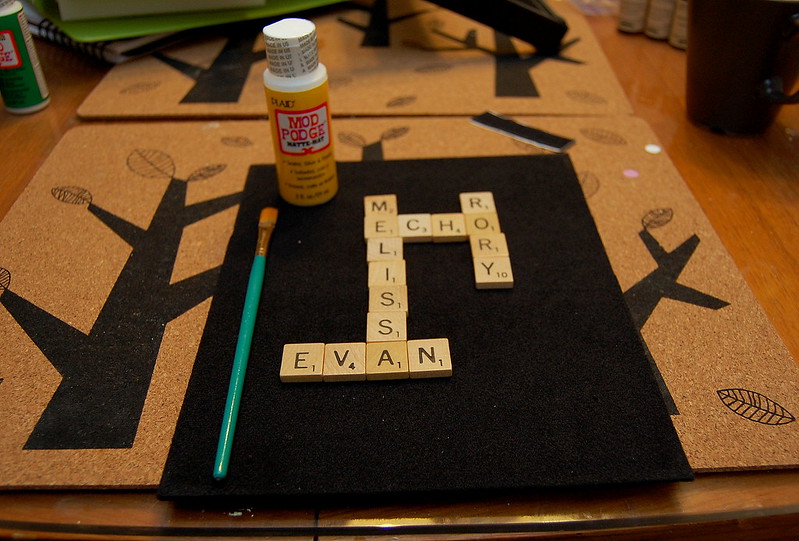

While waiting for the tiles to finish drying, I Windexed the crap out of the glass. 
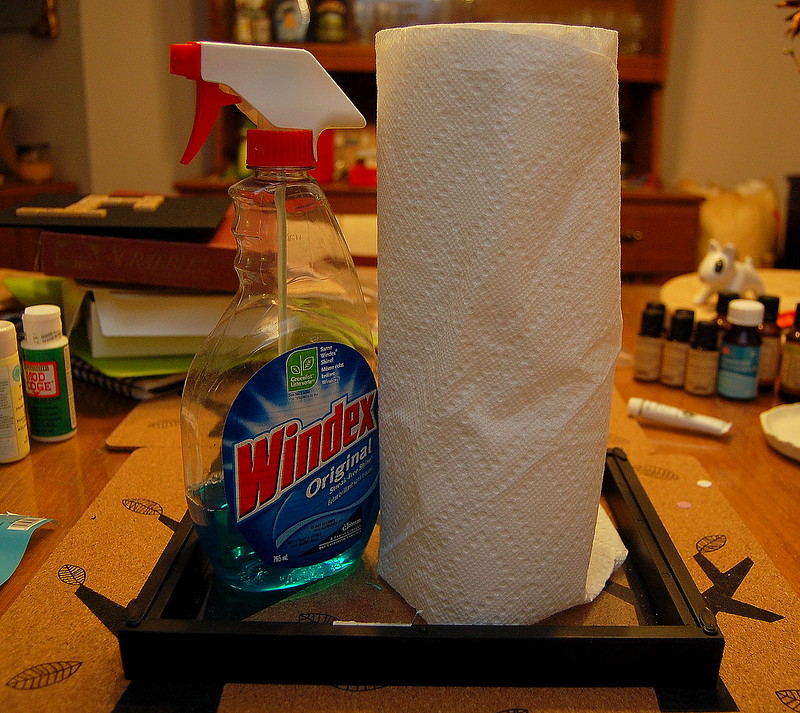

Then popped the matting back into the shadow box and voila! 
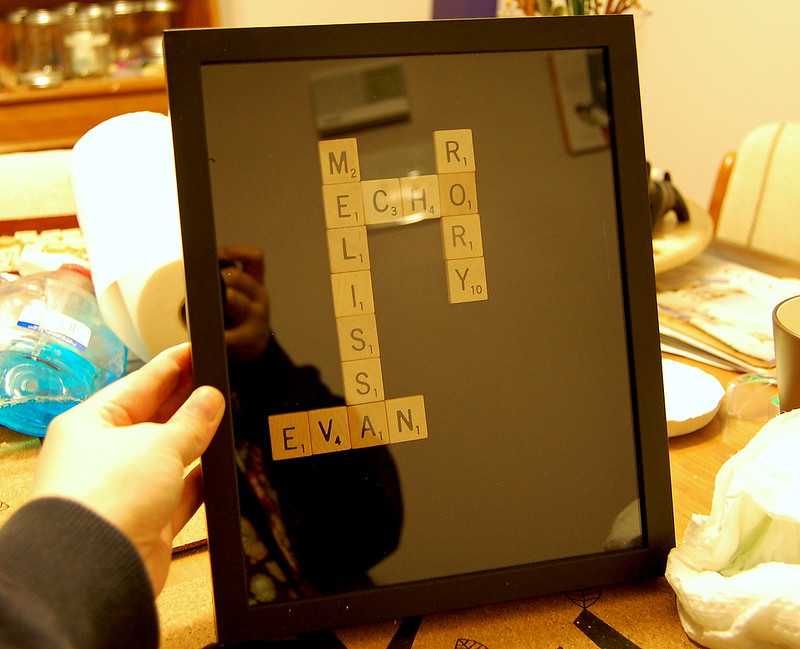

But wait, there's all that blank space in the bottom right-hand corner, something needs to go there...something both my fiancé and I love....

LEGO!!!
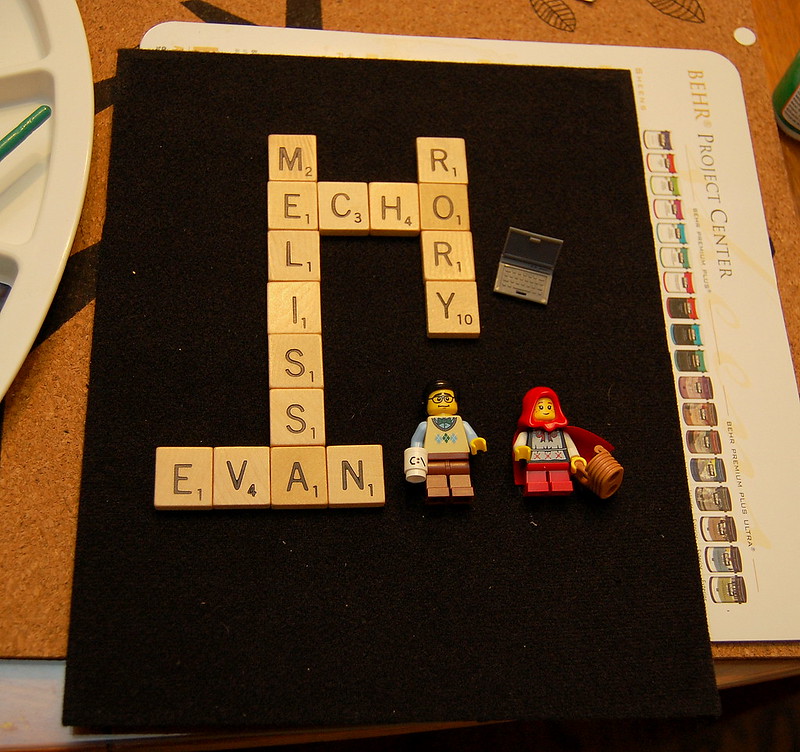

I used Glue Dots and Mod Podge Outdoor to get these Minifigs to stay put. 


Yay!!! Much better. 

My parents came up to Ottawa the day after we got engaged, so I decided to make them a Christmas ornament. 

First I dug out the letters. J, also difficult to find! 
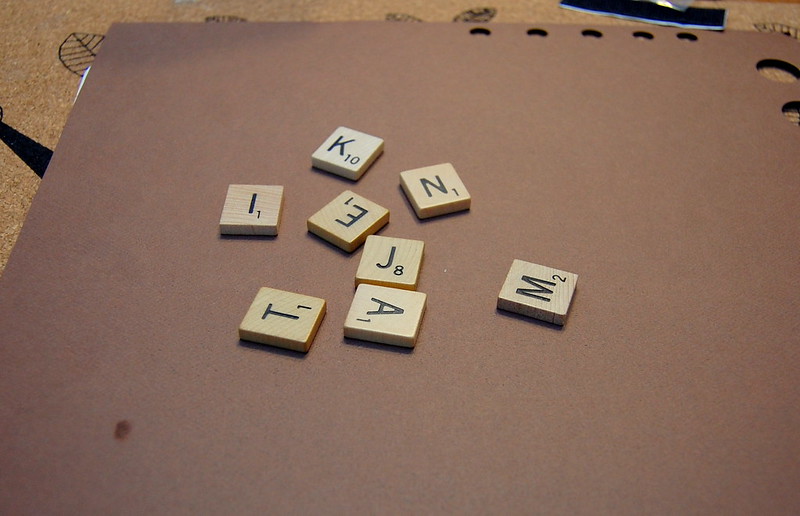


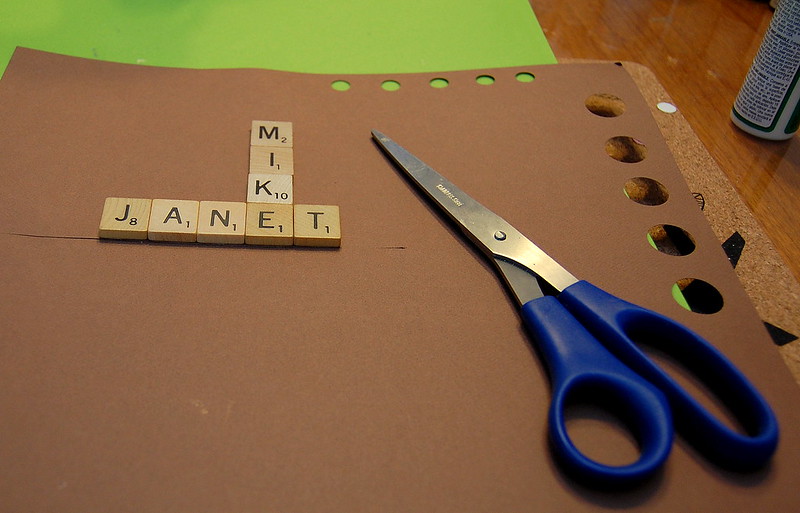
Then I glued them to a piece of card stock using Mod Podge Matte. 


After they were completely dry I cut them out using plain ole scissors, and my razor to get in the edges. 

I used a piece of ribbon for the ornament hanger. Cut a piece long enough to fit around a tree branch, glued it down in a criss-cross on the back of the ornament. 
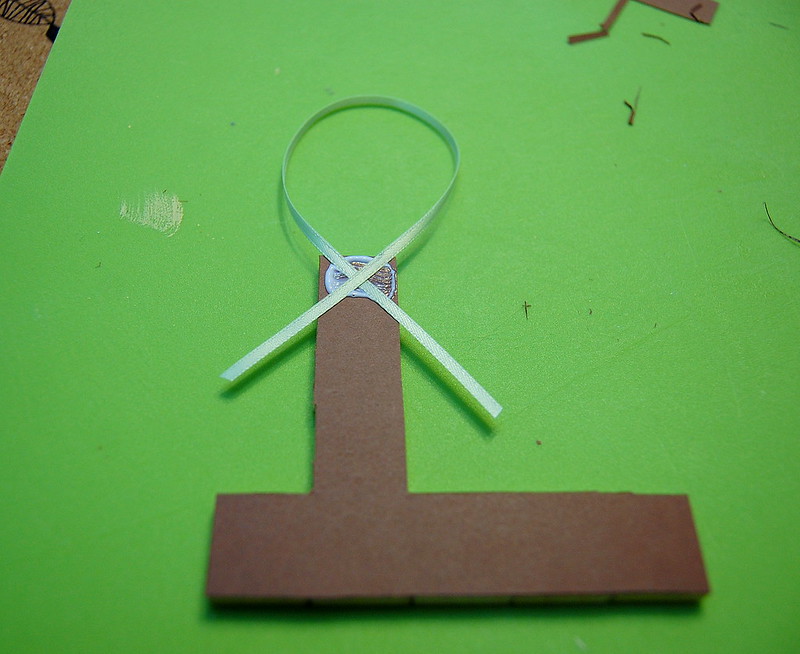


Then to secure the ornament hanger I cut out another piece of card stock and stuck it to the back of the ribbon and ornament; making a ribbon sammich. 
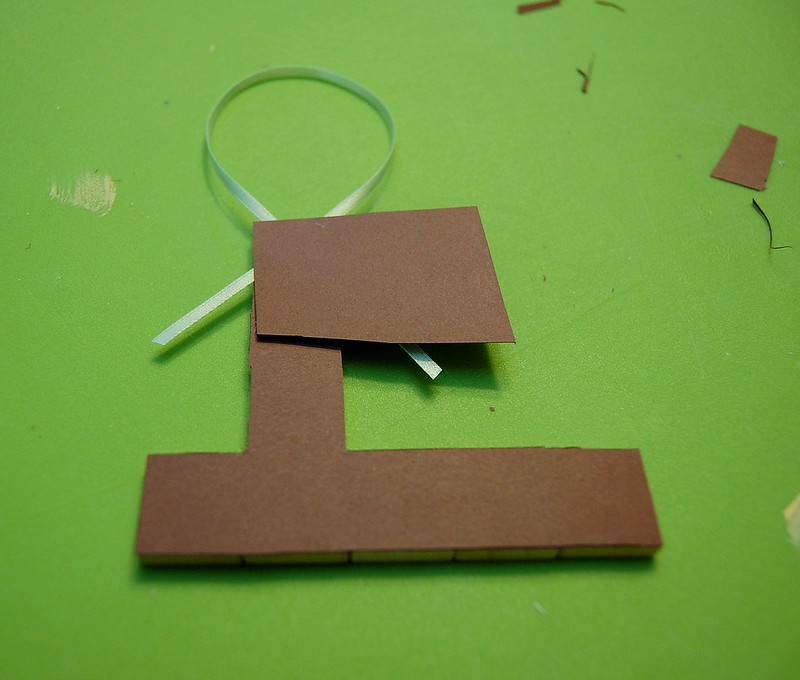

Trimmed off the excess using my razor. 
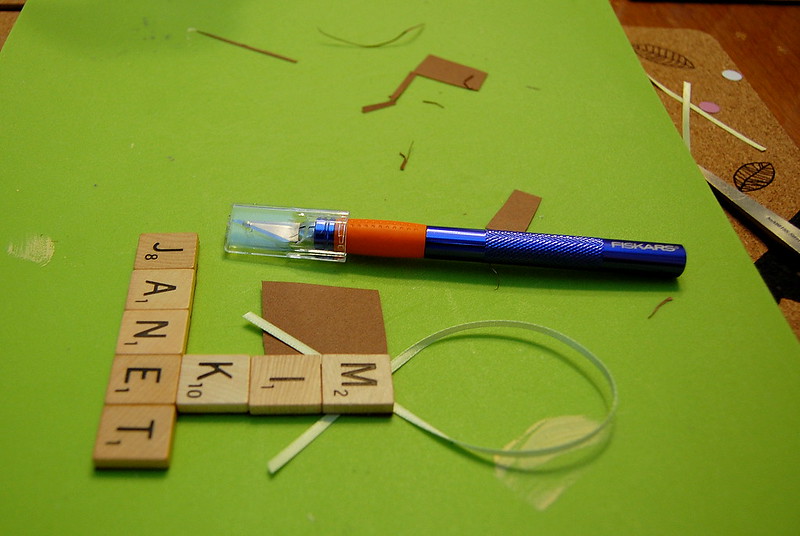


And there you have it! An adorable, personalized, Christmas ornament!
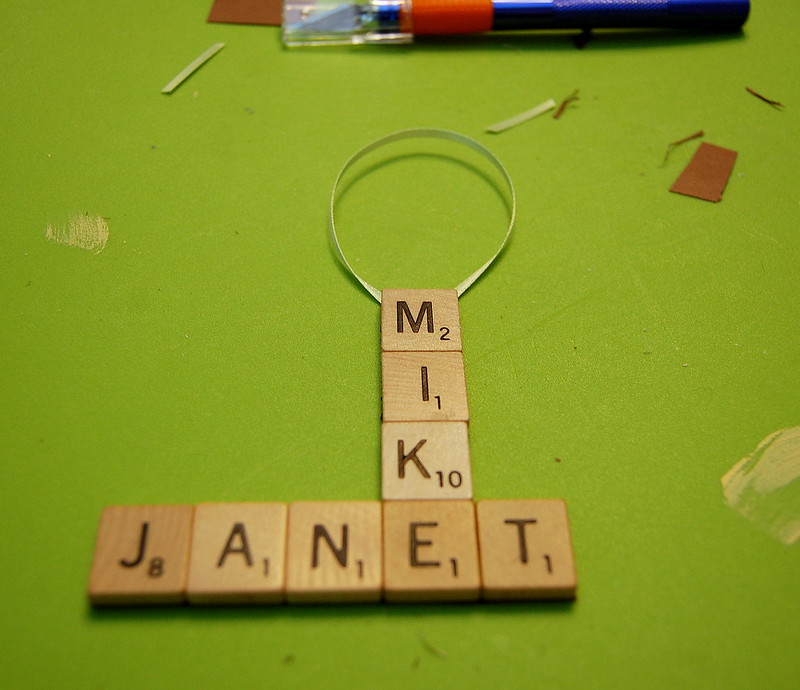


For all you crafty types who are looking for something ridiculously simple, yet awesome, to do with your children for Christmas presents this year, THIS IS IT. Seriously, paper, glue, Scrabble tiles, and some ribbon. That's it. You are only limited by your imagination! 


Have you used Scrabble tiles, or any other game tiles or computer keys to make something personalized? If so, please share in the comments below, I'd LOVE to hear about your projects!


Cheers, 

-Melissa

Wednesday, November 7, 2012

Handmade Harvest - November 3rd & 4th - Almonte Old Town Hall

This weekend past I had the awesome opportunity to do some social media work for Handmade Harvest. 

For those of you who have never experienced a Handmade Harvest, it is emphatically the best craft show in the Ottawa Valley Region. This particular show had over 80 vendors spread out over two days, with over 2000 shoppers perusing and purchasing! 

To get a sense of just how insanely busy it was over the weekend here's the two days condensed into a 45 second video thanks to timelapse technology! 


Also! Apparently the Almonte Bank of Montreal stocked their ATM with $85K on Friday night, and by Sunday it was empty! Jinkies! That's a lot of handmade stuff being purchased! 


Want to know when events are happening, or when calls for vendors go out? You can 'like' Handmade Harvest on Facebook, and you can also follow them on Twitter, which will provide get up to the moment information, and the play-by-play at shows! Also, make sure you're on their mailing list so if you aren't on social media a lot you don't miss any important information.

Here's a link to all the photos I took (and then subsequently tweeted) over the course of the weekend. So many awesome vendors; so many terrifically awesome people! 


I can't wait to live-tweet the next Handmade Harvest (which is rumoured to be happening on December 1st in Carleton Place)! 


Cheers, 

- Melissa

Friday, September 21, 2012

Official Pinter*Mel Project #7: Custom Family Sign in a Floating Frame

The Inspiration: Vinyl Letters in a Floating Frame

The Process: 
I *really* liked the look of this project; a nice framed tribute to your family for the front hall. My brother married his longtime girlfriend last weekend, and as soon as I saw this project I immediately knew that I wanted to make it for them. The Pinterest post explains how to make the letters using vinyl and a Cricut Machine, I don't have one of these, so I did it the old fashioned way; with scrapbook paper and a razor.  I'm hardcore like that. 

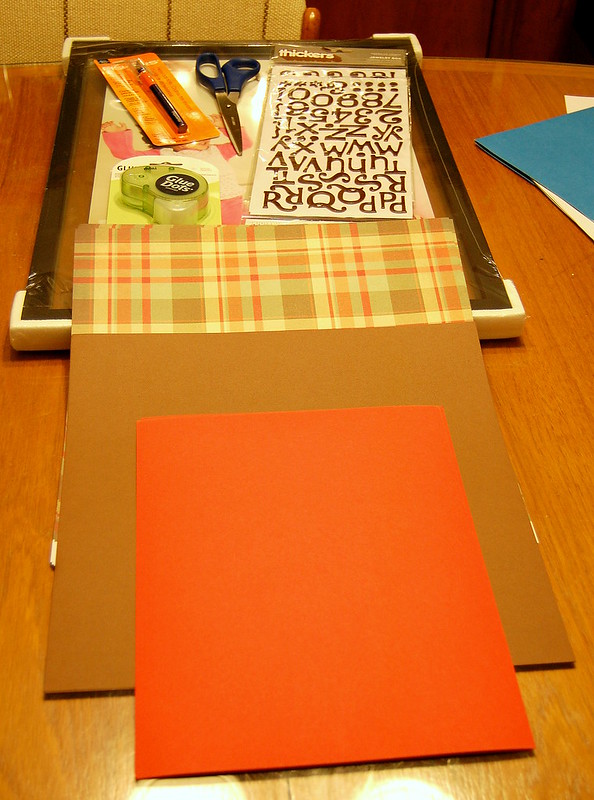
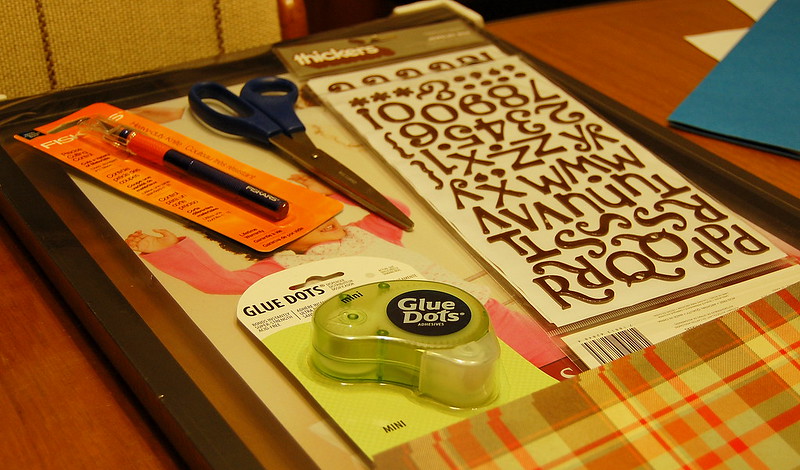
You will need: 
- A floating frame, size of your choice
- A razor blade
- Scrapbook paper x 3-5 pieces, design and colours of your choice
- Glue Dots
- Cutting board
- Scissors
- Mod Podge
- Paint brush
- Letter stickers


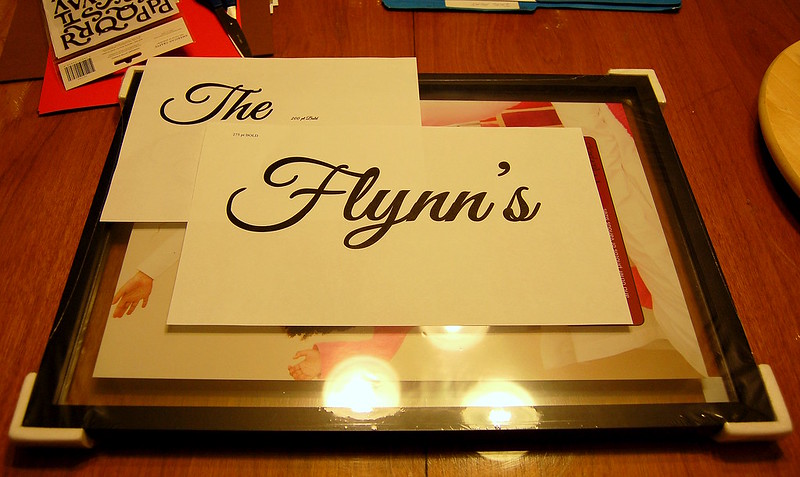
I wasn't able to find stickers big enough and in a font and colour I liked enough to do the "The Flynn's" in, so I went on ye olde internet and sought out a font that would work. 


Here's the size I picked. 


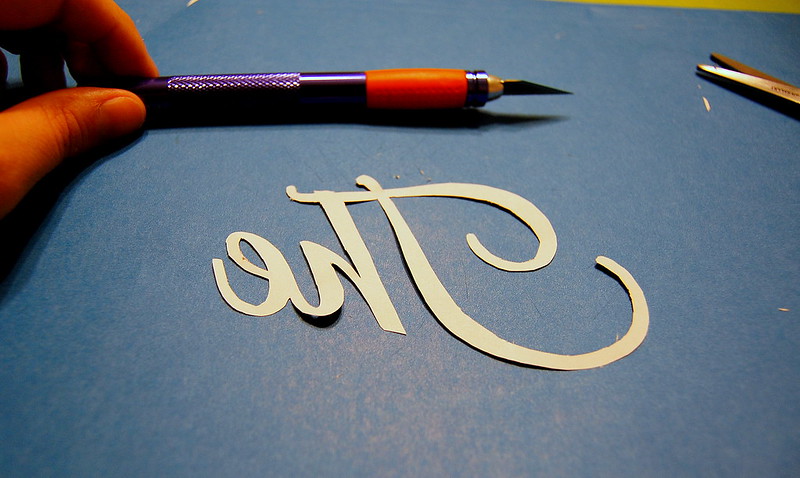
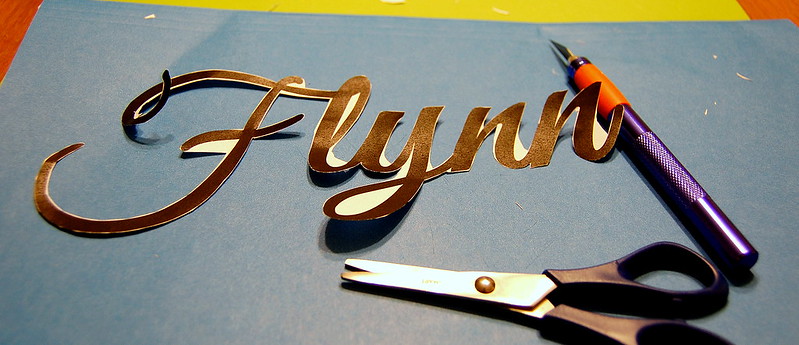
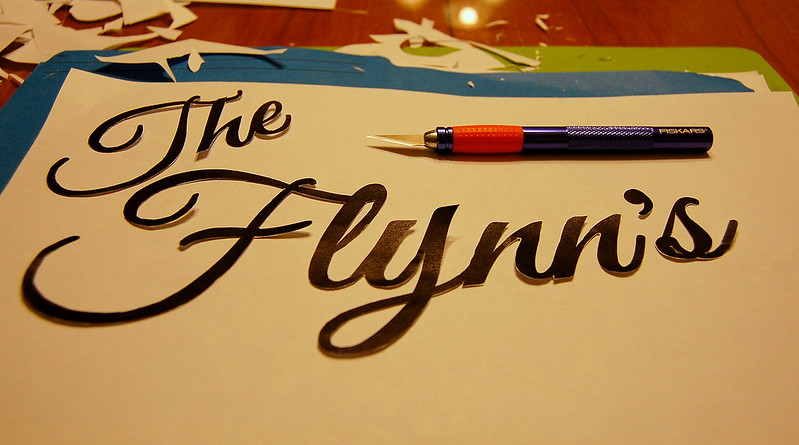
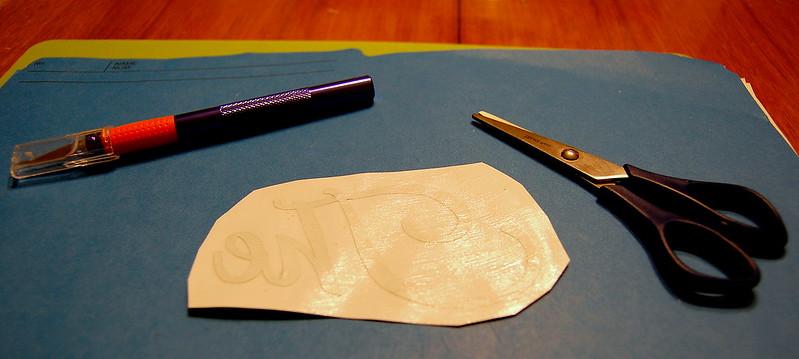
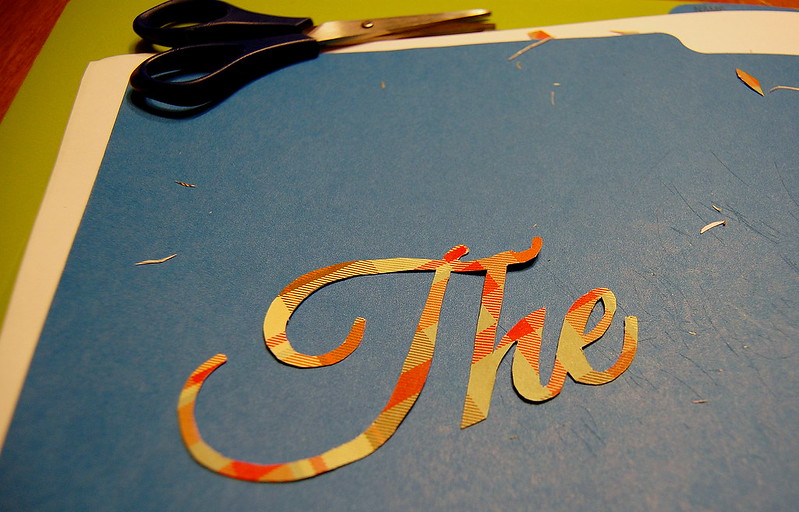
So I printed it out to the size I wanted, and then begun cutting and razoring it out. I recommend cutting as much as you can with scissors, and then doing the finer work with the razor. You'll be a lot less homicidal; trust. 

Fun Fact: Before this project, I had never used a razor for crafty purposes. It's harder than it looks, but once you get the hang of it you'll wonder how you did without! 


Pro Tip: Put the cutting board underneath BEFORE you start using the razor. Your table will thank you. 


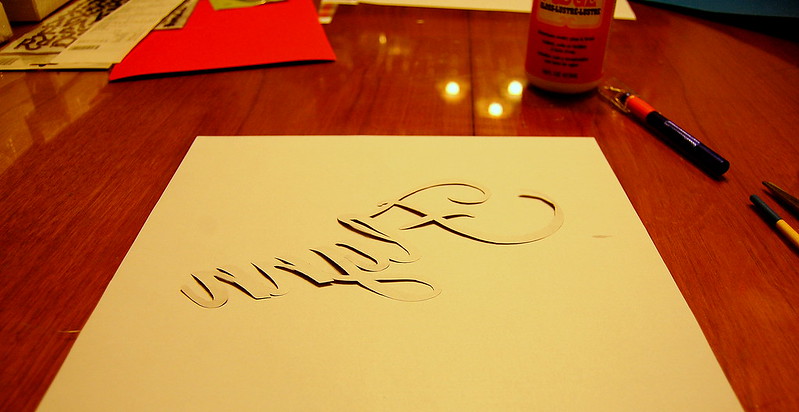
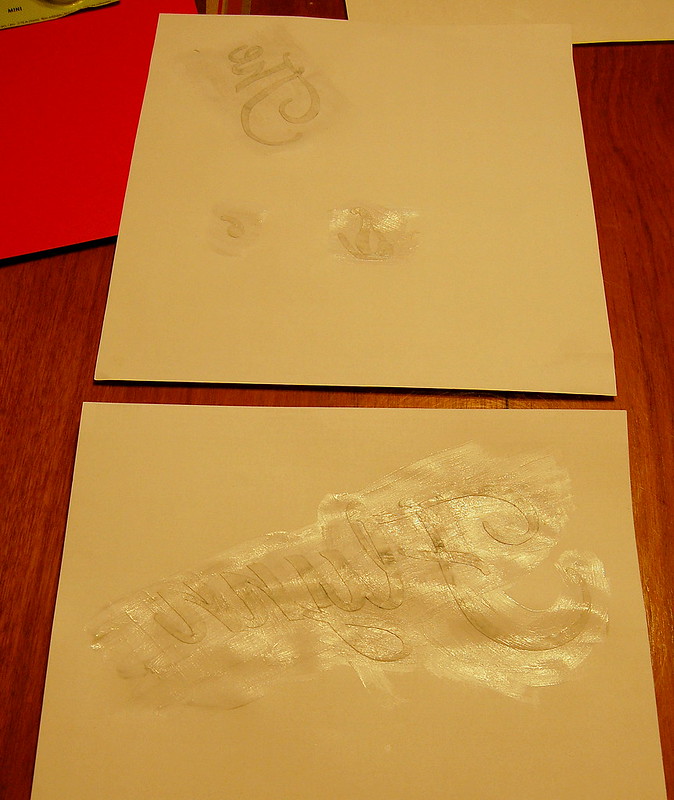
Once you have your "The 'insert your family name here'" cut out, you're going to glue it to the back of the scrapbook paper you chose for it. Make sure you glue it on black ink side down, so that when you cut out the scrapbook paper letters they're the right way. 


Let this dry for a couple hours. Once it's dry you can start cutting the letters out. You want it to be completely dry so that it's a bit stiff.  Just as before, start with scissors and then move to razor for the more intricate bits. 


Now that your letters are complete, grab your frame, and Windex the crap out of the glass until it's clean. You don't want to do it after you've affixed the letters because a) that would be stupid, and b) the Windex will absolutely discolour and ruin your paper. 

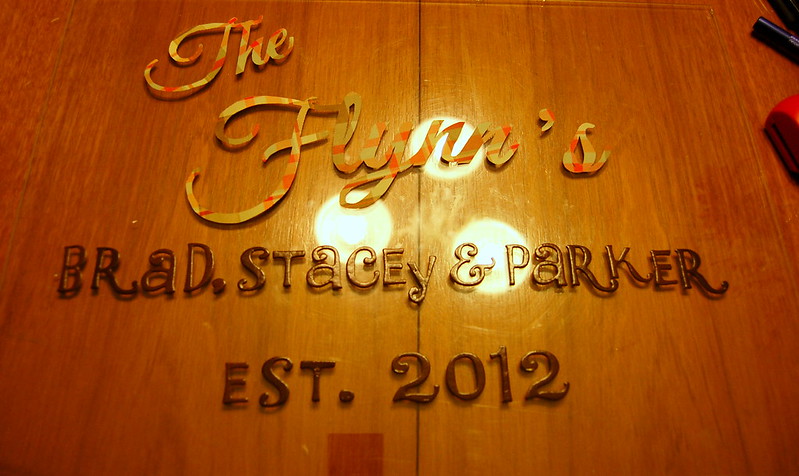
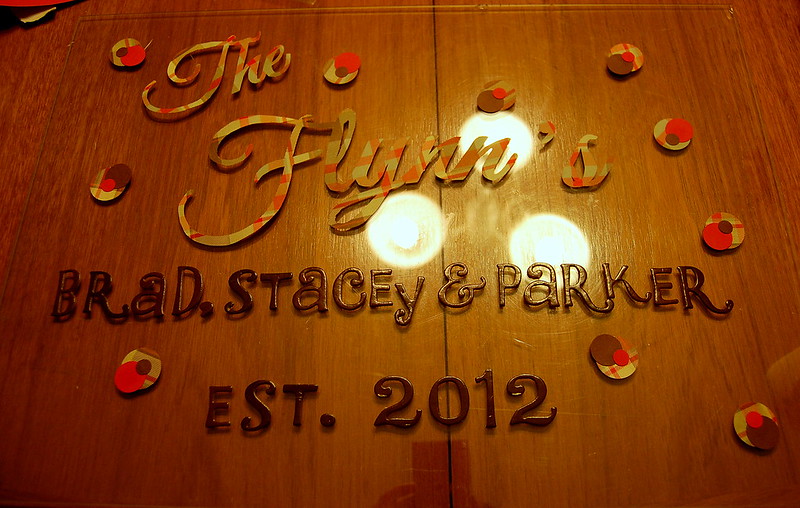
Once you've cleaned the glass in your frame, carefully layout the letters you made trying extra hard to not get fingerprints all over the place,  and lay out the approximate location of the stickers you'll be using for the names of your family members and the est. date. 


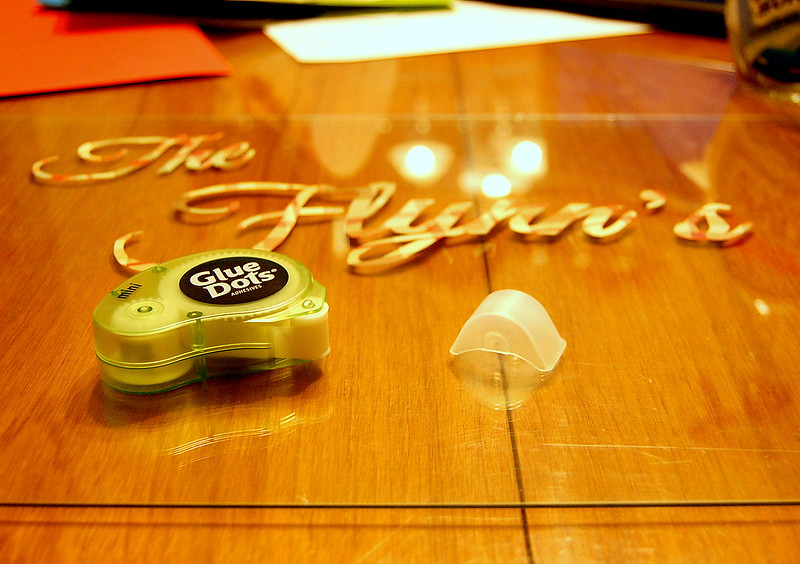
Once you're happy with placement, grab your Glue Dots and start sticking the letters you made on the glass. 


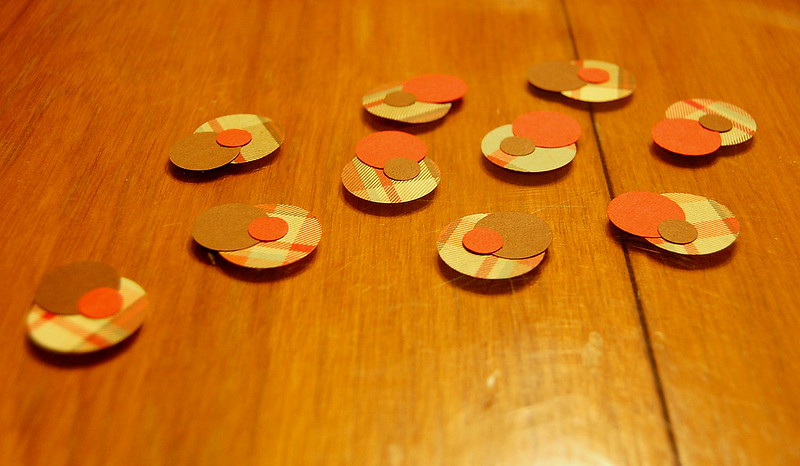
Once you've affixed all the letters (as shown above), you can play around with embellishments if you like. I purchased a few different coordinated colours of scrapbook paper to do this with, and I had some different sized hole punchers from other projects, so I used those too. 


Layout your embellishments on the frame and affix them with a few Glue Dots. 


Author's Note: Sorry about the overhead lighting reflecting. It was late, and my boyfriend and I had watched about 4 episodes of Dog: The Bounty Hunter. I just wanted to go to bed at this point. 

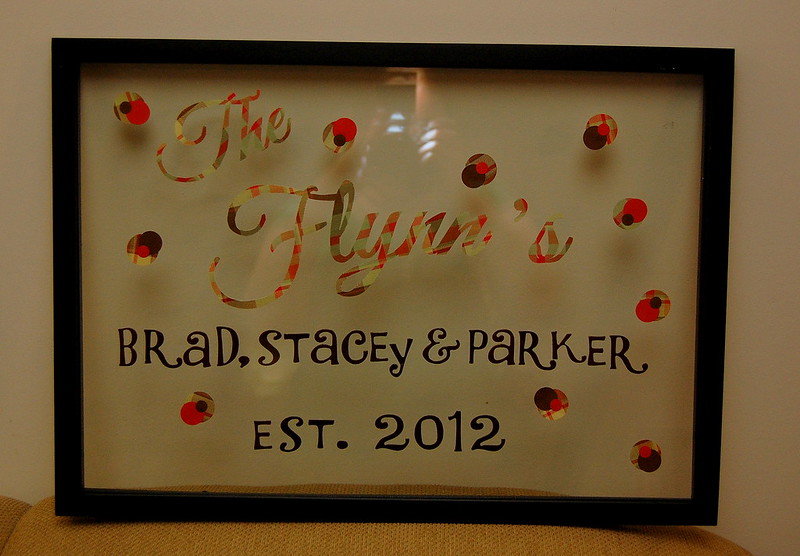
Once you're happy with how things are laid out on the glass, put your frame back together, Windex the outside glass of the frame to rid of any fingerprints, and you're DONE!

Voila! 


It's now ready to be gifted!

I'm not going to go into a detailed breakdown of cost on this project seeing as it was a wedding present. The cost can really fluxuate based on the quality of the floating frame you purchase. Everything I used for this project I purchased at Michael's. 

Have you done a project like this before? How did you do your letters? Did you use a Cricut Machine? Should I prolly just buy one?

Please leave your responses below, or tweet me @PinterMel. 


Cheers, 

-Melissa 
Thursday, September 6, 2012

Official Pinter*Mel Project #6: Melted Bead Suncatchers

The Inspiration: Cheap Beads Melted into Cake Pan Suncatcher

The Process: 

The premise is simple enough; a single layer of beads poured into a cake pan, put in the oven on 400F for 20 minutes. Once cooled, flip out of the pan, drill a hole, string it up with ribbon. Bob's your uncle. 
You will need: 
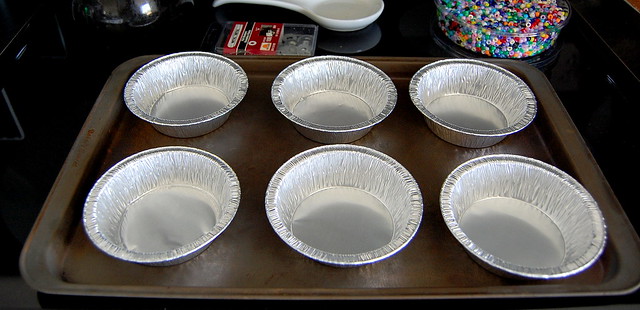
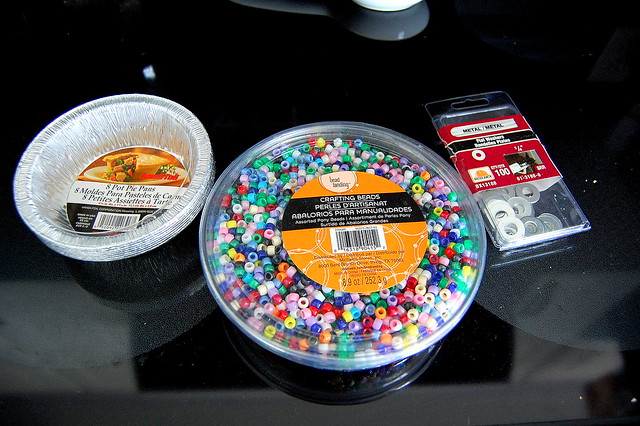
- A cake pan, or disposable tartlet pans from Dollarama
- Cheap beads...emphasis on CHEAP (I'll explain why further down)
- Washers or a drill (whatever your more comfortable wielding)
- Ribbon


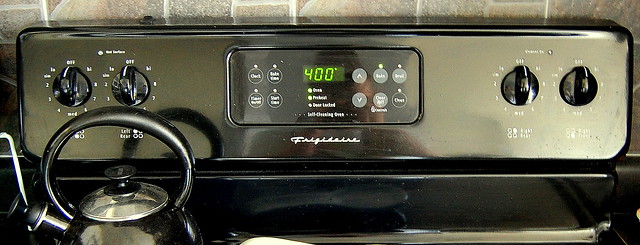
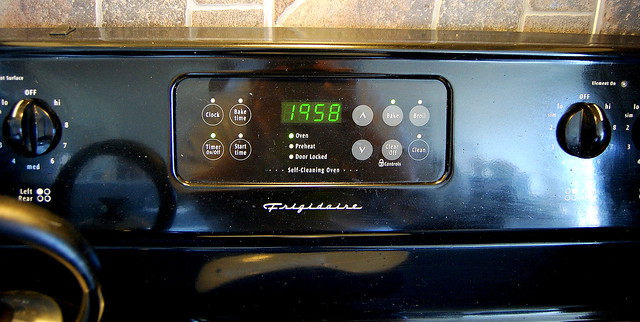
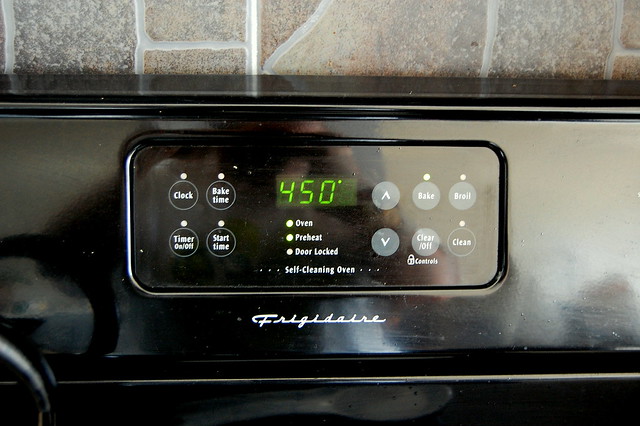
Preheat the oven to 400F.


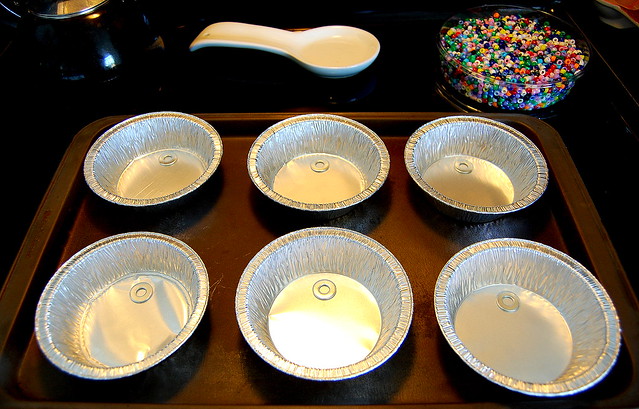
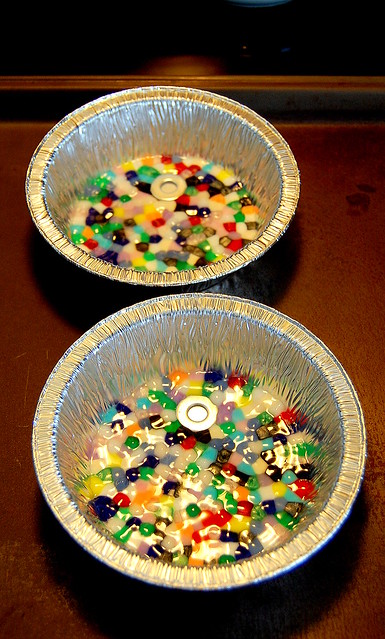
Put the pans on a cookie sheet and drop a washer into each of them. 


At this point I realized that 6 suncatchers was a little overambitious considering I didn't even know if it was going to work. So I pared it down to 2. 

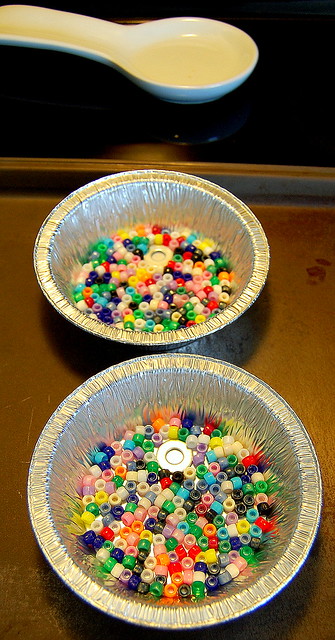
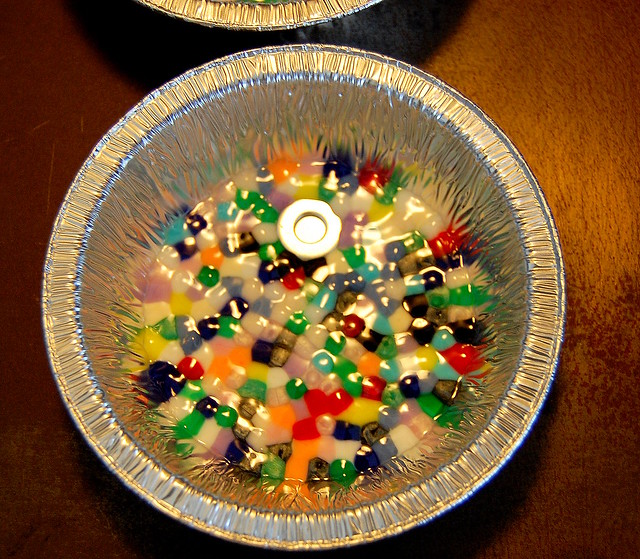
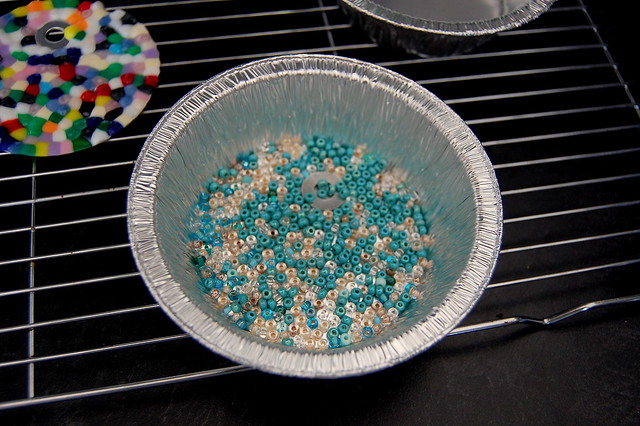
Lay a single layer of cheap beads into the bottom of the tartlet pans. 


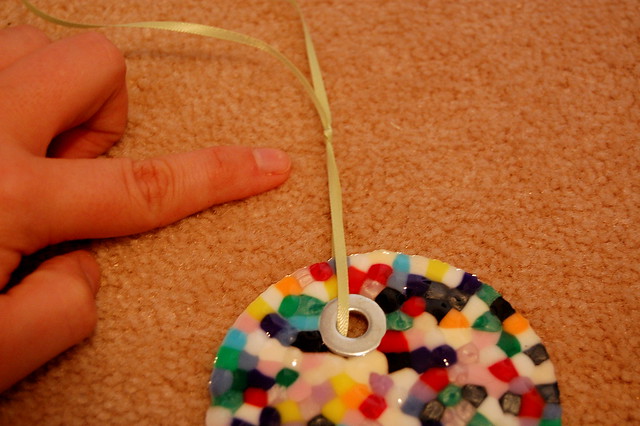
If you're using the washers instead of the drill make sure the beads touch the washer, but don't cover it, you want to be able to thread the ribbon through the hole they provide. 

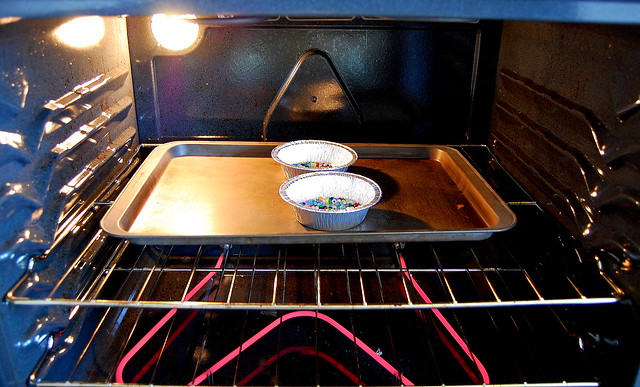
If the oven is finished preheating, throw those suckers in. 


Set the timer for 20 minutes. (I wasn't fast enough with the camera on this one.)


Also, make sure to turn your hood fan on to at least low. It's not really stinky, but it definitely lets off a little odour. 


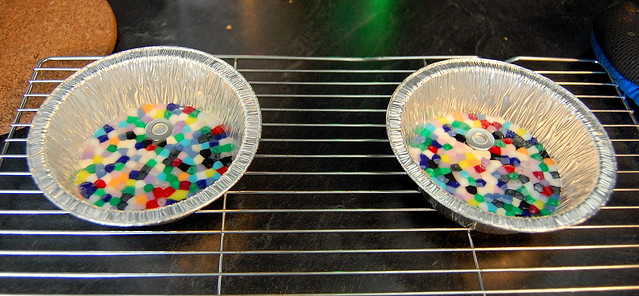
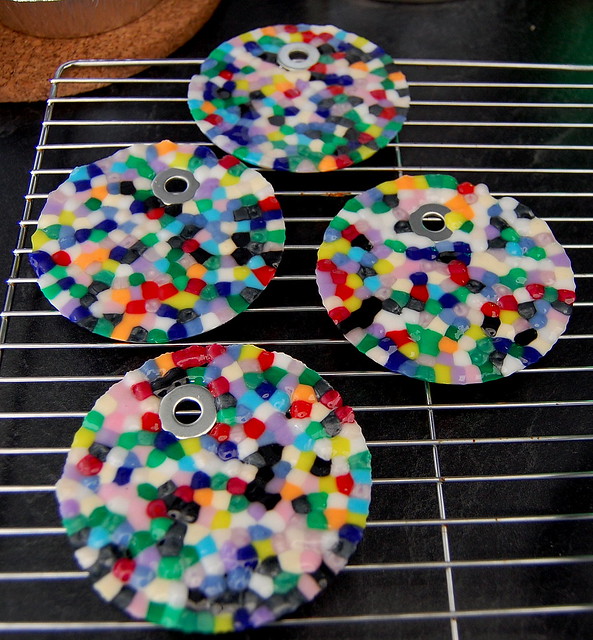
After 20 minutes they should be melted and ready to come out. 


They should take about 10-15 minutes to cool down enough to flip out of the pans. 


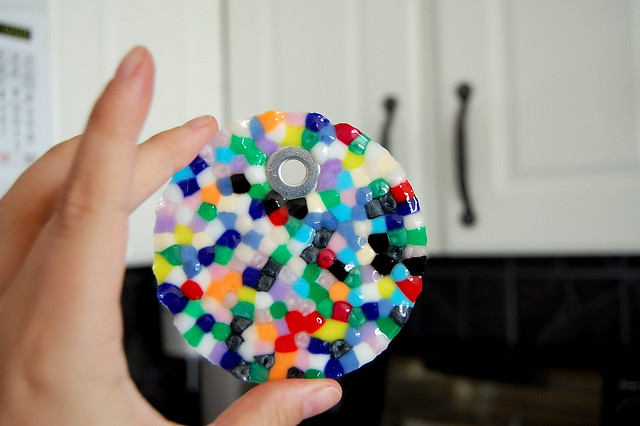
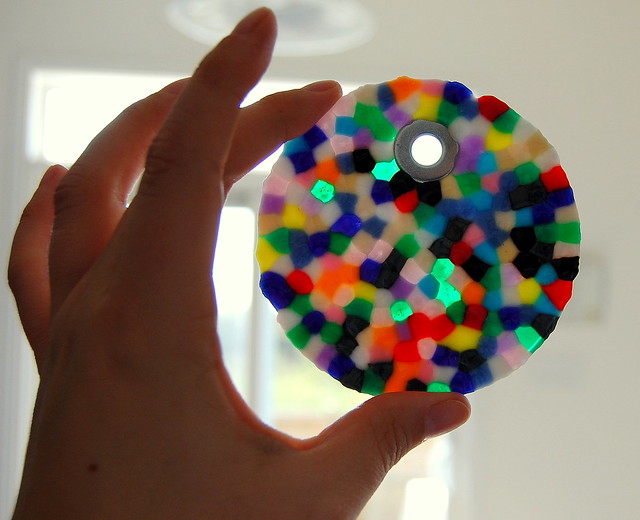
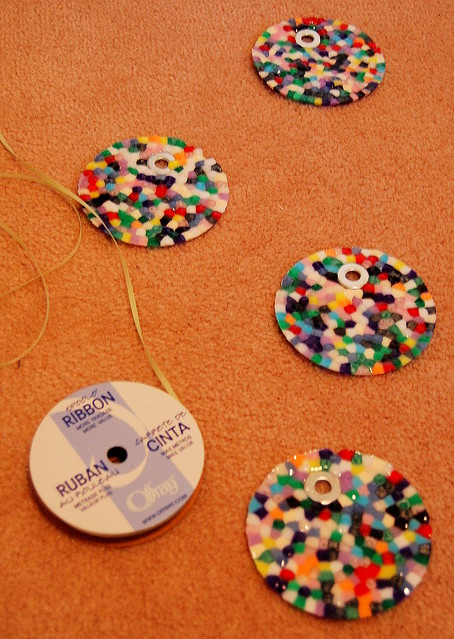
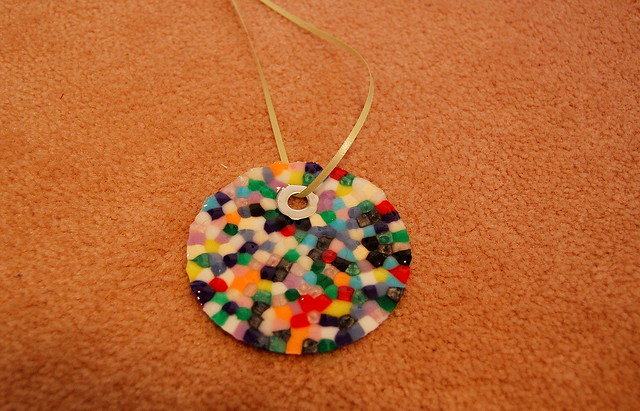
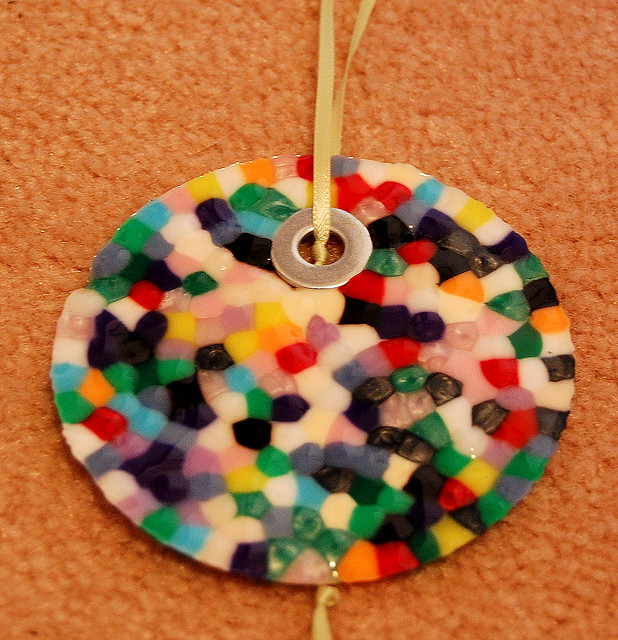
Hrmmmm, a little opaque, but they melted really well.

At this point I grabbed my jewellry making supplies because I had some great beads from the Sassy Bead Company that I thought would work GREAT as a suncatcher. 


The blue ones are the expensive ones that I used...I also decided to make two more of the cheap bead ones. 

So I put the expensive blue ones in the over on 400F for 20 minutes just like the cheap ones. 
20 minutes later I took them out...


Okay, I thought, they're expensive, maybe their expensiveness means they need more heat. 


Waited another 20 minutes and took them out...


Still nothing. 

Then it dawned on me. They're made of FRICKIN' GLASS. They aren't going to melt unless I have a frickin' kiln. DERP!!!

Still have four mostly opaque (non) suncatchers though! 


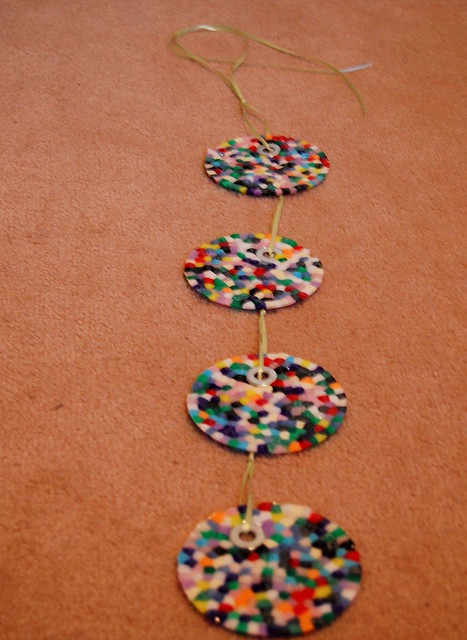
Instead of hanging each one of them individually, I decided to hang them in a vertical mobile-type thingy using a series of carefully placed knots. 


And the finished product...


Total Approximate Cost: Beads - $6, Washers - $3, Ribbon - $3. Total = $12
It's worth noting that I still have at least 12-15 suncatchers-worth of beads left, and at least 20+ washers. 

Have you done a project like this before? What variations did you find worked best? Please comment below, or tweet me @PinterMel. 


Cheers, 

- Melissa