Showing posts with label Personalized. Show all posts

Monday, December 10, 2012

Pinter*Mel Christmas 2012 - SPOILER ALERT FOR FAMILY

Hey Everyone (except for family, because if you're reading this, then the presents currently sitting under the tree from me are no longer a surprise...however they might not be already because I've been posting quite a bit of stuff to Facebook, in which case, carry on.)

This year for all the ladies in the family I decided to make my own version of the natural beauty box; a box full of lotions, lip balms, bath bombs, and linen spray all made by yours truly and only using all-natural ingredients. 

I purchased all I would need to make these back in early October from a great online retailer called Savon Populaire out of Montreal. Yes their website it completely in French, however if you're using Google Chrome their translate button will help you out. 

Here's the numbers I started out working with:


First of all I went to the Dollar Store and picked up some nifty little wooden boxes, which I proceeded to paint with watered down acrylic paint (acts like a stain so you can still see the wood grain), and then sealed with Polycrylic. 


Then I started into making lip balms. I used the kit from Savon Populaire, and purchased their vanilla flavouring. I found that the flavouring was lacking in the vanilla'y department, so I added the vanilla I had purchased for making bath bombs. I also made lip balms that are flavoured with the orange essential oil, and then another set with the peppermint essential oil that I also purchased from Savon Populaire. 

(Sorry for the abysmal lighting, I took this with my smart phone during sunset.)


This was stupidly easy. Seriously. If you ever want to do this with your kid as a birthday party favour or something, they could totally do this with your supervision of course...because there's a stove and boiling water involved. Okay, upon review this might not be the safest thing to do...iirc I think I ended up burning myself. Forget what I said. 


Then, once they were cool and set, I minimalistically labelled them. Orange for the orange flavour, green for peppermint, and yellow for vanilla. The labels are basic shipping labels with Sharpie paint marker paint. 


After that I decided to make Christmas cards because a) stationary was on for $1.50 at Michael's, and b) stamps were on 40% off, and then were on 'buy one, get one for a cent' sale!


I had initially done the entire inside of the card in the hand-stamped letters; "To So and So, Merry Christmas, Love Evan and Melissa xoxo". However when I showed it to my fiancĂ© he said it looked a wee bit ransom-note'ish, so I decided to just go with Merry Christmas and write the rest. 

Those were all sent out today...so if you're family and reading this, the surprise is now ruined. You'll get your card in 2-3 business days. 


On to the body butter. I made this from a kit from Savon Populaire as well. I made two different kinds; one was lavender/lime and the other was a scent called "Day at the Beach", which is a combination of grapefruit, bergamot, and coconut. 

Wine was needed. 


This was also stupidly easy. It's impossible to mess it up. You melt the stuff they give you, add the scent, and then load it into the containers. Wait for it to cool/harden, then close'em up, wipe'em off, and label'em. 


On to bath bombs. I made 5 different kinds this year. Vanilla, Day at the Beach, Lavender/lime, Lavender/chamomile, and then straight up orange for the littles. 


I packaged them all in individual cellophane packages with hand-stamped labels. 


And finally, I did the linen spray. Which is really just water, witch hazel, and the essential oil of your choice. I did 3 kinds; orange, lavender, and vanilla. 


That's it! Done. Not so bad, eh?  

I'm not going to show you the packaged up version, because there has to be some holiday surprise! But needless to say all of the stuff went into each person's painted box with a list of all the ingredients in each product. 

So that's it! All the ladies are done for Christmas! DIY styles! 


What presents did you DIY this year?


Cheers, 

Melissa

Friday, November 23, 2012

Official Pinter*Mel Project #10 - Fun with Vintage Scrabble Tiles

First and foremost, I'm sorry I've been kinda out of the craft blogging loop for the past couple weeks, BUT.....


WAIT FOR IT.....
.
.
.
.
.
.
I GOT ENGAGED!!! 

So now all that creepy wedding pinning I do on Pinterest can be for real!!! Yay!!! So expect this blog to take a DIY Wedding turn come January 2013. 


Anyways, back to the craft at hand. 

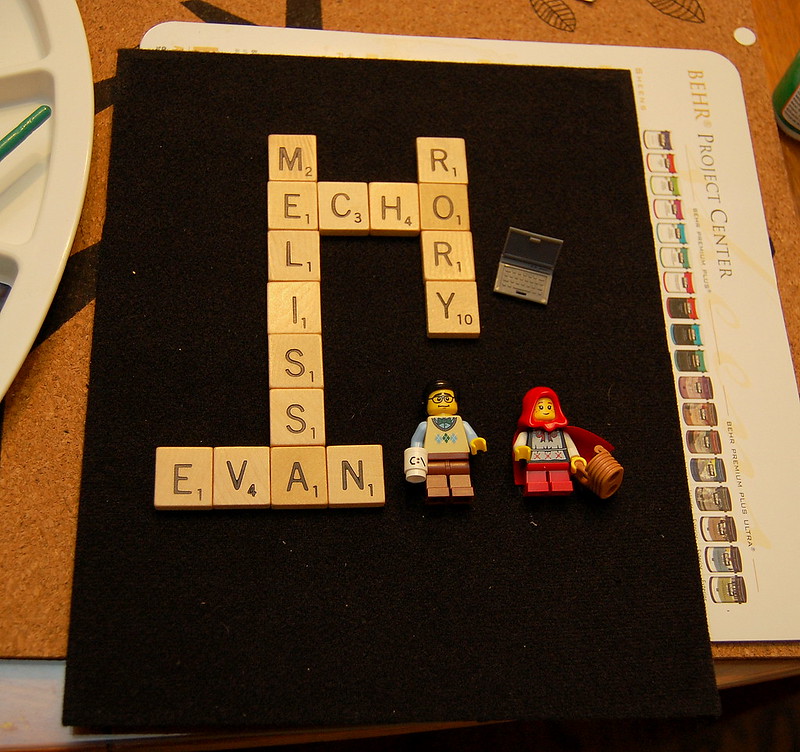
The Inspiration: Scrabble Tile Family Signs


First thing I did was hit up eBay for a killer deal on 500 vintage Scrabble tiles. Bonus; they were from Quebec, so a) I didn't wait 2+ weeks for them, and b) I didn't get hosed by US shipping. 


Then once I picked out all the tiles for the Scrabble tile family signs (which was more painstaking that you think, Y's are few and far between and extremely popular in pretty much all names), I moseyed over to my local purveyor of shadow boxes and emptied their stock (and for the record, they're still out). 


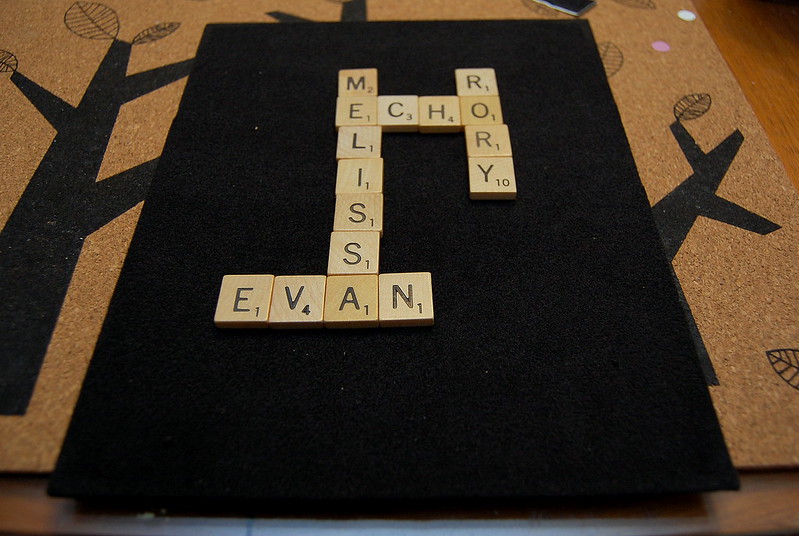
Then I laid out the Scrabble tiles on the matting and centre them as much as possible so it doesn't look lopsided. 


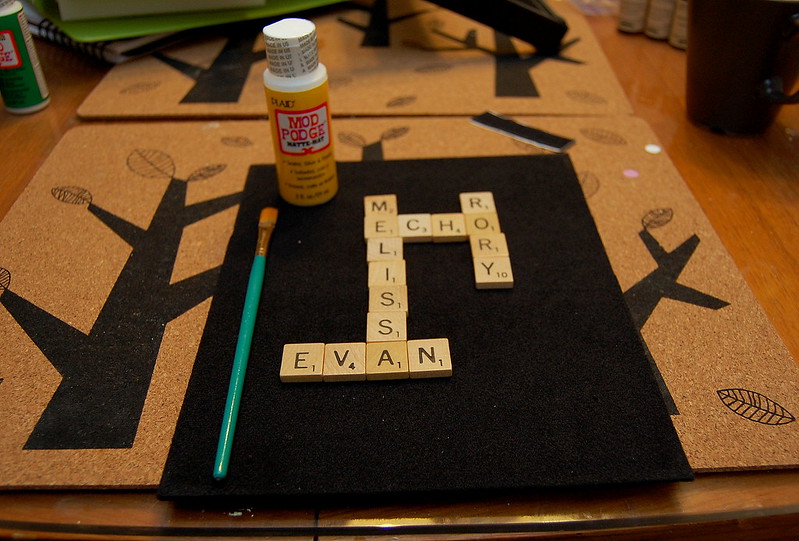
Once satisfied with placement, I used Mod Podge Matte to affix the tiles to the matting. 


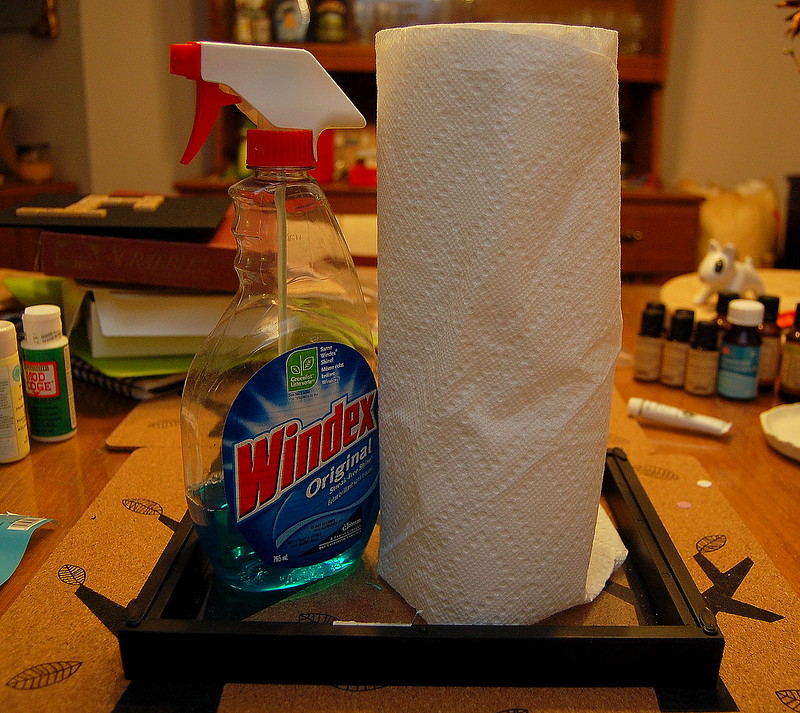
While waiting for the tiles to finish drying, I Windexed the crap out of the glass. 


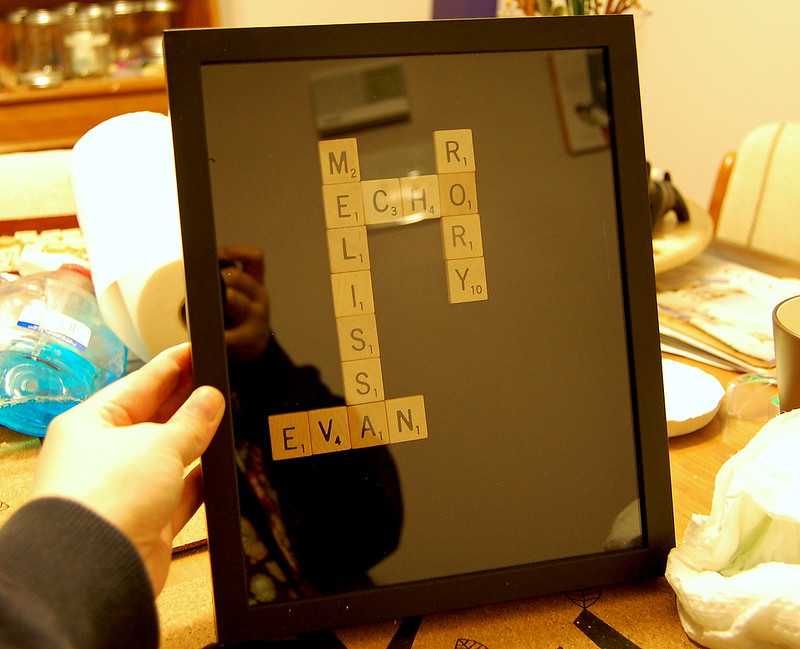
Then popped the matting back into the shadow box and voila! 


But wait, there's all that blank space in the bottom right-hand corner, something needs to go there...something both my fiancé and I love....

LEGO!!!


I used Glue Dots and Mod Podge Outdoor to get these Minifigs to stay put. 


Yay!!! Much better. 

My parents came up to Ottawa the day after we got engaged, so I decided to make them a Christmas ornament. 

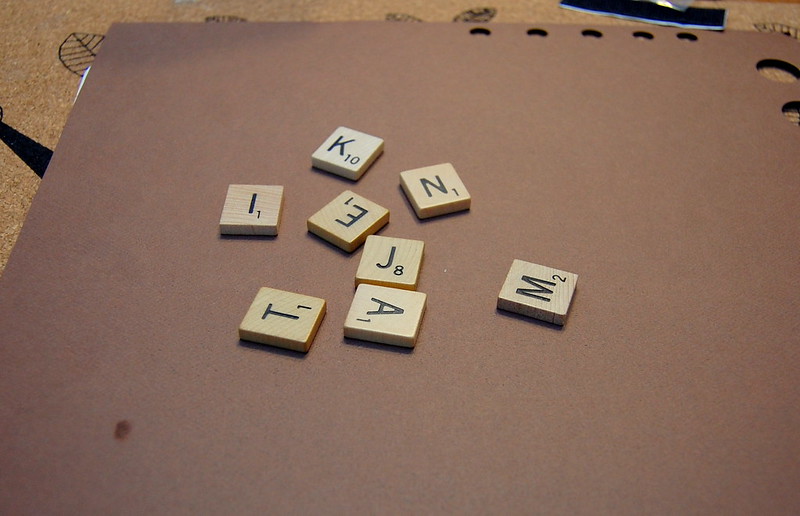
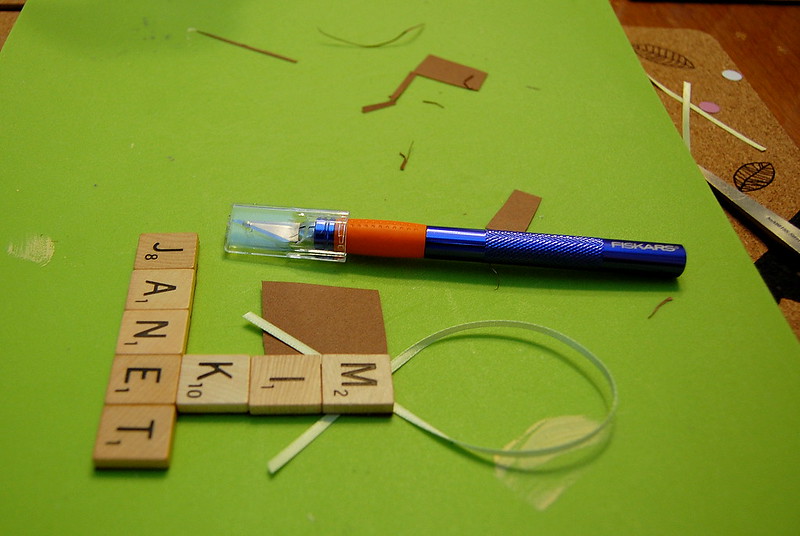
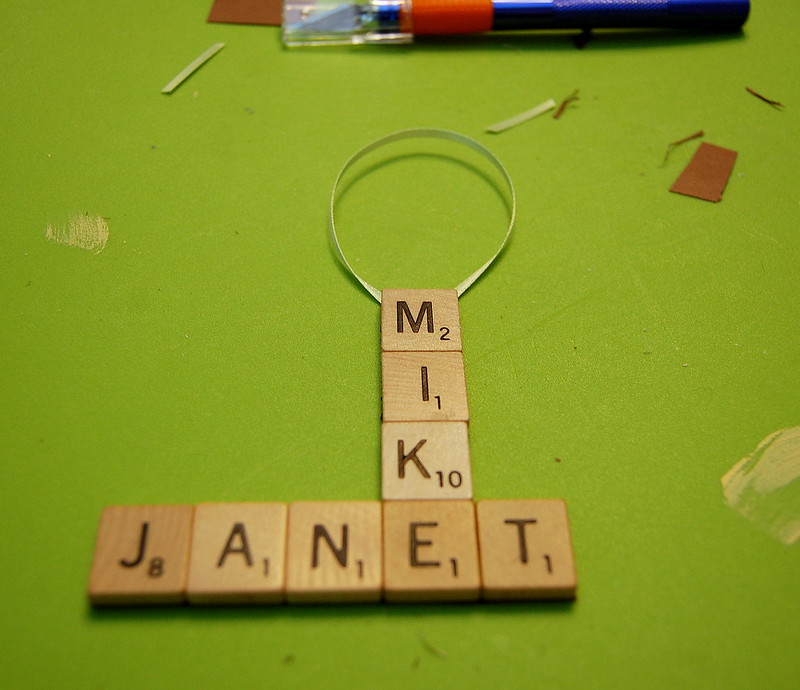
First I dug out the letters. J, also difficult to find! 


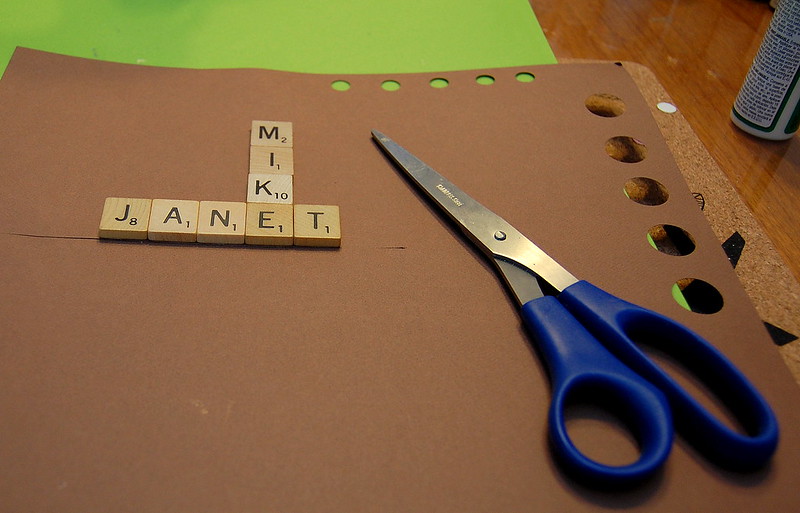
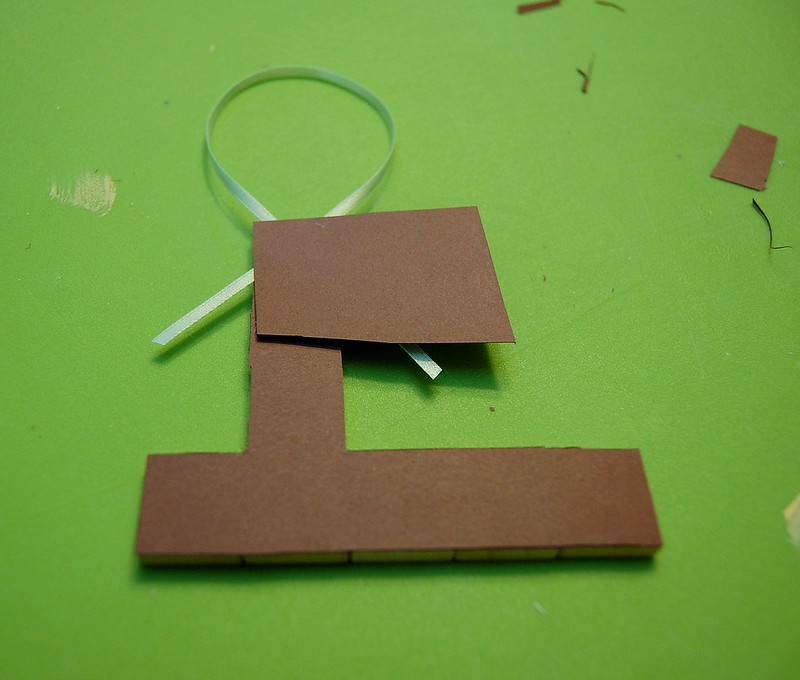
Then I glued them to a piece of card stock using Mod Podge Matte. 


After they were completely dry I cut them out using plain ole scissors, and my razor to get in the edges. 


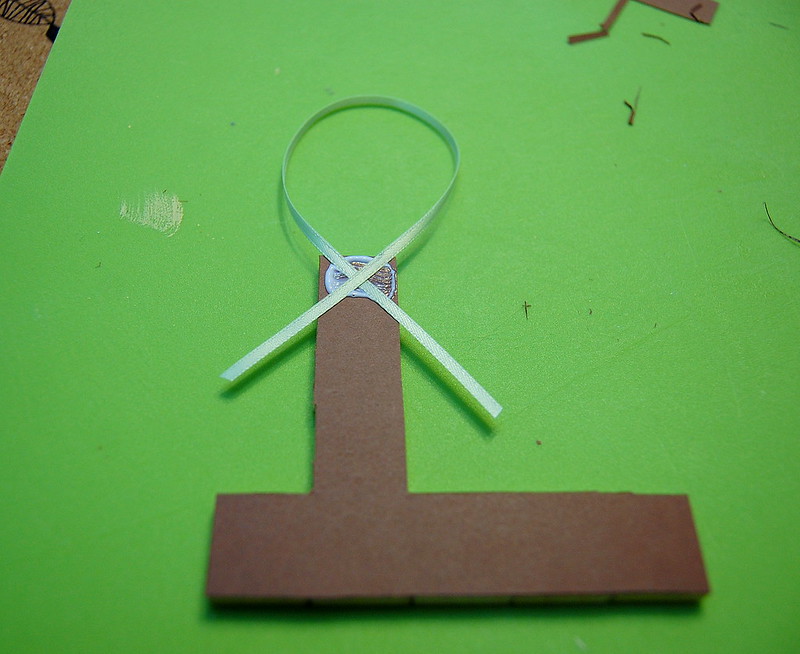
I used a piece of ribbon for the ornament hanger. Cut a piece long enough to fit around a tree branch, glued it down in a criss-cross on the back of the ornament. 


Then to secure the ornament hanger I cut out another piece of card stock and stuck it to the back of the ribbon and ornament; making a ribbon sammich. 


Trimmed off the excess using my razor. 


And there you have it! An adorable, personalized, Christmas ornament!


For all you crafty types who are looking for something ridiculously simple, yet awesome, to do with your children for Christmas presents this year, THIS IS IT. Seriously, paper, glue, Scrabble tiles, and some ribbon. That's it. You are only limited by your imagination! 


Have you used Scrabble tiles, or any other game tiles or computer keys to make something personalized? If so, please share in the comments below, I'd LOVE to hear about your projects!


Cheers, 

-Melissa
Friday, September 21, 2012

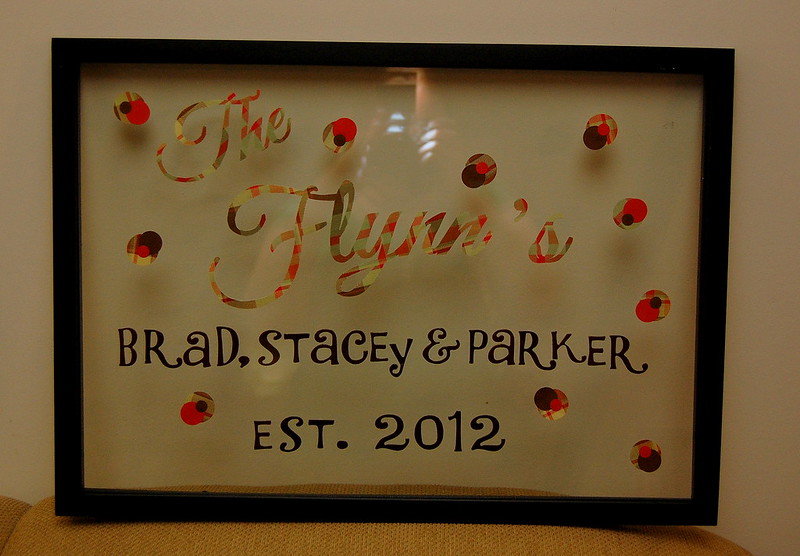
Official Pinter*Mel Project #7: Custom Family Sign in a Floating Frame

The Inspiration: Vinyl Letters in a Floating Frame

The Process: 
I *really* liked the look of this project; a nice framed tribute to your family for the front hall. My brother married his longtime girlfriend last weekend, and as soon as I saw this project I immediately knew that I wanted to make it for them. The Pinterest post explains how to make the letters using vinyl and a Cricut Machine, I don't have one of these, so I did it the old fashioned way; with scrapbook paper and a razor.  I'm hardcore like that. 

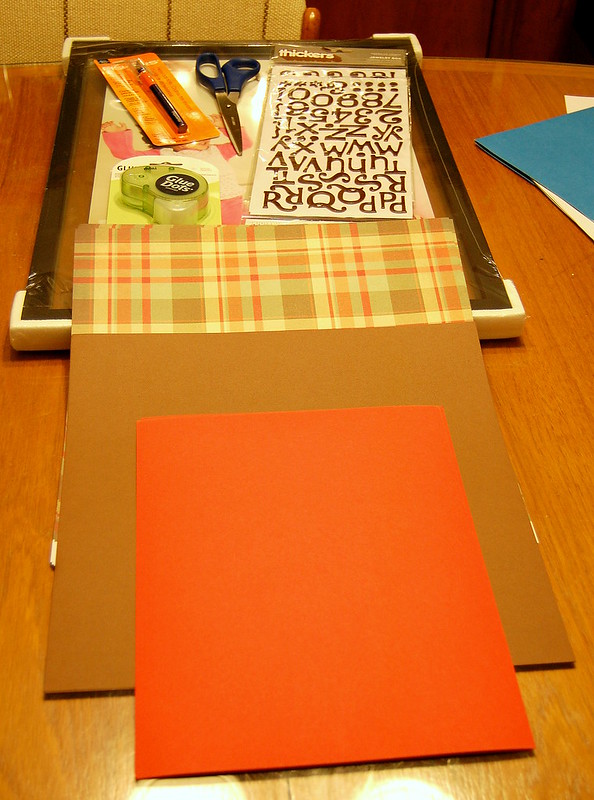
You will need: 
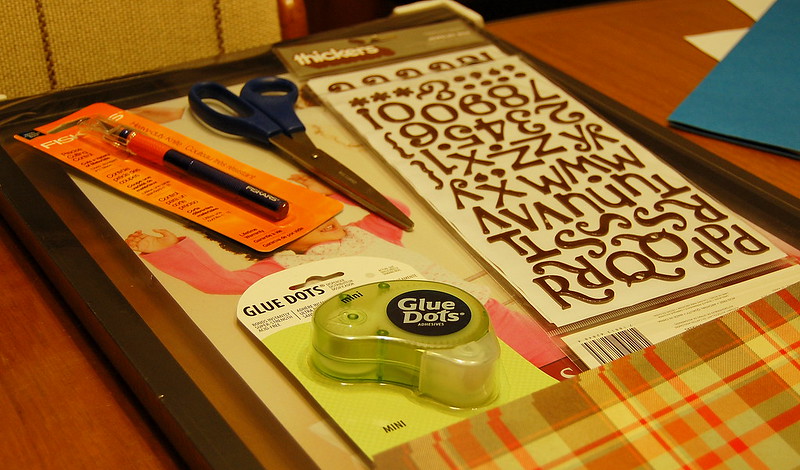
- A floating frame, size of your choice
- A razor blade
- Scrapbook paper x 3-5 pieces, design and colours of your choice
- Glue Dots
- Cutting board
- Scissors
- Mod Podge
- Paint brush
- Letter stickers


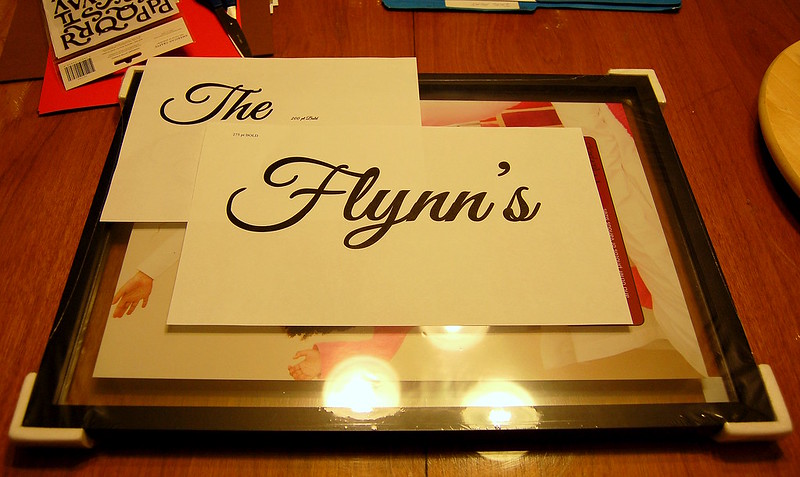
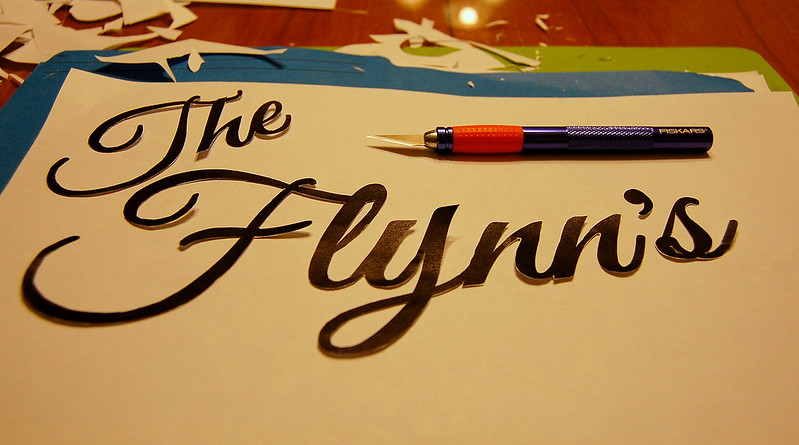
I wasn't able to find stickers big enough and in a font and colour I liked enough to do the "The Flynn's" in, so I went on ye olde internet and sought out a font that would work. 


Here's the size I picked. 


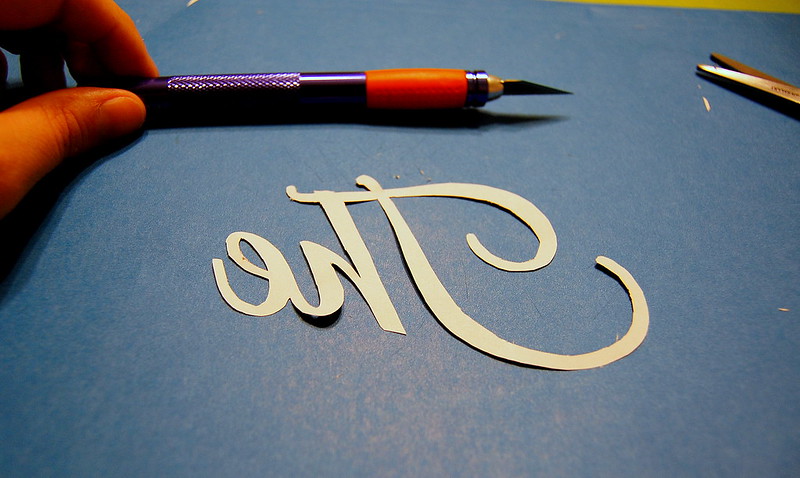
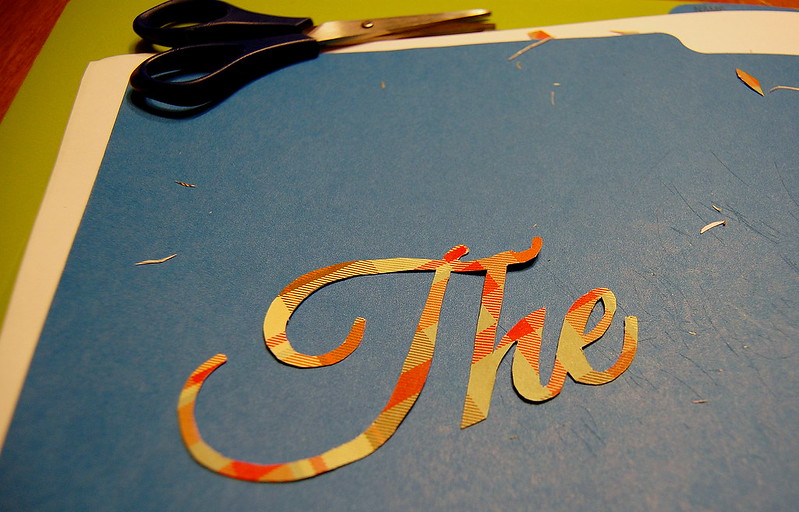
So I printed it out to the size I wanted, and then begun cutting and razoring it out. I recommend cutting as much as you can with scissors, and then doing the finer work with the razor. You'll be a lot less homicidal; trust. 

Fun Fact: Before this project, I had never used a razor for crafty purposes. It's harder than it looks, but once you get the hang of it you'll wonder how you did without! 


Pro Tip: Put the cutting board underneath BEFORE you start using the razor. Your table will thank you. 


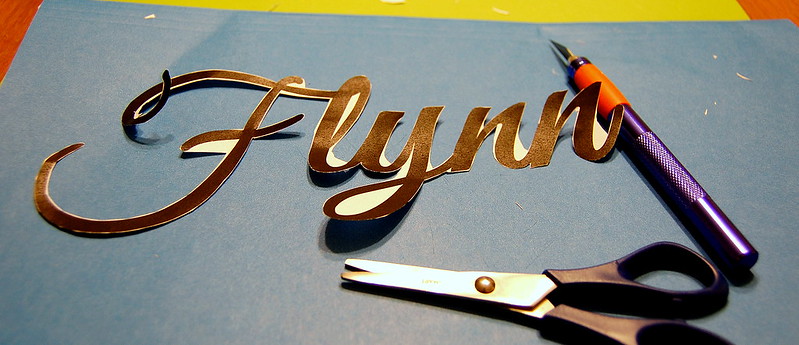
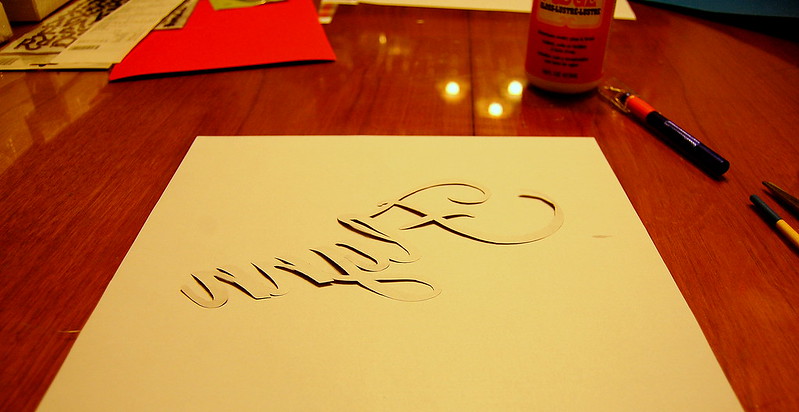
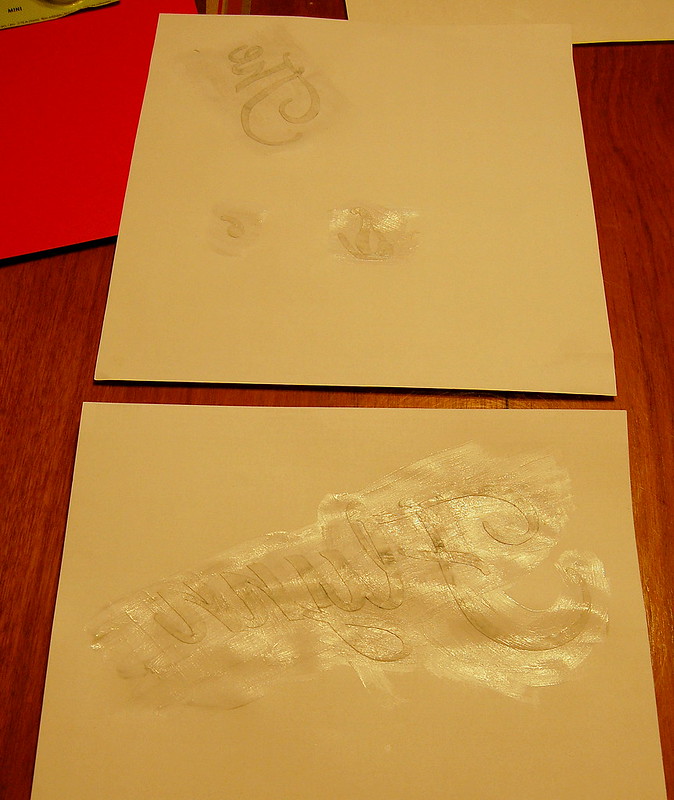
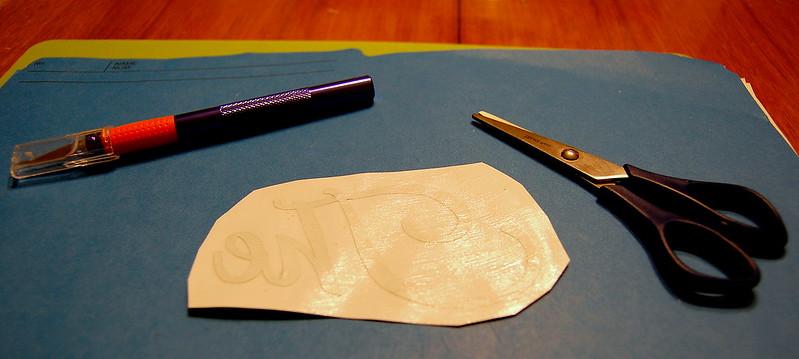
Once you have your "The 'insert your family name here'" cut out, you're going to glue it to the back of the scrapbook paper you chose for it. Make sure you glue it on black ink side down, so that when you cut out the scrapbook paper letters they're the right way. 


Let this dry for a couple hours. Once it's dry you can start cutting the letters out. You want it to be completely dry so that it's a bit stiff.  Just as before, start with scissors and then move to razor for the more intricate bits. 


Now that your letters are complete, grab your frame, and Windex the crap out of the glass until it's clean. You don't want to do it after you've affixed the letters because a) that would be stupid, and b) the Windex will absolutely discolour and ruin your paper. 

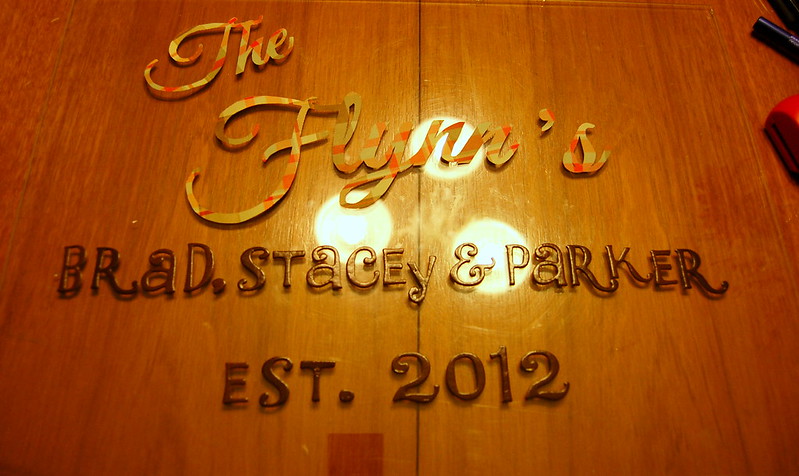
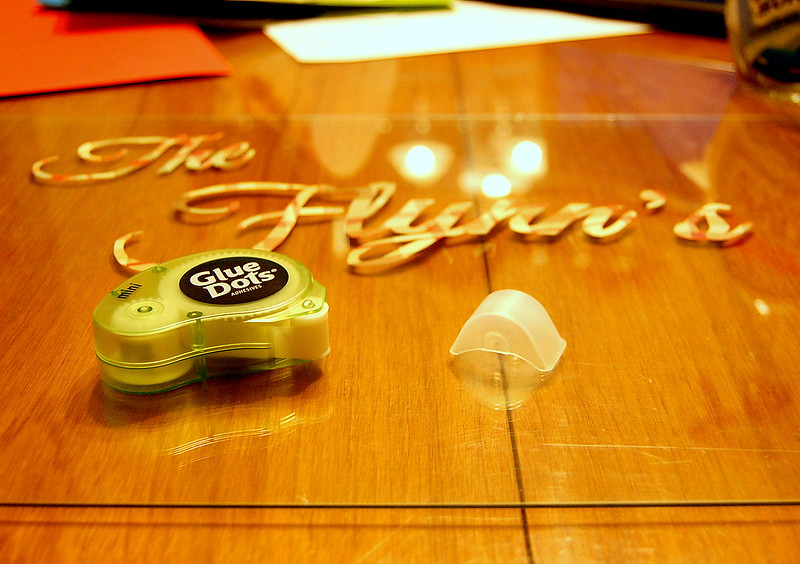
Once you've cleaned the glass in your frame, carefully layout the letters you made trying extra hard to not get fingerprints all over the place,  and lay out the approximate location of the stickers you'll be using for the names of your family members and the est. date. 


Once you're happy with placement, grab your Glue Dots and start sticking the letters you made on the glass. 


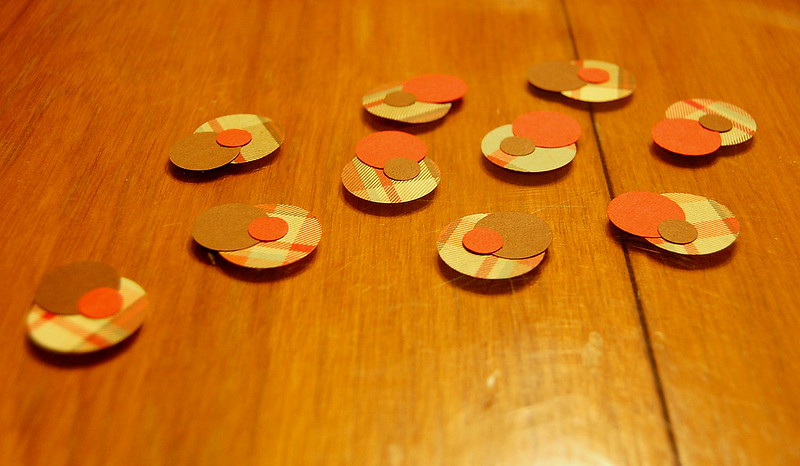
Once you've affixed all the letters (as shown above), you can play around with embellishments if you like. I purchased a few different coordinated colours of scrapbook paper to do this with, and I had some different sized hole punchers from other projects, so I used those too. 


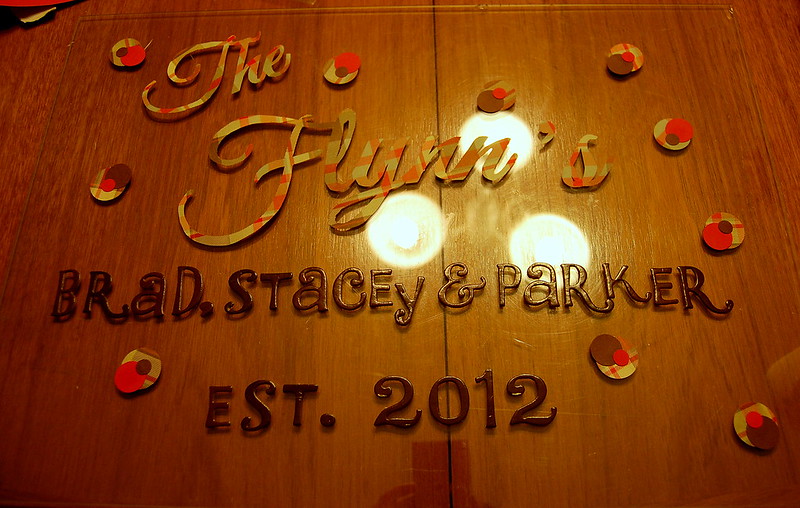
Layout your embellishments on the frame and affix them with a few Glue Dots. 


Author's Note: Sorry about the overhead lighting reflecting. It was late, and my boyfriend and I had watched about 4 episodes of Dog: The Bounty Hunter. I just wanted to go to bed at this point. 

Once you're happy with how things are laid out on the glass, put your frame back together, Windex the outside glass of the frame to rid of any fingerprints, and you're DONE!

Voila! 


It's now ready to be gifted!

I'm not going to go into a detailed breakdown of cost on this project seeing as it was a wedding present. The cost can really fluxuate based on the quality of the floating frame you purchase. Everything I used for this project I purchased at Michael's. 

Have you done a project like this before? How did you do your letters? Did you use a Cricut Machine? Should I prolly just buy one?

Please leave your responses below, or tweet me @PinterMel. 


Cheers, 

-Melissa