Showing posts with label Stamps. Show all posts

Monday, December 10, 2012

Pinter*Mel Christmas 2012 - SPOILER ALERT FOR FAMILY

Hey Everyone (except for family, because if you're reading this, then the presents currently sitting under the tree from me are no longer a surprise...however they might not be already because I've been posting quite a bit of stuff to Facebook, in which case, carry on.)

This year for all the ladies in the family I decided to make my own version of the natural beauty box; a box full of lotions, lip balms, bath bombs, and linen spray all made by yours truly and only using all-natural ingredients. 

I purchased all I would need to make these back in early October from a great online retailer called Savon Populaire out of Montreal. Yes their website it completely in French, however if you're using Google Chrome their translate button will help you out. 

Here's the numbers I started out working with:


First of all I went to the Dollar Store and picked up some nifty little wooden boxes, which I proceeded to paint with watered down acrylic paint (acts like a stain so you can still see the wood grain), and then sealed with Polycrylic. 


Then I started into making lip balms. I used the kit from Savon Populaire, and purchased their vanilla flavouring. I found that the flavouring was lacking in the vanilla'y department, so I added the vanilla I had purchased for making bath bombs. I also made lip balms that are flavoured with the orange essential oil, and then another set with the peppermint essential oil that I also purchased from Savon Populaire. 

(Sorry for the abysmal lighting, I took this with my smart phone during sunset.)


This was stupidly easy. Seriously. If you ever want to do this with your kid as a birthday party favour or something, they could totally do this with your supervision of course...because there's a stove and boiling water involved. Okay, upon review this might not be the safest thing to do...iirc I think I ended up burning myself. Forget what I said. 


Then, once they were cool and set, I minimalistically labelled them. Orange for the orange flavour, green for peppermint, and yellow for vanilla. The labels are basic shipping labels with Sharpie paint marker paint. 


After that I decided to make Christmas cards because a) stationary was on for $1.50 at Michael's, and b) stamps were on 40% off, and then were on 'buy one, get one for a cent' sale!


I had initially done the entire inside of the card in the hand-stamped letters; "To So and So, Merry Christmas, Love Evan and Melissa xoxo". However when I showed it to my fiancĂ© he said it looked a wee bit ransom-note'ish, so I decided to just go with Merry Christmas and write the rest. 

Those were all sent out today...so if you're family and reading this, the surprise is now ruined. You'll get your card in 2-3 business days. 


On to the body butter. I made this from a kit from Savon Populaire as well. I made two different kinds; one was lavender/lime and the other was a scent called "Day at the Beach", which is a combination of grapefruit, bergamot, and coconut. 

Wine was needed. 


This was also stupidly easy. It's impossible to mess it up. You melt the stuff they give you, add the scent, and then load it into the containers. Wait for it to cool/harden, then close'em up, wipe'em off, and label'em. 


On to bath bombs. I made 5 different kinds this year. Vanilla, Day at the Beach, Lavender/lime, Lavender/chamomile, and then straight up orange for the littles. 


I packaged them all in individual cellophane packages with hand-stamped labels. 


And finally, I did the linen spray. Which is really just water, witch hazel, and the essential oil of your choice. I did 3 kinds; orange, lavender, and vanilla. 


That's it! Done. Not so bad, eh?  

I'm not going to show you the packaged up version, because there has to be some holiday surprise! But needless to say all of the stuff went into each person's painted box with a list of all the ingredients in each product. 

So that's it! All the ladies are done for Christmas! DIY styles! 


What presents did you DIY this year?


Cheers, 

Melissa

Wednesday, November 14, 2012

Official Pinter*Mel Project FAIL #2 OR How my intended bowl is now an awesome coaster.

I had a plan to make little bowls for Christmas present presentation this year. I thought a cute little bowl with an owl stamped into the bottom would have been a nice way to hold the homemade beauty goodies I plan on giving out as presents. This was the plan...it's a good thing I'm flexible, and willing to improvise. 

The Inspiration: DIY Lace Bowl

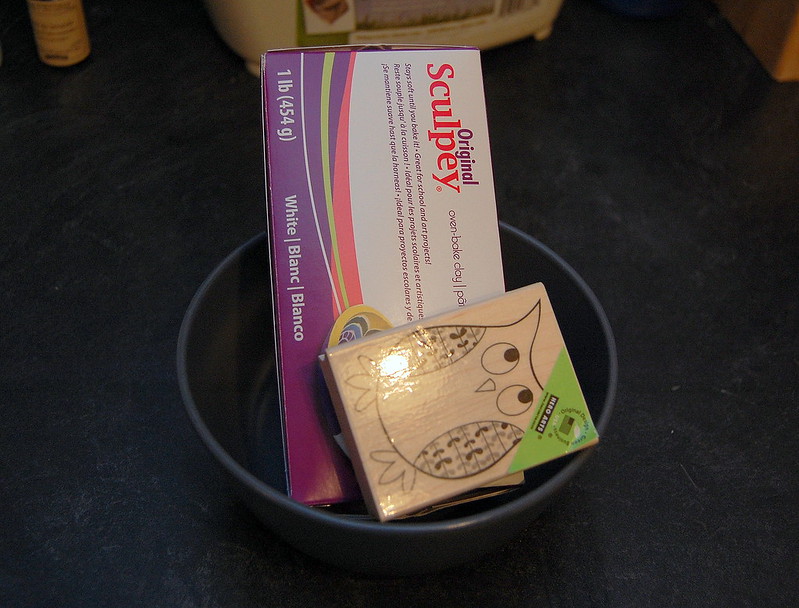
So my first mistake was buying Sculpey Original, not that there's anything wrong with the product, it just was the wrong version of this product for this particular project.

You see, most of the DIY air-dry clay recipes call for 3 cups of white glue. I don't know if any of you have purchased white glue lately, but buying enough to get 3 cups worth isn't exactly cheap. Also, making this stuff is kinda labour-intensive. I wanted to see if I could make this pretty quickly to gauge if it was going to sink or swim for Christmas presents. 

Yay! Sculpey! (and an owl stamp) 

I cut about a quarter of the whole slab off. 


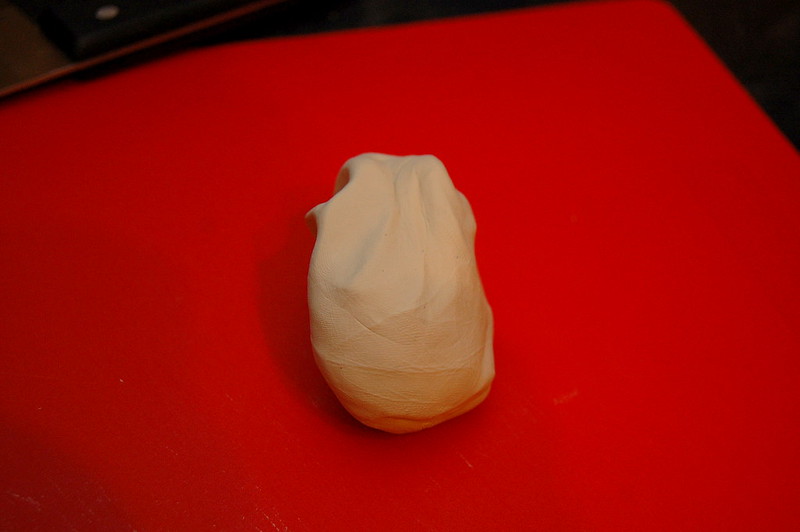
And then proceeded to knead the ever-loving sh*t out of it. 


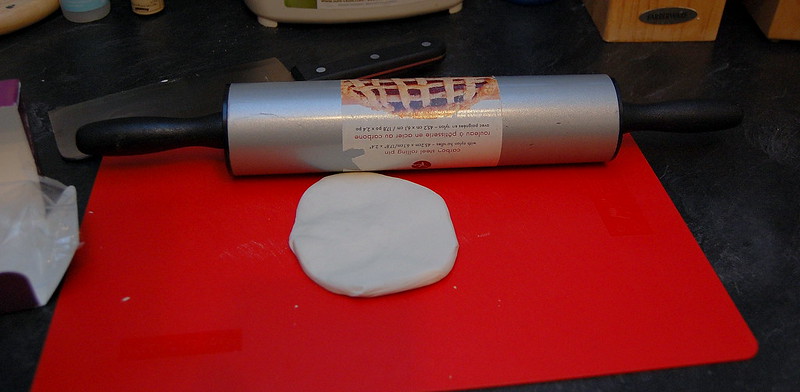
Then I grabbed my trusty rolling pin and rolled it out...but not too thin; bowl thin. 


Once I got it evened out, I grabbed one of my smaller bowls as a template. 


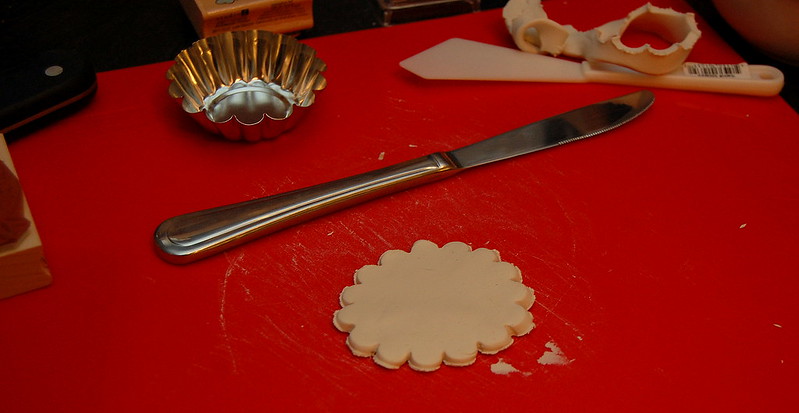
Then using a butter knife and the spatchula thingy from this post, I cut it out. 

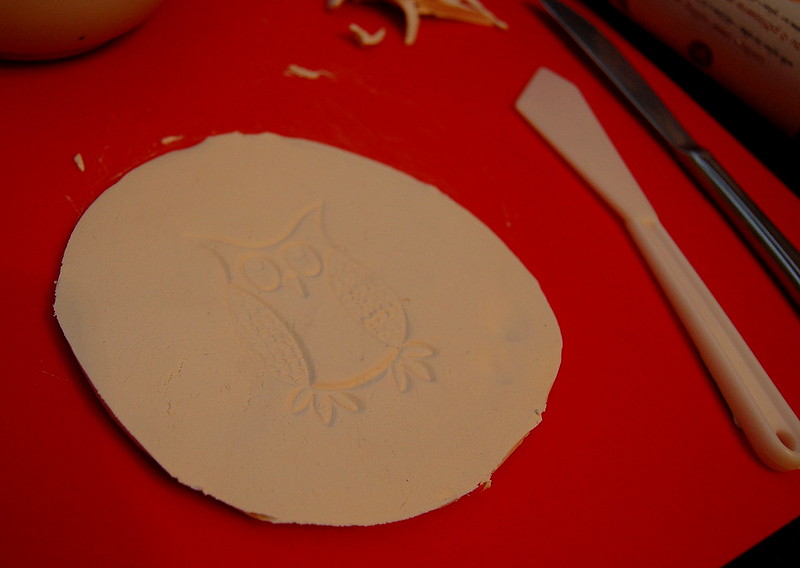
I evened out the edges a bit, and then pressed my adorable owl stamp into the middle of the future bowl.


Then I gently pressed the circle-owl into the upright bowl I used as the template. 


Remember how back at the beginning of the post I indicated that this was the wrong Sculpey product for this project, this became apparent to me at this stage. In order for this product to dry it has to go in the oven, it can't just air dry in the bowl. I needed an air-dry version of this Sculpey product.  SO I FRANTICALLY looked around my house for a like-sized bowl I could repress my circle-owl into and then put in the oven. 

Alas, it was not to be. 

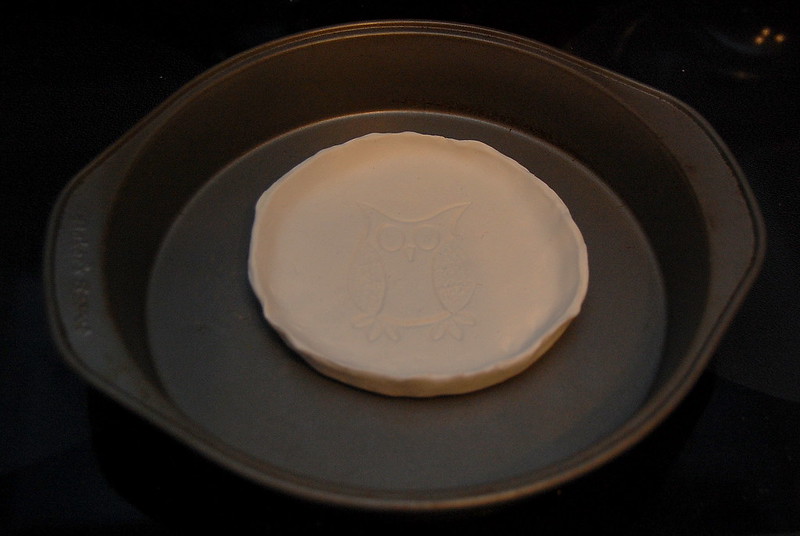
So I did my best to form the edges while my over preheated to 275F. 


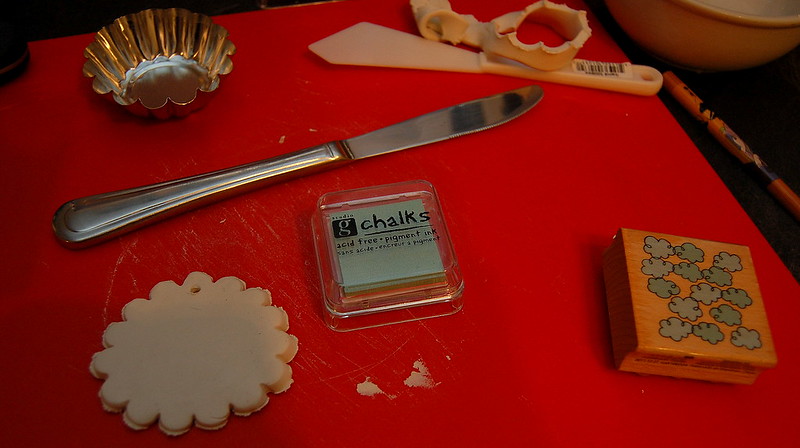
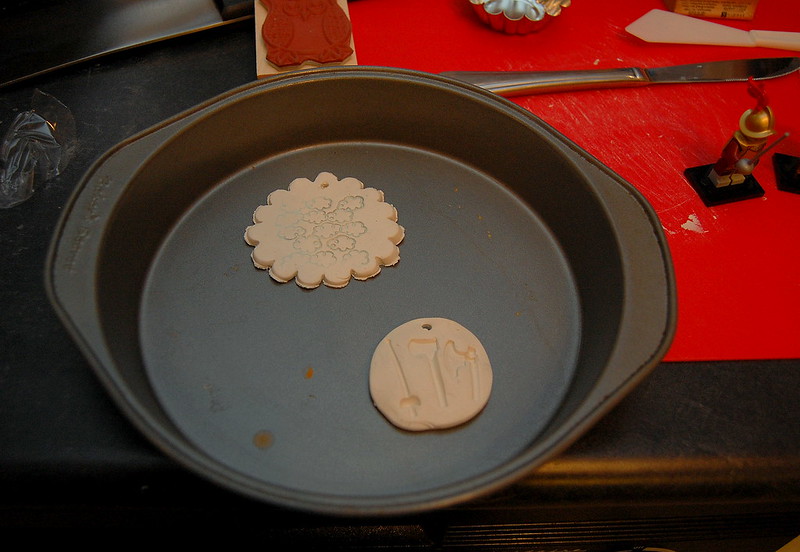
While my bowl-fail/coaster-win was baking, I decided to use the left-over scraps to make some ornaments for Christmas. 


In the oven you go! 


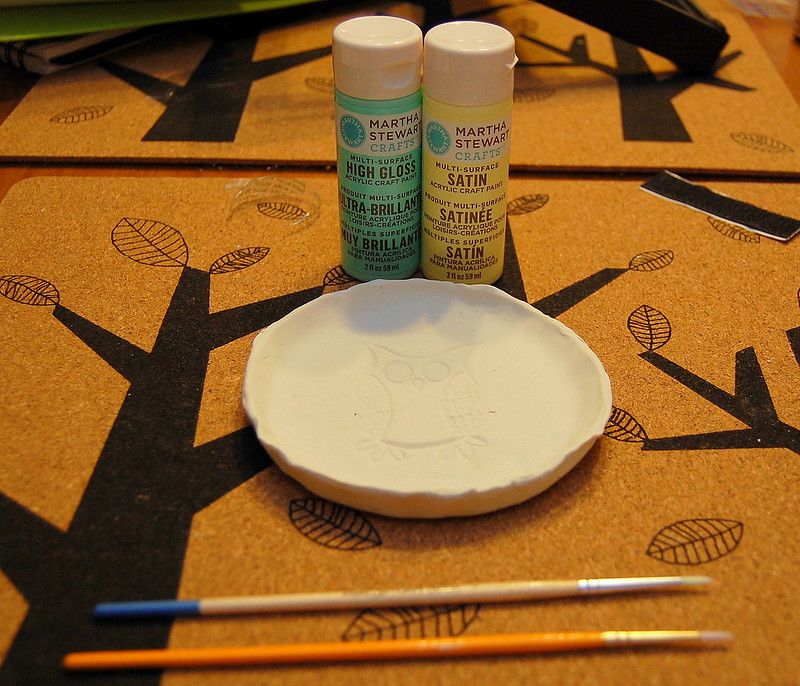
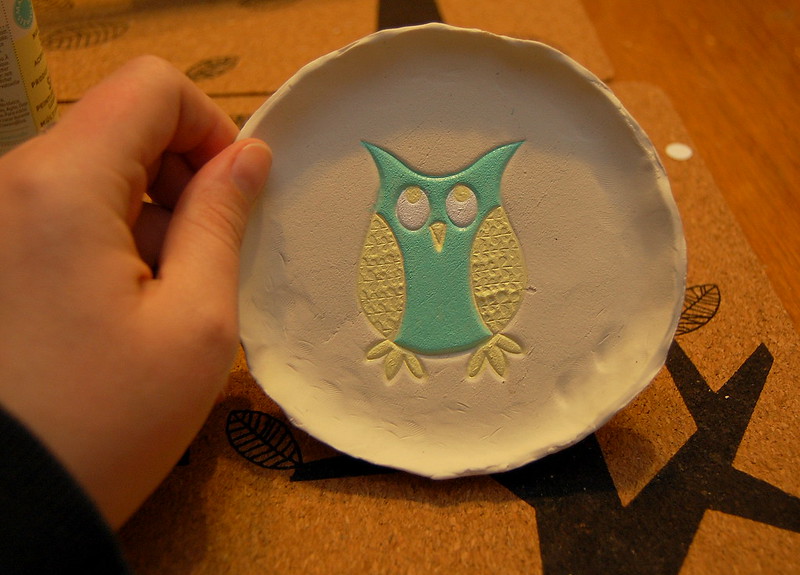
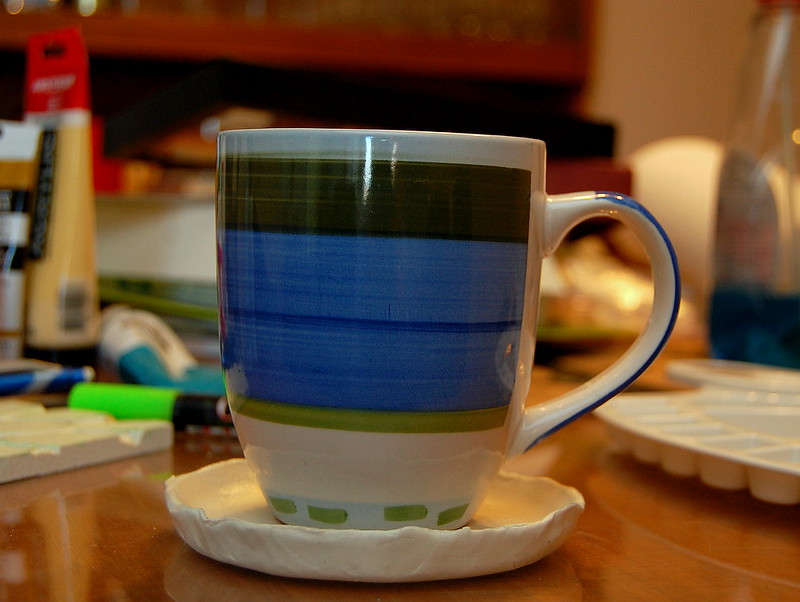
Once my bowl-fail/coaster-win had cooled down enough, I threw on some paint. 


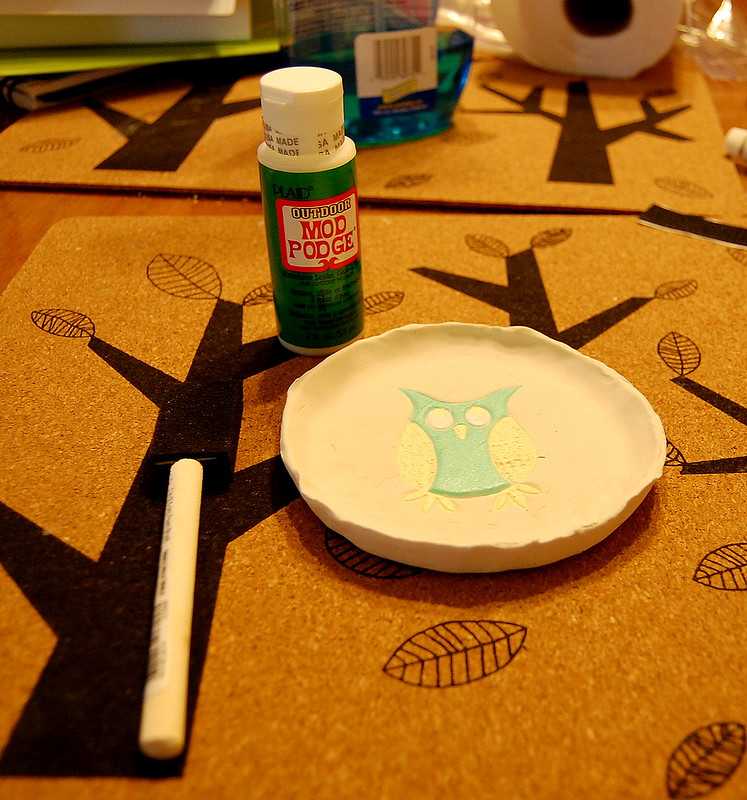
And then I threw a layer of Mod Podge Outdoor over top to seal it. 


[Pro Tip: Skip this step. It made my coaster sticky, and now my mug sticks to it. Very annoying.]


Yay! Coaster-win!!!


Moral of the story - buy a clay product that will air dry, OR don't be a lazy ass like me and make your own air-dry stuff. 


Cheers, 

-Melissa

Wednesday, October 31, 2012

Whimseybox #1: Pinter*Mel's First Whimseybox Adventure


There's this rad company in the called Whimseybox, (you may remember my blog post about founder Alicia DiRago) which will send you a box each month filled with items you'll need to complete an awesome DIY craft. 

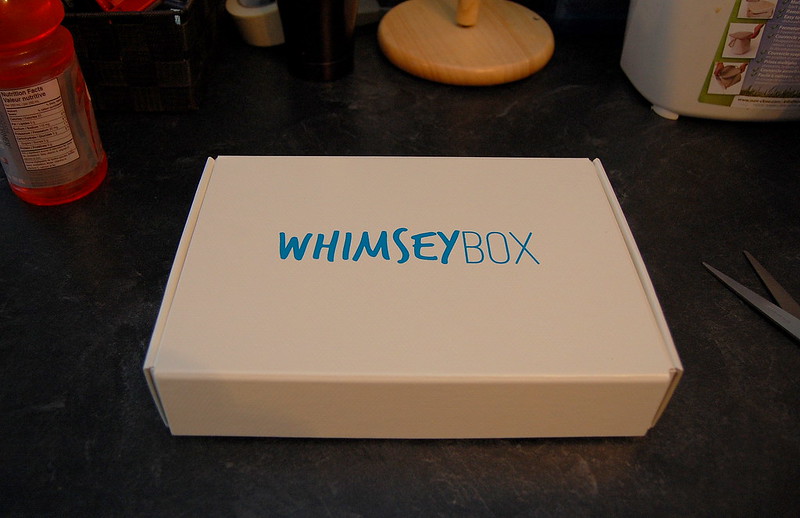
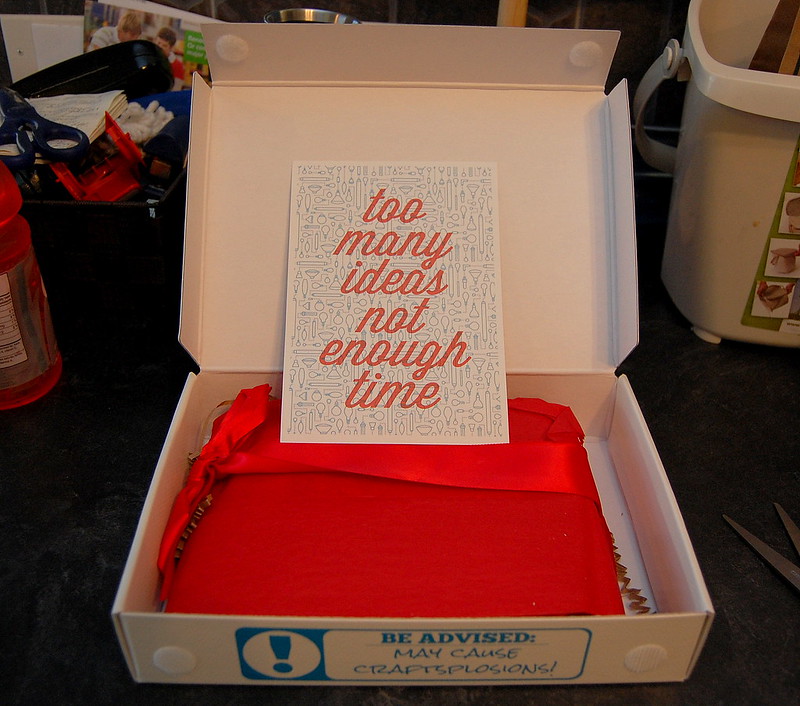
I had the pleasure of receiving my very first box at the beginning of October. It's packaging was absolutely splendid. 


And the box itself is a VERY useful storage container for this project and the rest of my stamps. 


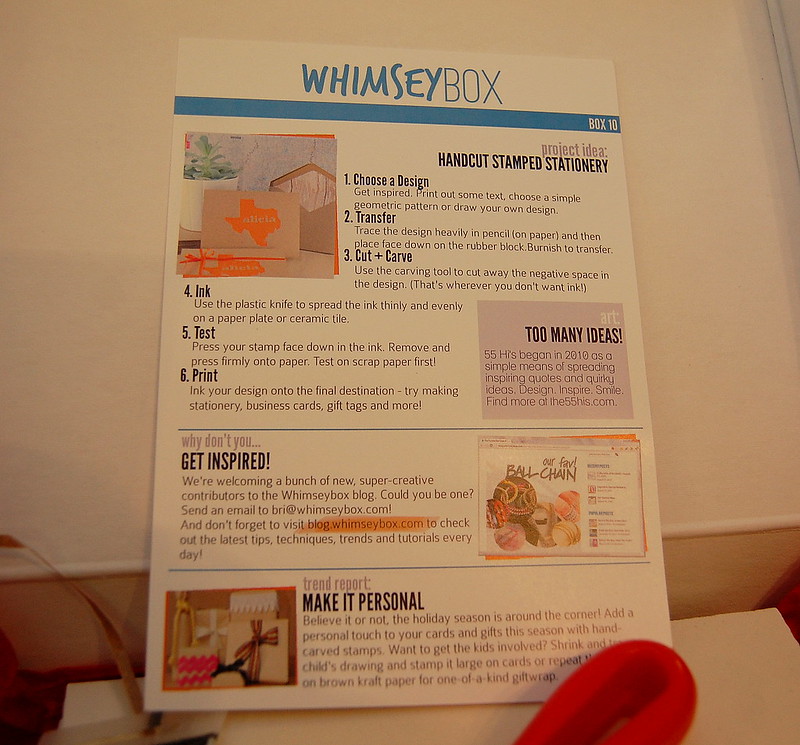
The craft this month: Hand-carved Stamps. Within the box there were a set of instructions, a piece of rubber, ink, 5 cards and envelopes, a spatchula thingy, and a very nice carving gouge. 


First order of business was to find a design that wasn't too intricate so I could actually manage to carve it out of the rubber. Having never used a carving gouge before I was skeptical I could pull this off. 


I decided to go with my tried and true toilet paper roll flower, which I've done before here and here

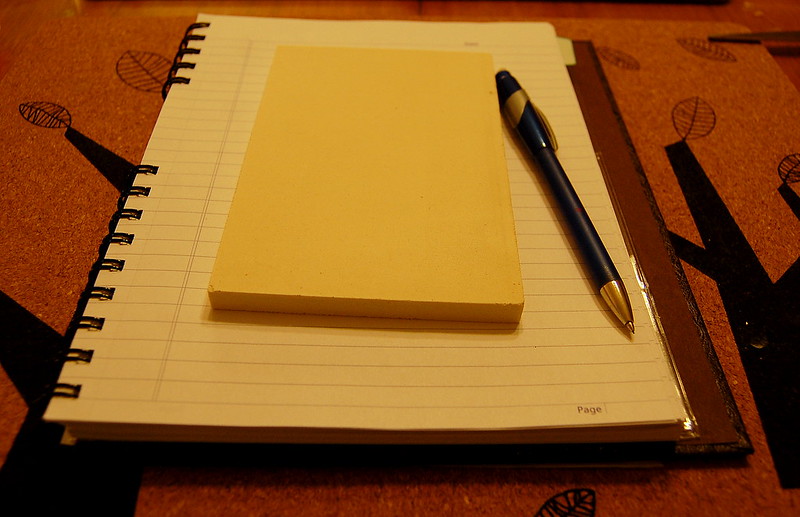
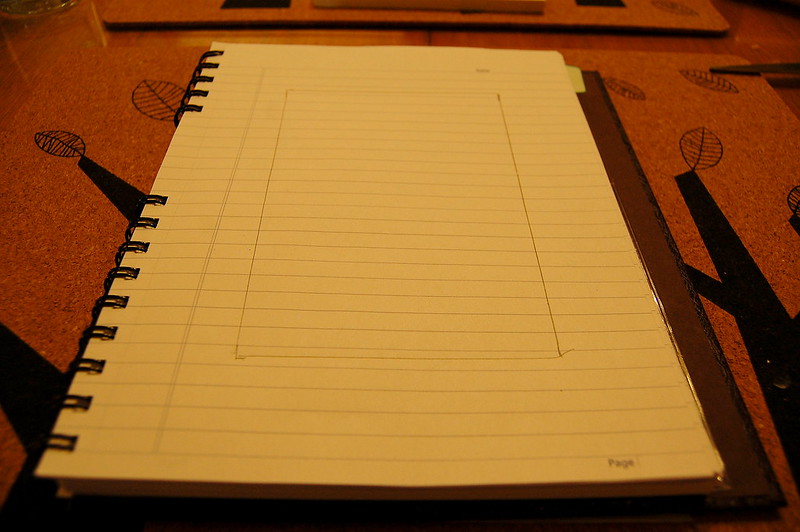
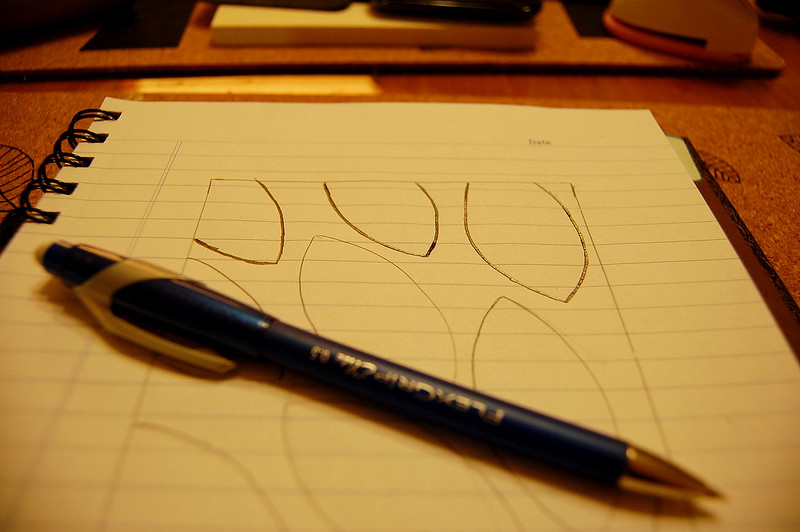
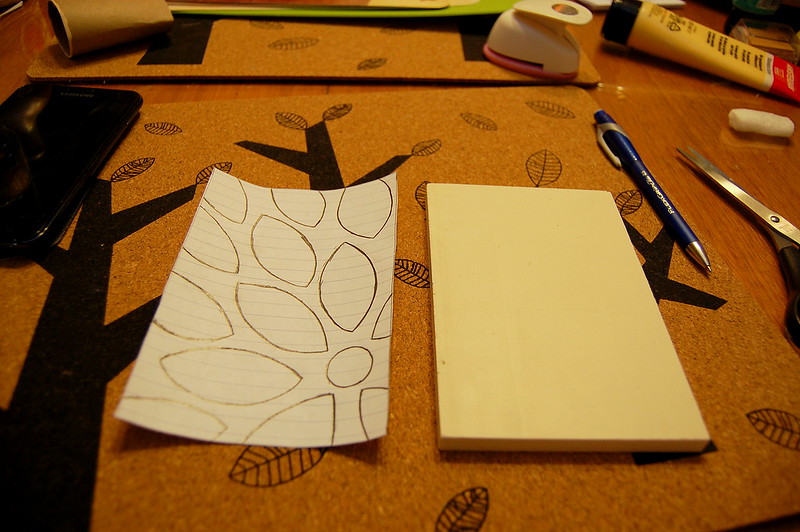
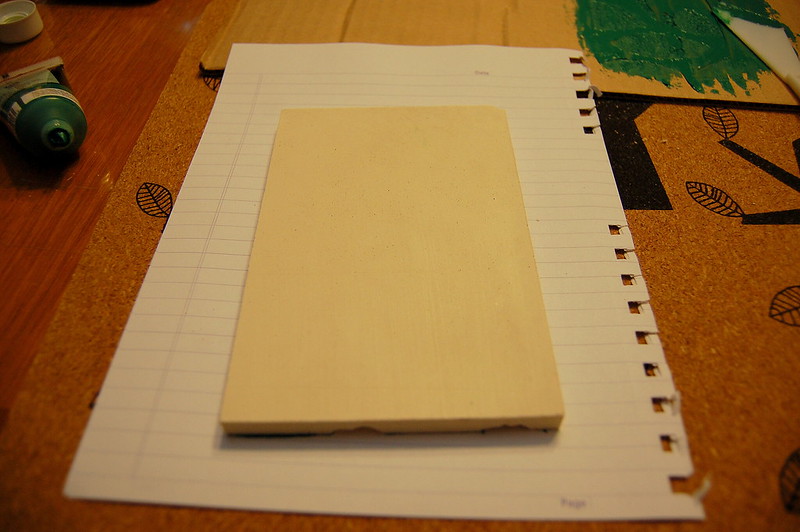
Firstly I traced the rubber block on a piece of paper. 


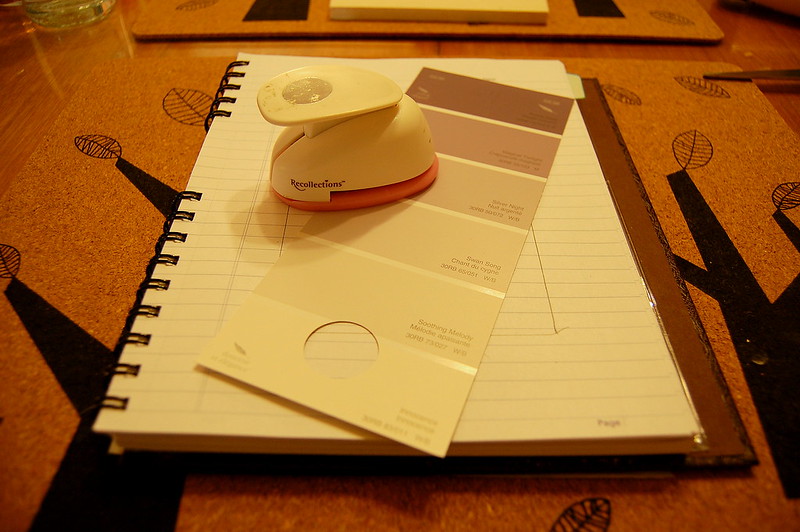
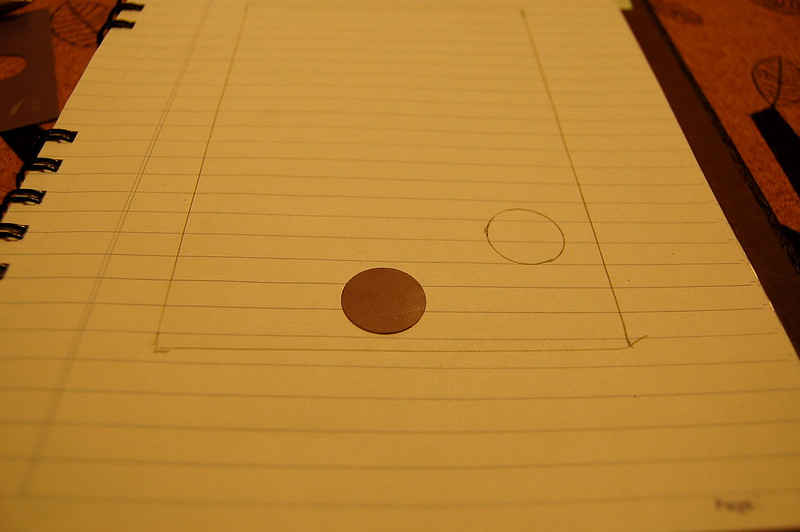
Then I placed the centre of my flower using my trusty hole-punch and a paint sample. 


Then I started tracing (must be with pencil!) the petals with a piece of folded toilet paper roll. 


Then you have to go back over all the lines with your pencil so they're really dark - this will help the design to transfer onto the rubber. 


Then cut it out. 


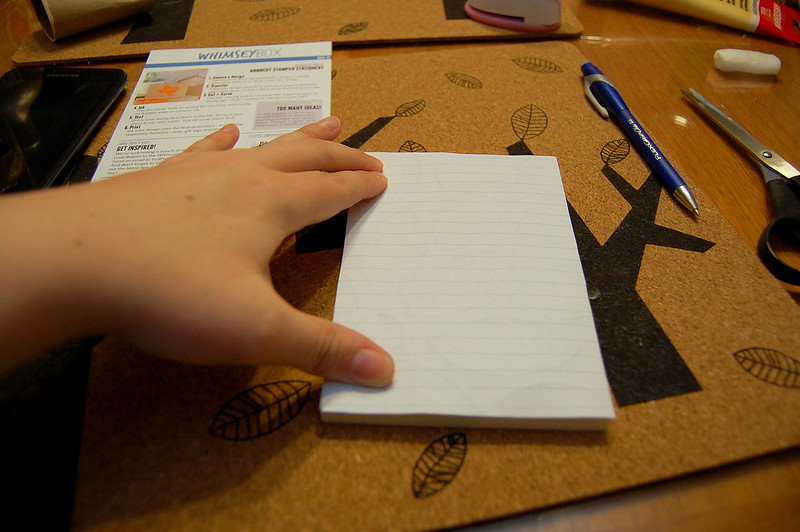
Place design-side down on the rubber and "burnish"...which after looking up I learned meant "hold down and rub vigorously". So yeah, do that. 


When you remove the piece of paper, the design should now be transferred onto your piece of rubber! 


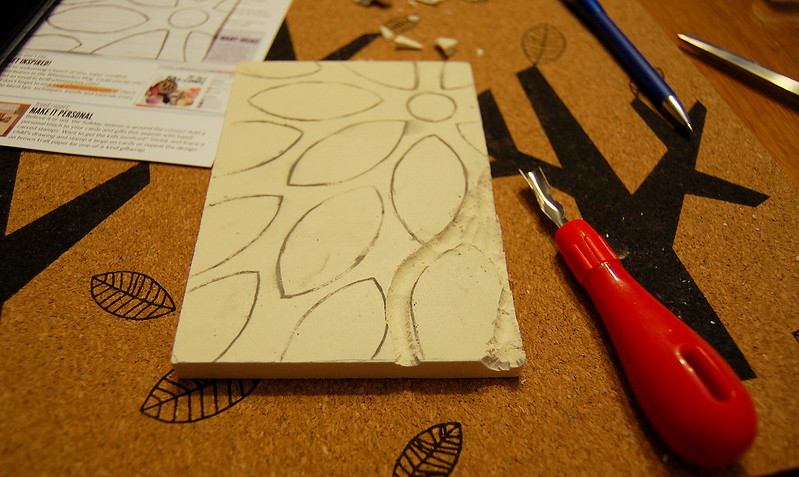
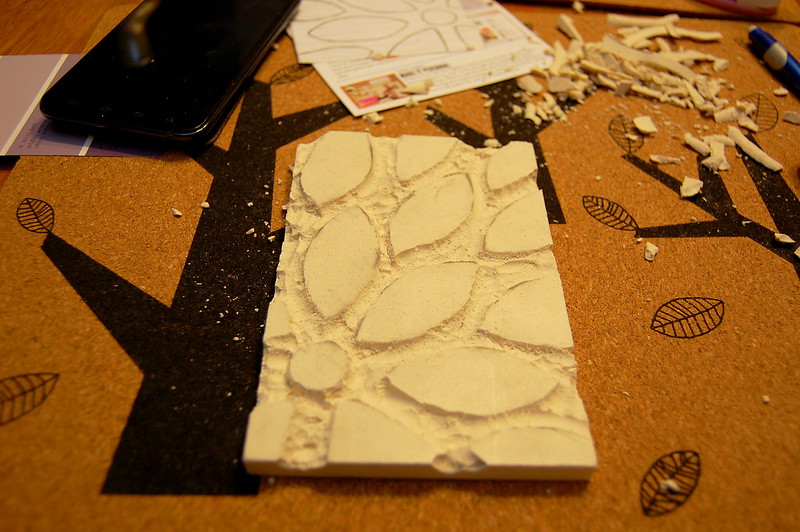
Now here comes the difficult part; and it was only difficult because I had never used one of these gouge tools before. It reminded my of my first foray into using a razor to cut out intricate design. 

Start carving out all the negative space; so anything you don't want ink to get on. 


Yeah, things got pretty messy


[Pro Tip: Clean up the mess before you get into the ink. You don't want chunks.]

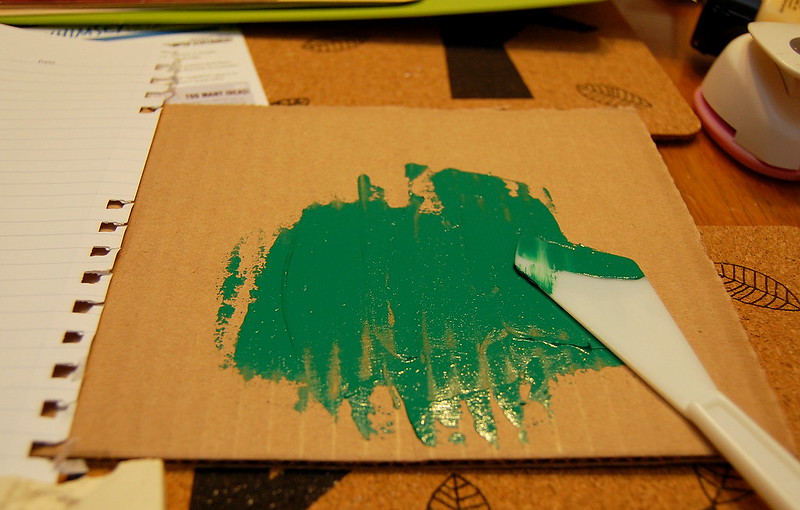
Take a spare piece of cardboard or a paper plate, the ink (provided), and the spatchula thingy (provided) and distribute an even layer of ink on the surface the size of your stamp. 


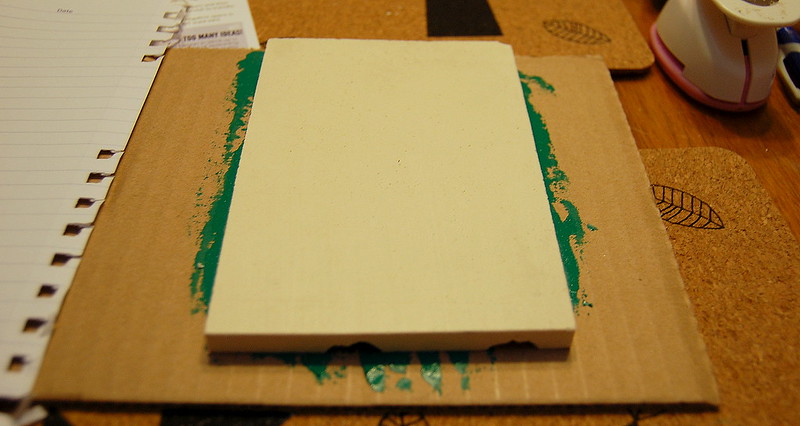
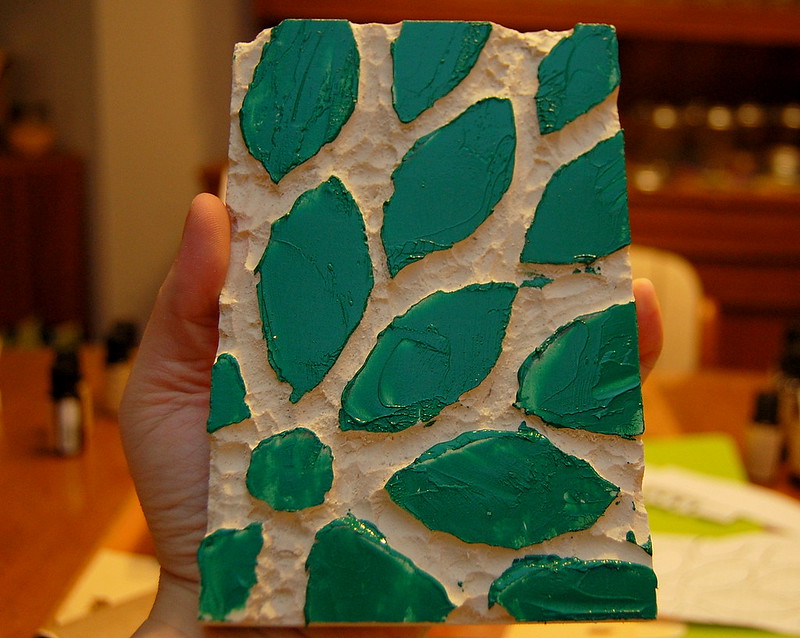
Grab a couple spare pieces of paper to test on. Put your carved stamp design-side down into the ink, press firmly everywhere so make sure that the ink is distributed evenly and that any air bubbles get lost. 


I used the spatchula to apply ink to any areas on the stamp that may have gotten missed. 

Then test! 


Press down EVERYWHERE!!!


Meh, could be better. I tried a few more times; trying to perfect the paint-to-stamp ratio until I felt comfortable enough to make a card with the cards provided! 

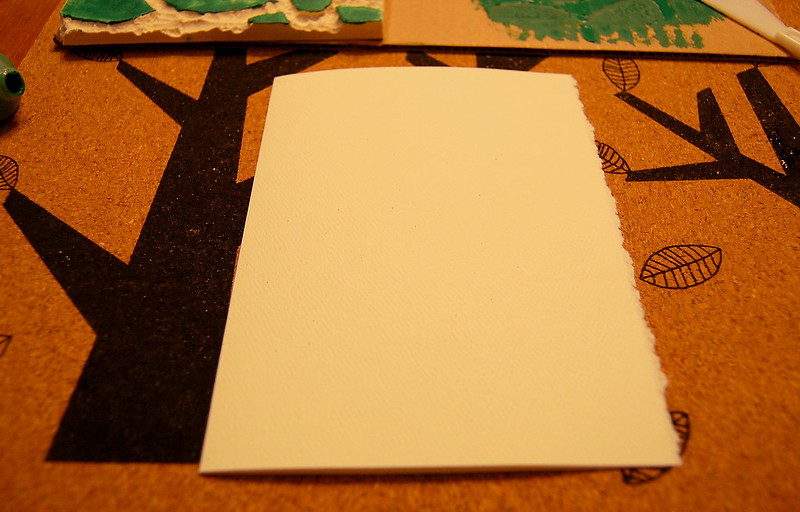
Before: 


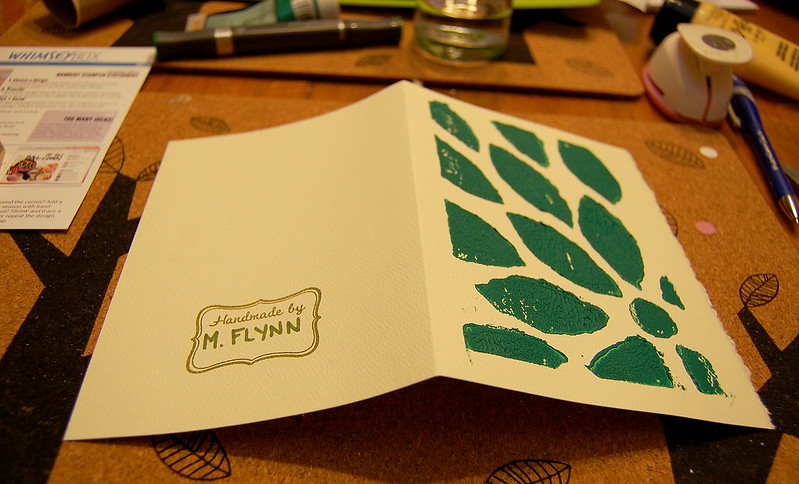
After: 


Yay!!! It worked! There were only a couple air bubbles/areas where I didn't press down hard enough, but overall I like the look, although I think I used too much ink.  

Once it dried enough, the this ink does dry pretty quickly, I took one of my pre-fab stamps and made sure everyone knew this was my handy work. 


Tada!!!


I just have to decide who to send it to! 

This was a super fun project, and I can't wait to get my second Whimseybox in the mail in early November.

If Whimseybox is something that appeals to you I highly recommend signing up! AND, they just dropped their monthly box price back down to $15! These supplies would cost you at LEAST that much at Michael's or Deserres, and you don't get a kick ass box at the end to store all your stuff in! DO IT!!! 


Happy Crafting! 


Cheers, 

-Melissa