Showing posts with label FAIL. Show all posts

Wednesday, November 14, 2012

Official Pinter*Mel Project FAIL #2 OR How my intended bowl is now an awesome coaster.

I had a plan to make little bowls for Christmas present presentation this year. I thought a cute little bowl with an owl stamped into the bottom would have been a nice way to hold the homemade beauty goodies I plan on giving out as presents. This was the plan...it's a good thing I'm flexible, and willing to improvise. 

The Inspiration: DIY Lace Bowl

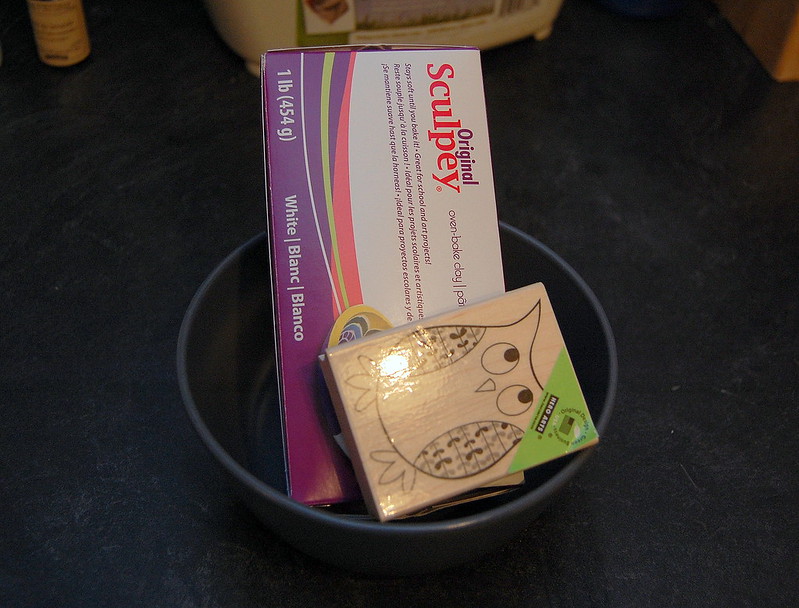
So my first mistake was buying Sculpey Original, not that there's anything wrong with the product, it just was the wrong version of this product for this particular project.

You see, most of the DIY air-dry clay recipes call for 3 cups of white glue. I don't know if any of you have purchased white glue lately, but buying enough to get 3 cups worth isn't exactly cheap. Also, making this stuff is kinda labour-intensive. I wanted to see if I could make this pretty quickly to gauge if it was going to sink or swim for Christmas presents. 

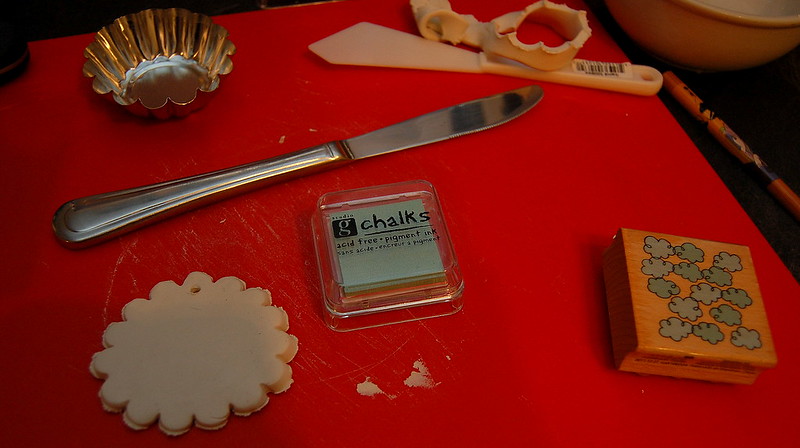
Yay! Sculpey! (and an owl stamp) 
I cut about a quarter of the whole slab off. 


And then proceeded to knead the ever-loving sh*t out of it. 
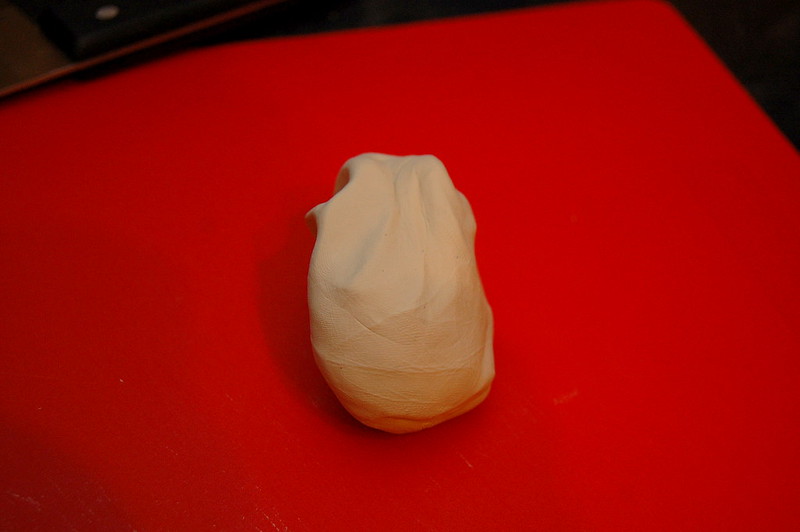

Then I grabbed my trusty rolling pin and rolled it out...but not too thin; bowl thin. 
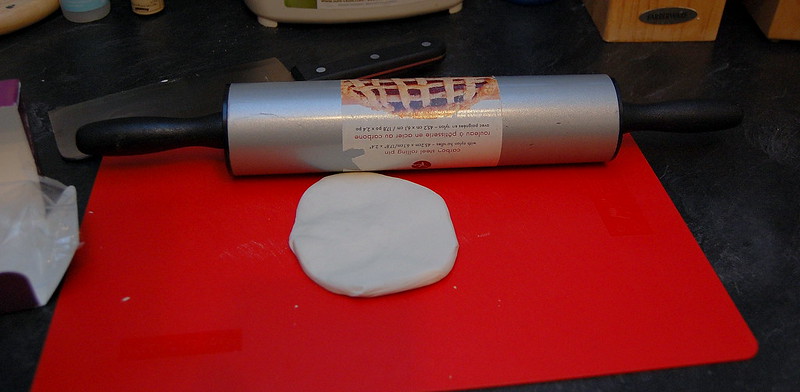

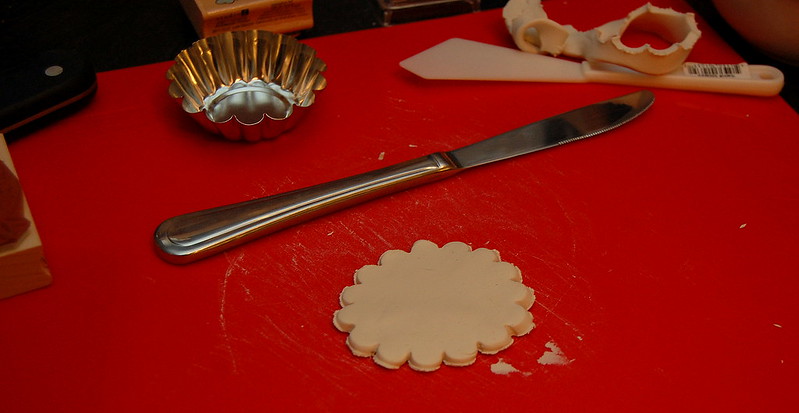
Once I got it evened out, I grabbed one of my smaller bowls as a template. 


Then using a butter knife and the spatchula thingy from this post, I cut it out. 

I evened out the edges a bit, and then pressed my adorable owl stamp into the middle of the future bowl.

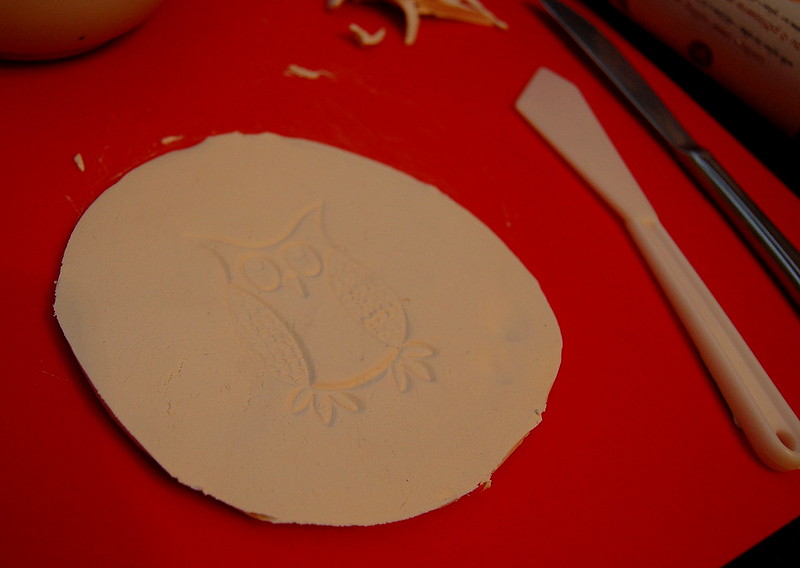

Then I gently pressed the circle-owl into the upright bowl I used as the template. 


Remember how back at the beginning of the post I indicated that this was the wrong Sculpey product for this project, this became apparent to me at this stage. In order for this product to dry it has to go in the oven, it can't just air dry in the bowl. I needed an air-dry version of this Sculpey product.  SO I FRANTICALLY looked around my house for a like-sized bowl I could repress my circle-owl into and then put in the oven. 

Alas, it was not to be. 

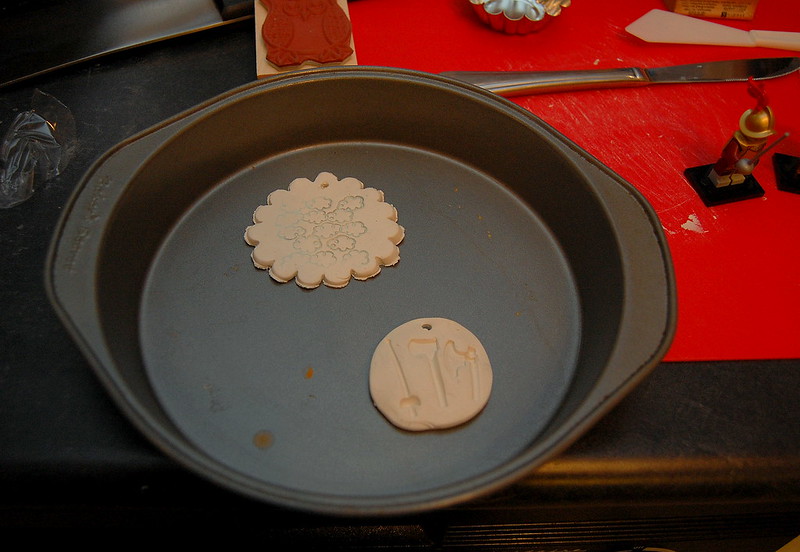
So I did my best to form the edges while my over preheated to 275F. 
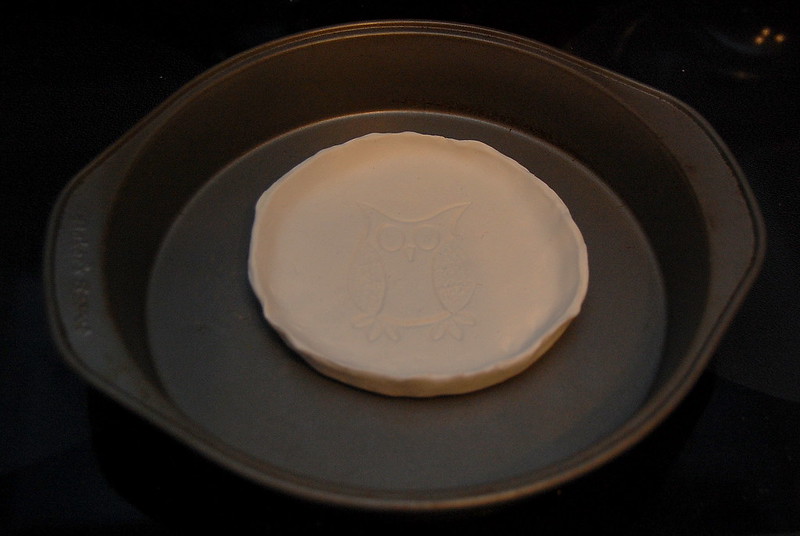

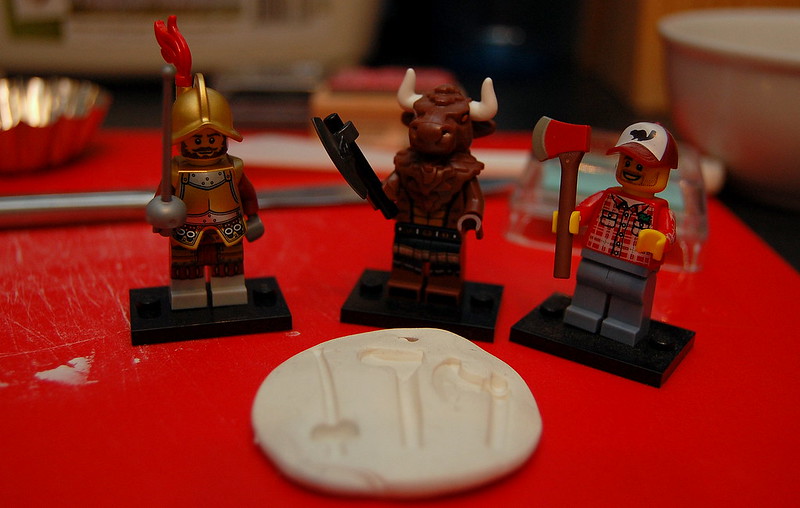
While my bowl-fail/coaster-win was baking, I decided to use the left-over scraps to make some ornaments for Christmas. 


In the oven you go! 

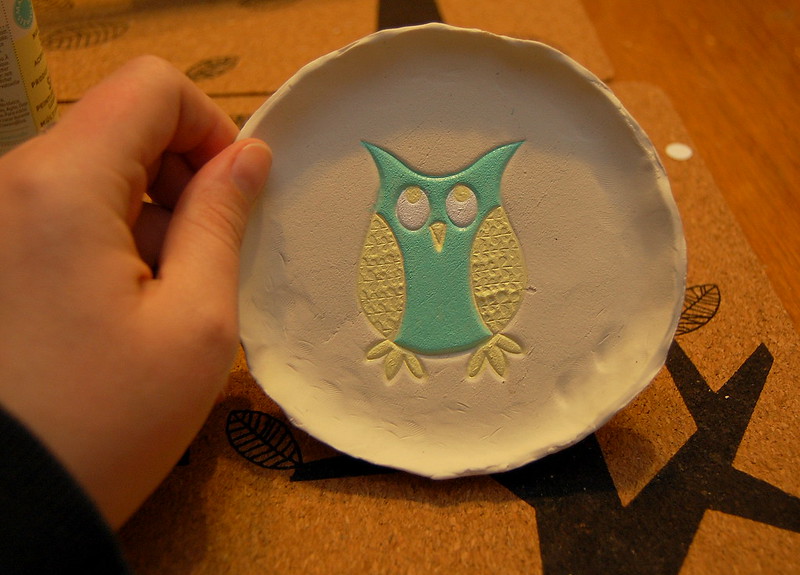
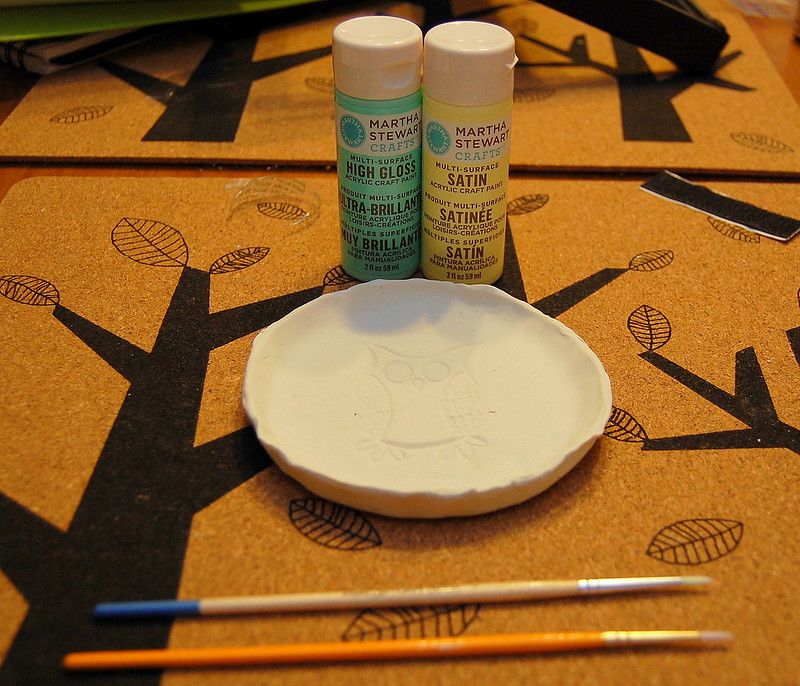
Once my bowl-fail/coaster-win had cooled down enough, I threw on some paint. 

And then I threw a layer of Mod Podge Outdoor over top to seal it. 
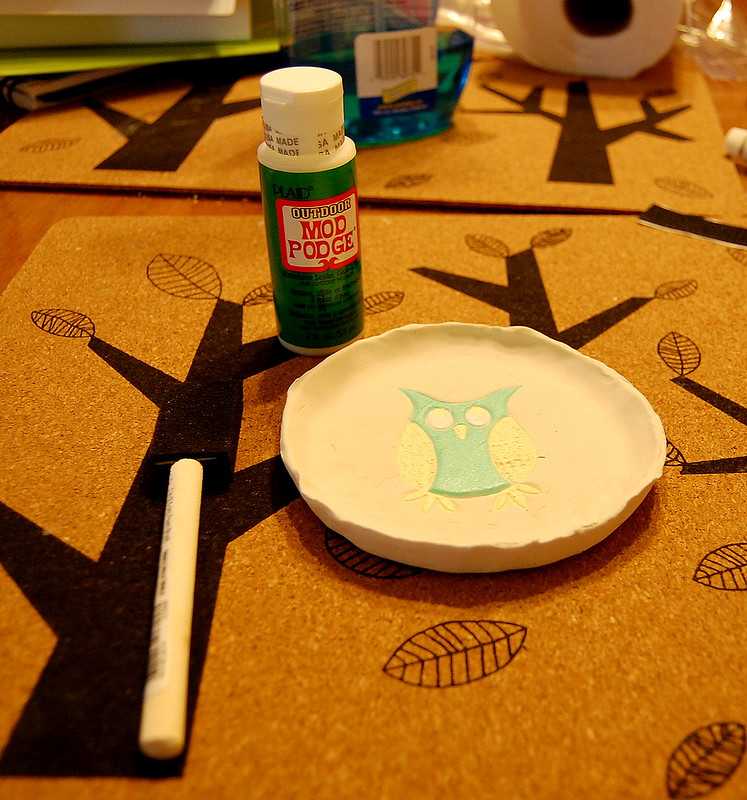


[Pro Tip: Skip this step. It made my coaster sticky, and now my mug sticks to it. Very annoying.]


Yay! Coaster-win!!!
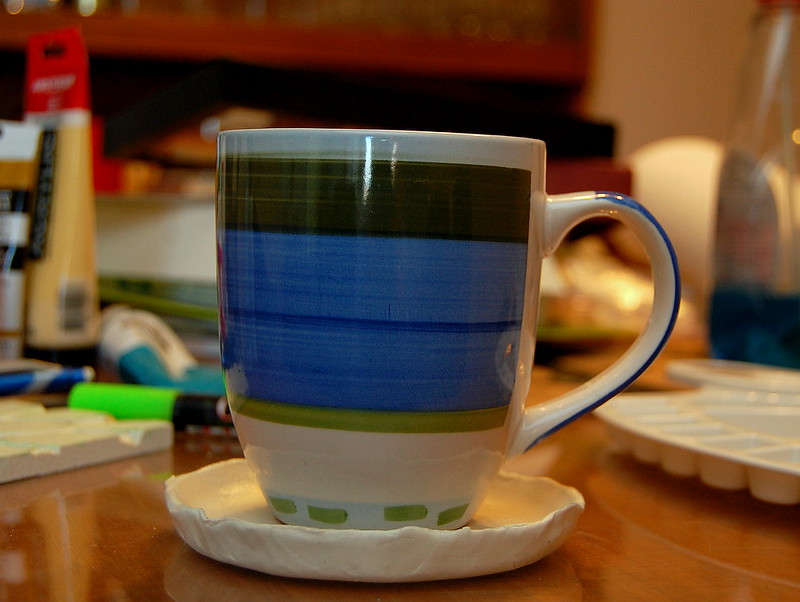

Moral of the story - buy a clay product that will air dry, OR don't be a lazy ass like me and make your own air-dry stuff. 


Cheers, 

-Melissa

Sunday, October 28, 2012

Official Pinter*Mel Project #8: Halloween Edition - Screwdriver Pumpkin Carving

After recovering from the woe that was my first attempt at a creative pumpkin, I picked up this beauty from Farm Boy to carve. Of course I couldn't just carve a traditional jack o'lantern...  


The Inspiration: Carving a Pumpkin with a Drill 

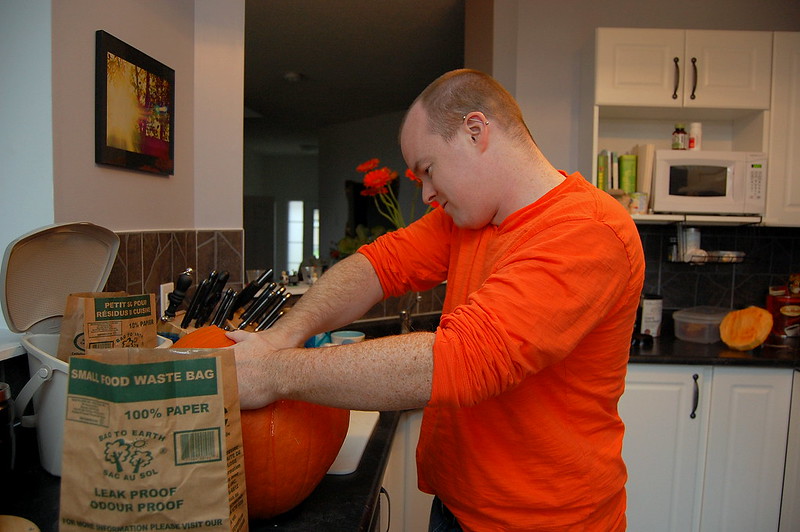
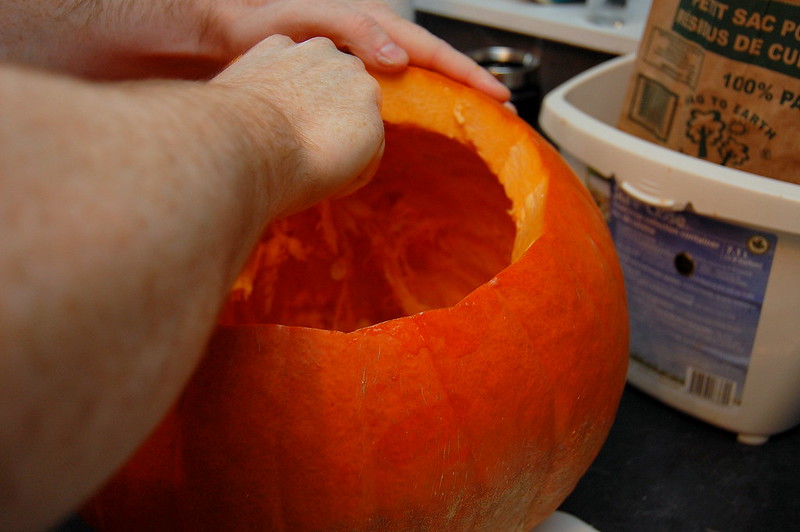
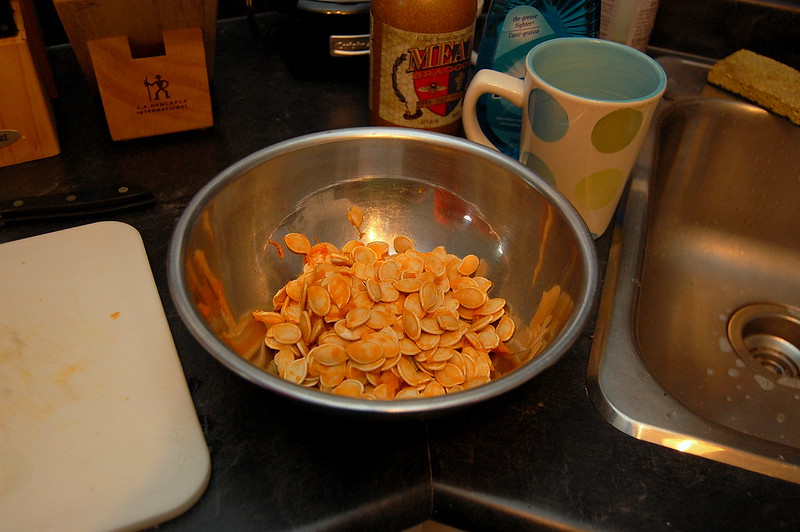
My partner helped to scoop out the guts, and while he was doing that I separated out all the seeds and roasted them! 


They can have guts on them, in fact it adds flavour, just make sure to remove any large chunks. 


Preheat oven to 300F. 

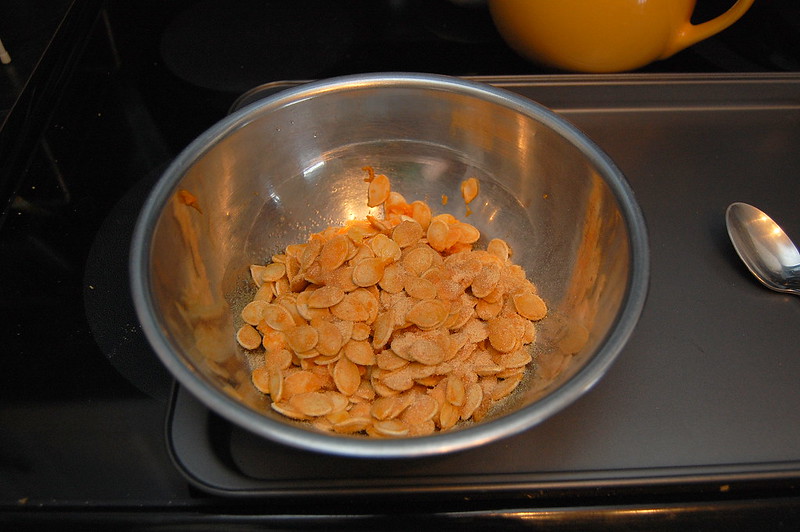
Mix pumpkin seeds, olive oil, salt, and garlic powder together. 


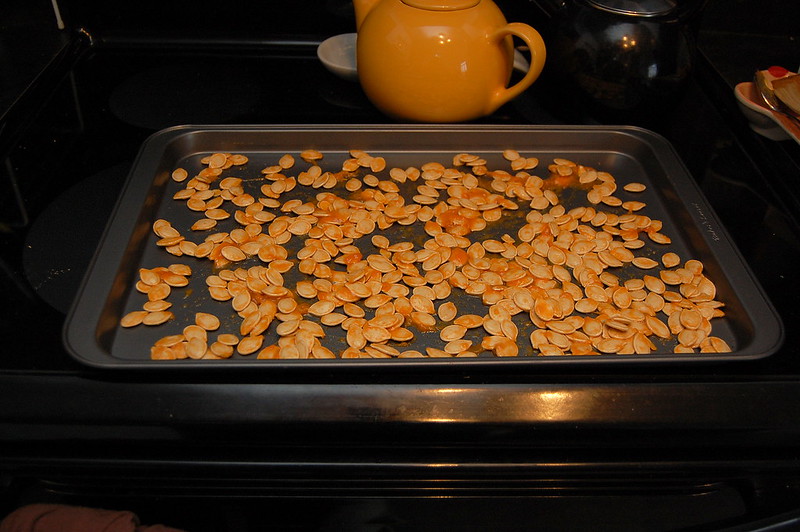
Then spread them out as evenly as possible on a cookie sheet. 


Throw it all in the oven for about 45 minutes, stirring every 15 minutes or so. Once they're done let them cool off a bit and enjoy! 


Okay back to pumpkin carving...

Firstly, I was forbidden by my partner to use the drill for pumpkin carving purposes so I had to improvise. 

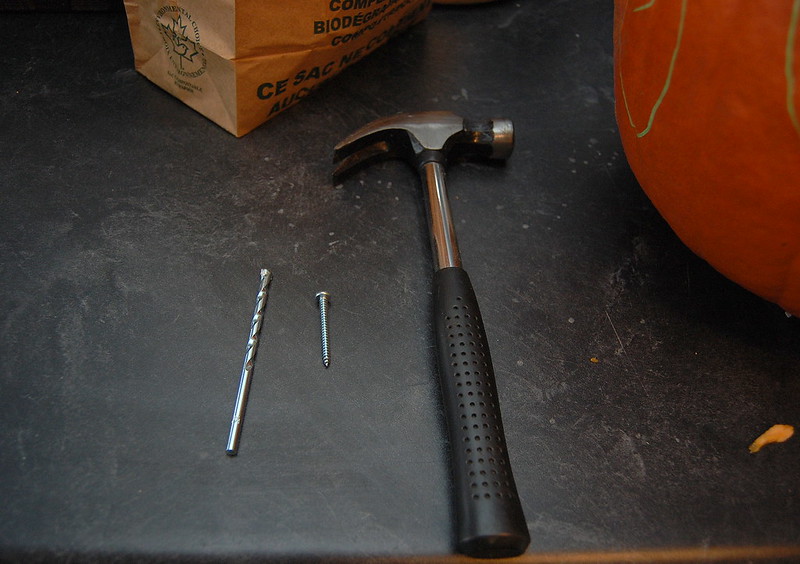
Amongst our tools, I found a screw, and a random drill bit that didn't seem to go with our drill set. 


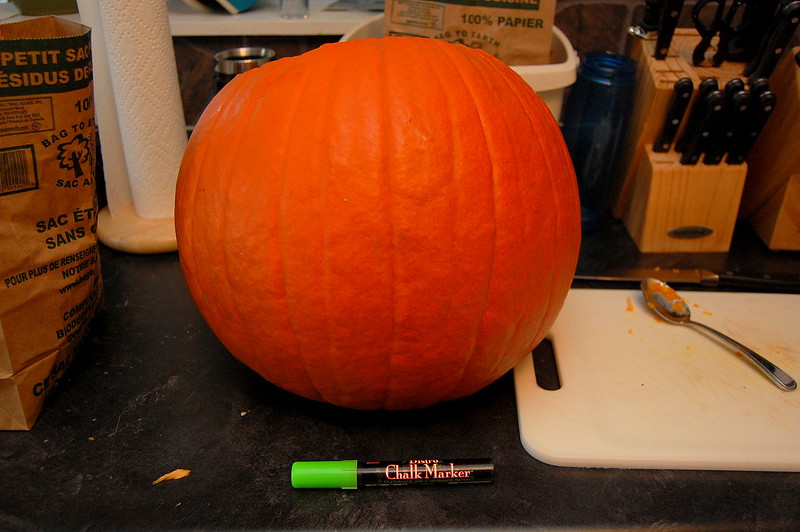
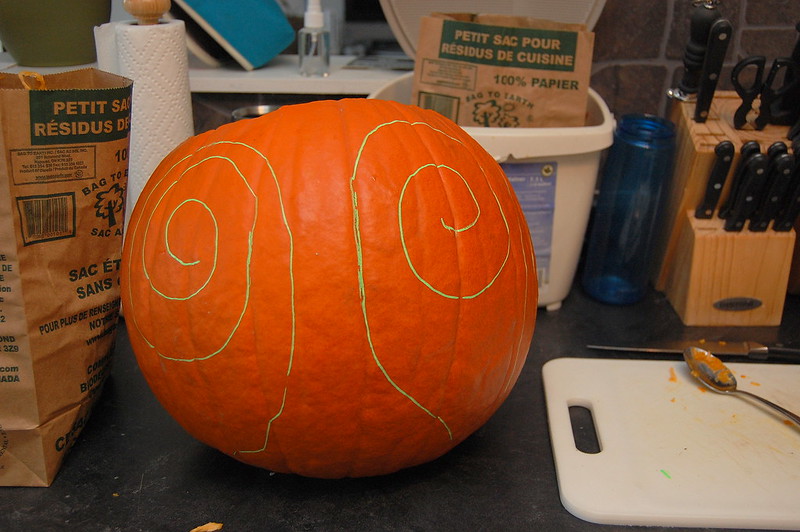
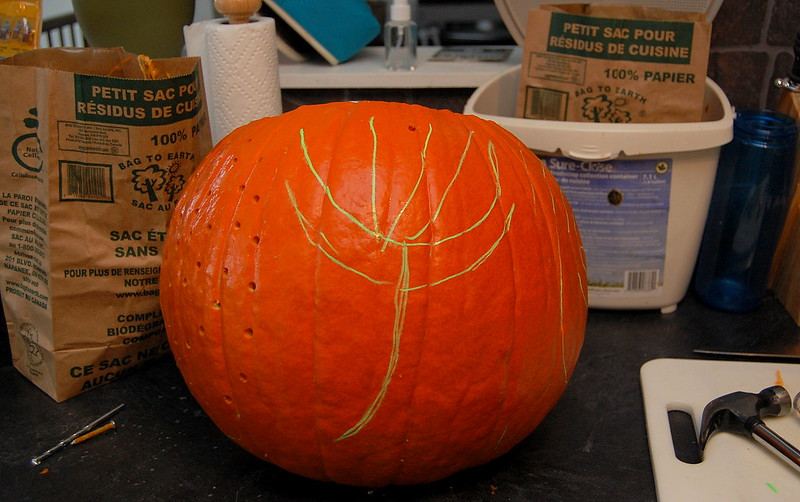
I used a bistro chalk marker to draw the design on my pumpkin. I used the chalk marker because it's hella water soluble. 


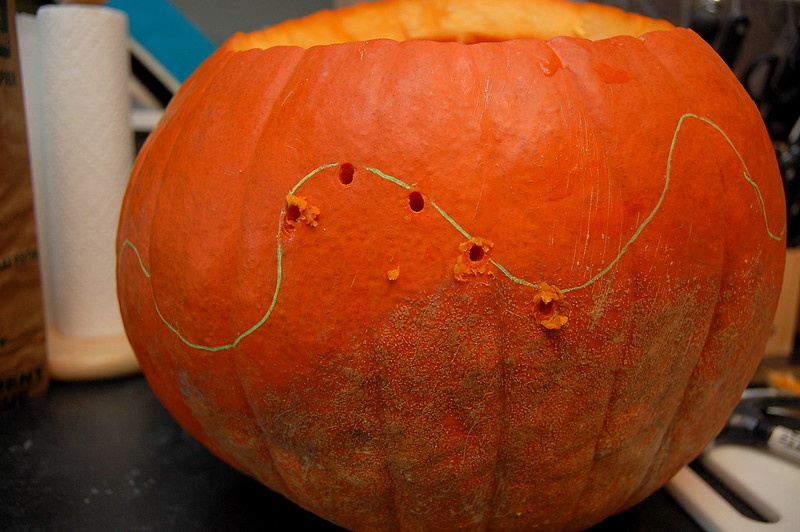
Once I had my design plotted out I started to go to town with the screw and the hammer. 


I very quickly realized that this method was tedious and not producing the size of hole I needed. 

So I went back downstairs to the tool box to look for inspiration...

and I found it. 


#2 Phillips Screwdriver to the rescue. 

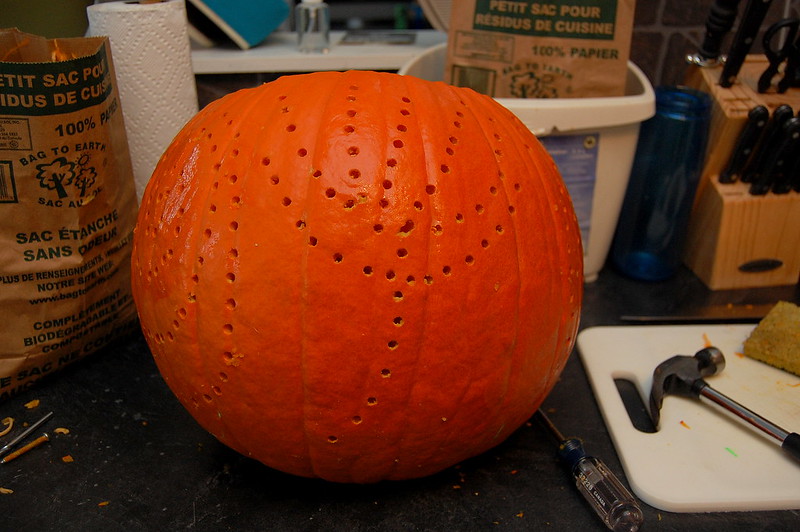
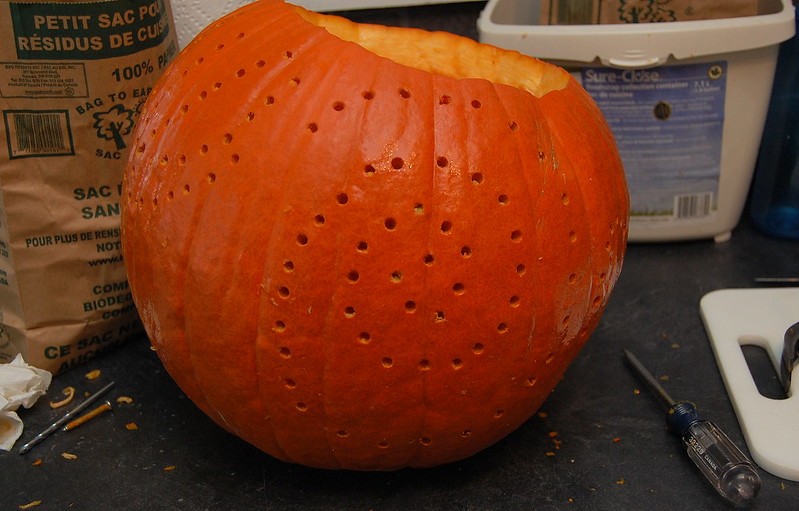
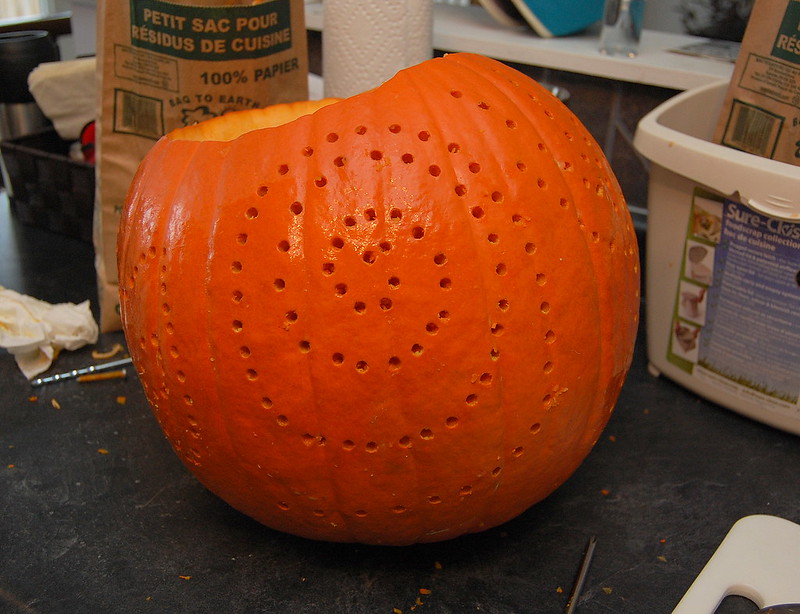
I didn't even have to use the hammer. Just poked the screwdriver through the pumpkin. 


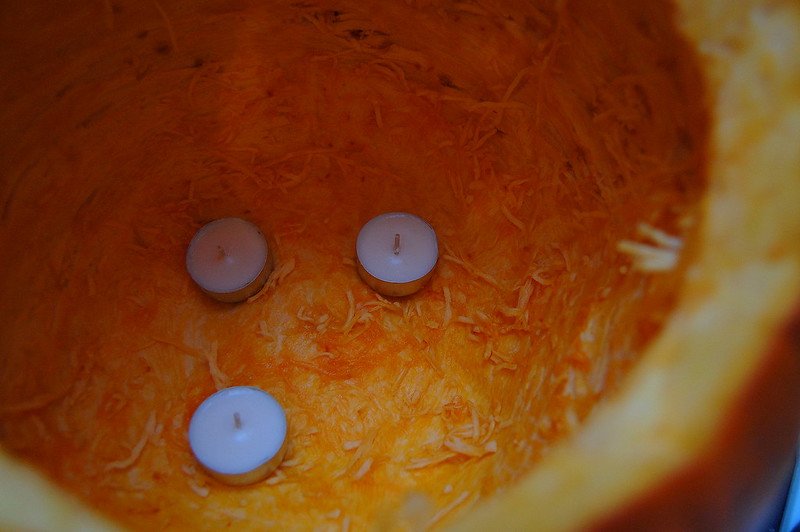
After I was done poking what seemed like a million little holes through the pumpkin, I grabbed three tealights to place in it to see if the holes worked as I'd hoped. 


I was mentally preparing myself to be dazzled...

and then this happened...


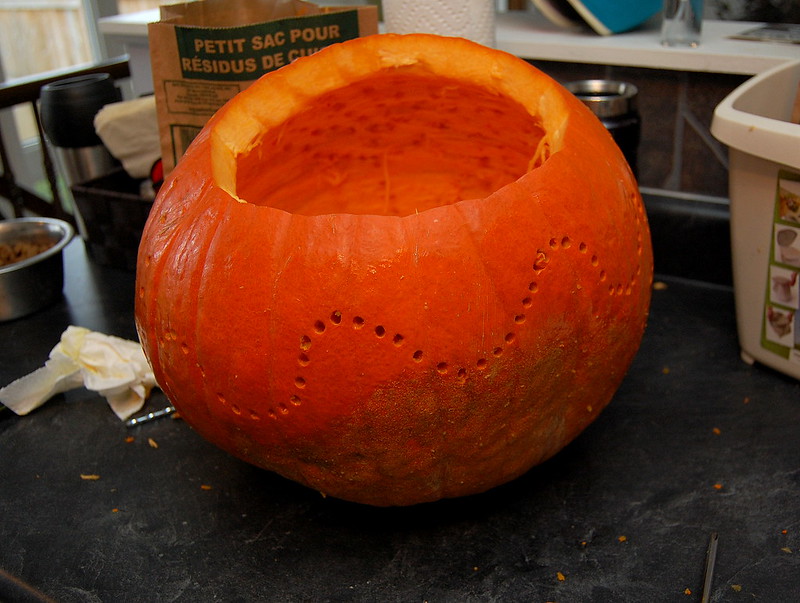
WTF IS THIS SH*T??! Turns out when I pulled the screwdriver back through after poking it into the pumpkin the stringy side of the pumpkin pulled through too and covered the hole back up. 

SO, I took the drill bit and threaded it through EACH AND EVERY hole in the pumpkin to make sure the hole was clean and free of pumpkin innards. 

I tried lighting it again....

and....


It worked!!! Woot! 

I did, however, have to take the lid back off after about 2 minutes because not enough oxygen was getting to the candles. 

PRO TIP: If your partner forbids you from using the drill for pumpkin carving purposes, IGNORE HIM/HER!!! Use that drill FFS!!! 


Have a safe and happy Halloween! 


Cheers, 

-Melissa

Thursday, October 18, 2012

Official Pinter*Mel Project FAIL #1: The Great Pumpkin Fail of 2012

I'd been perusing Pinterest looking for alternate ways to jazz up pumpkins for a DIY Fall-look around the house. 

The Inspiration: Chevron painted pumpkins 

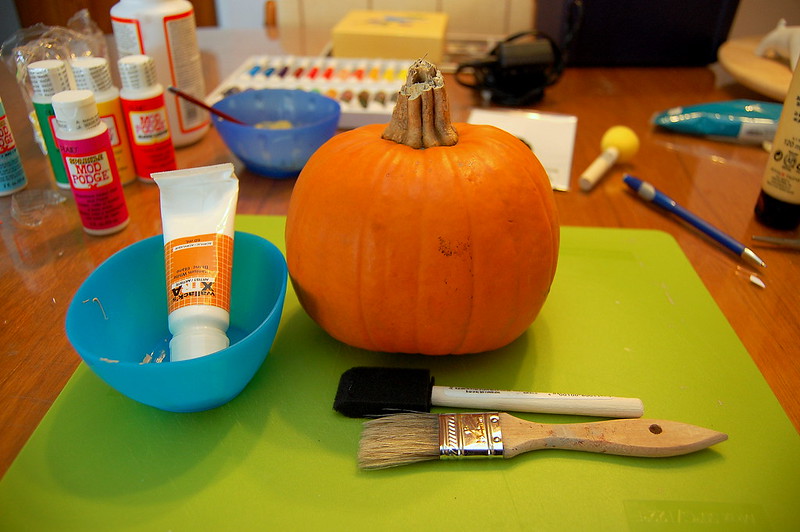
I purchased this perfect teeny pumpkin at my local grocery store for 99 cents. I didn't want to invest big money in pumpkins until I knew what I was going to do, and that what I was going to do was going to work. 


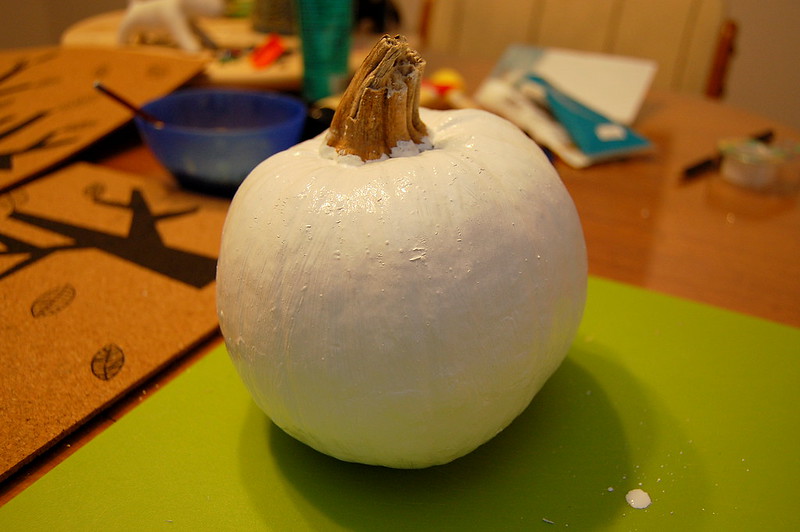
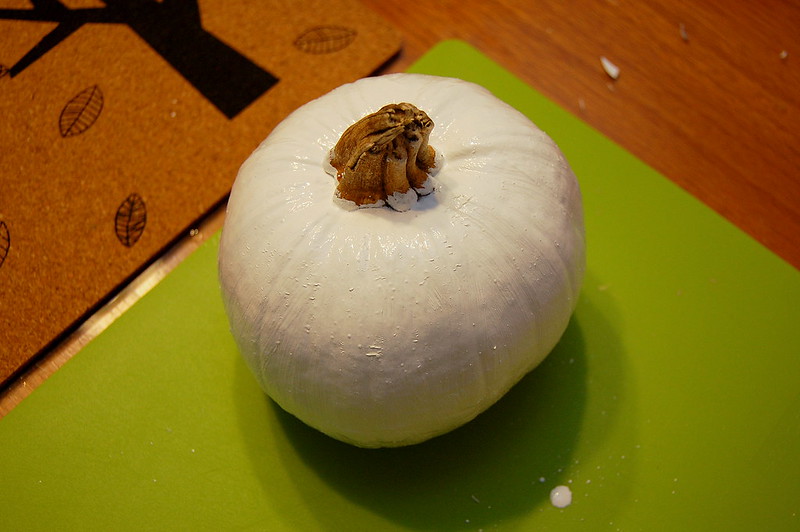
I painted this cutie pie white. 
(PRO TIP: If you're planning on painting a pumpkin white, just get a white pumpkin and save yourself about 3 coats of paint.)


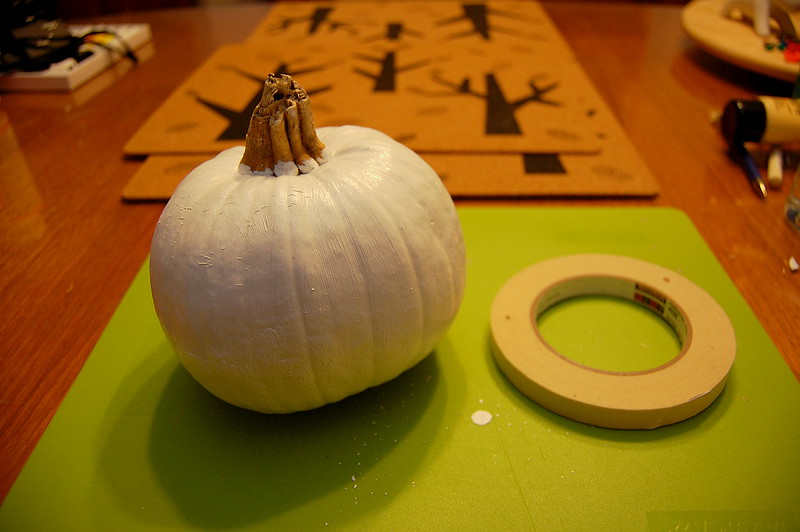
I let this pumpkin dry for like 24 hours. I wanted to make sure it was good and dry before I started putting more paint on it. 

Then I figured I'd tape a pattern on the pumpkin to paint. I wasn't talented enough to do chevrons, so I chose an easier pattern to start with. 


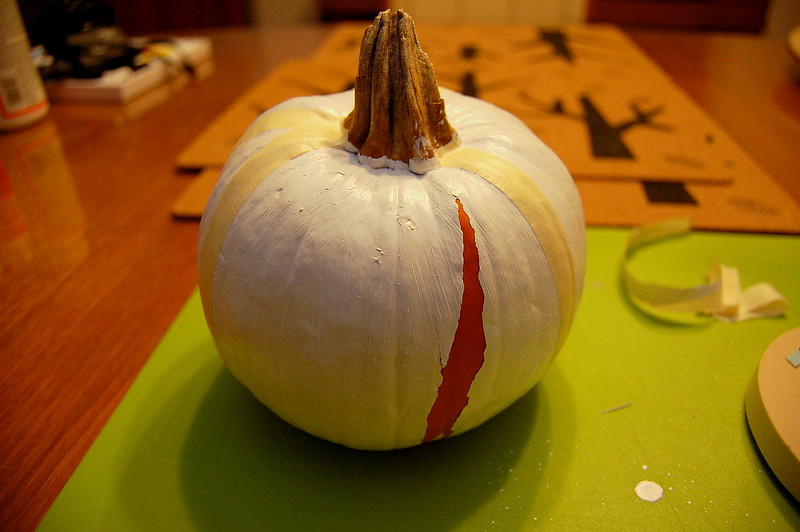
So I was taping away, when I noticed that one of my pieces of tape was a bit off centre, so I started to gently pull it off to reposition it when THIS happened...


That piece of bastard tape took the paint right off my pumpkin. I thought maybe it was just an isolated incident, and proceeded to try another piece of tape on the other side. It happened again. It happened with every piece of tape I put on the damn thing. By the time I had taken all the tape off I was left with my original orange pumpkin. 

The moral of the story: Put the tape on BEFORE you paint. Yes, you'll be relegated to orange as one of your primary colour choices, but you won't end up with a naked pumpkin. One that SHOULD still have three coats of paint on it. Alternatively, you could also just freehand a design or drawing on the painted pumpkin, just as long as you don't put tape on the actual paint you should be fine. 

Don't make the same mistake folks! 

Cheers, 

Melissa