Showing posts with label Painting. Show all posts

Wednesday, November 14, 2012

Official Pinter*Mel Project FAIL #2 OR How my intended bowl is now an awesome coaster.

I had a plan to make little bowls for Christmas present presentation this year. I thought a cute little bowl with an owl stamped into the bottom would have been a nice way to hold the homemade beauty goodies I plan on giving out as presents. This was the plan...it's a good thing I'm flexible, and willing to improvise. 

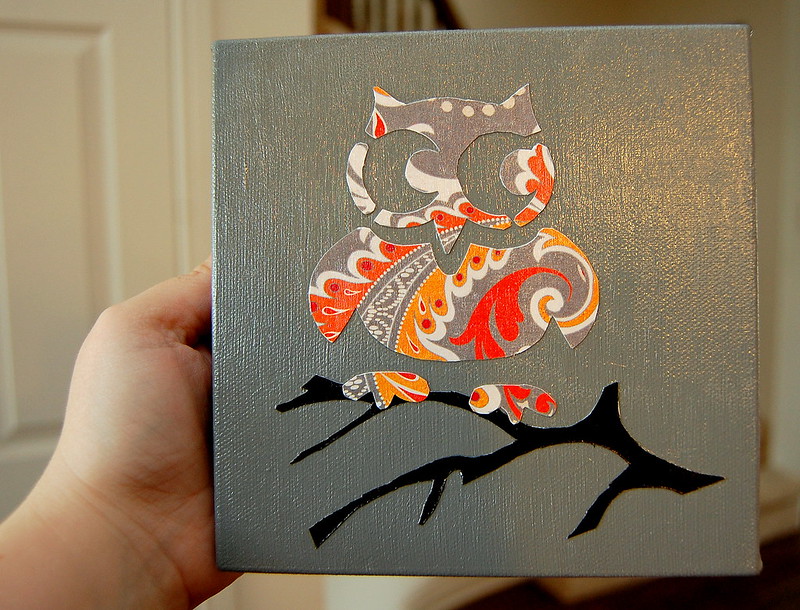
The Inspiration: DIY Lace Bowl

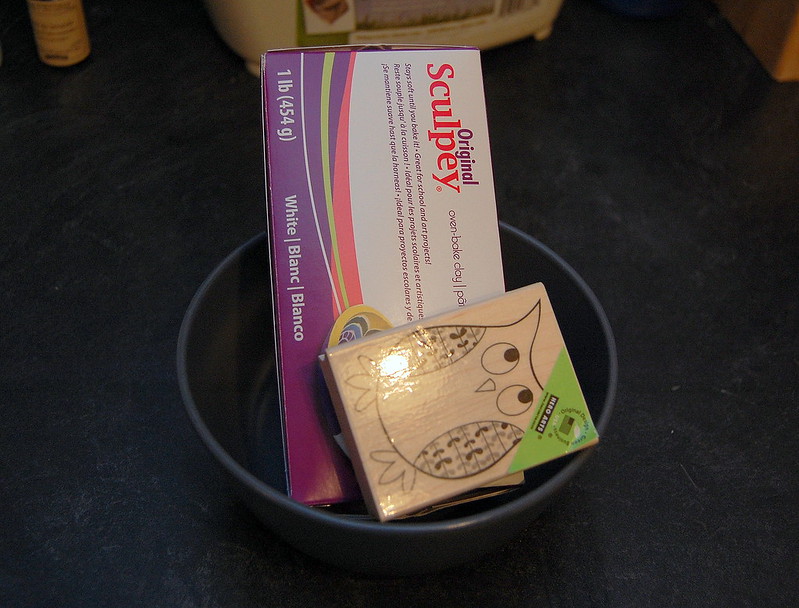
So my first mistake was buying Sculpey Original, not that there's anything wrong with the product, it just was the wrong version of this product for this particular project.

You see, most of the DIY air-dry clay recipes call for 3 cups of white glue. I don't know if any of you have purchased white glue lately, but buying enough to get 3 cups worth isn't exactly cheap. Also, making this stuff is kinda labour-intensive. I wanted to see if I could make this pretty quickly to gauge if it was going to sink or swim for Christmas presents. 

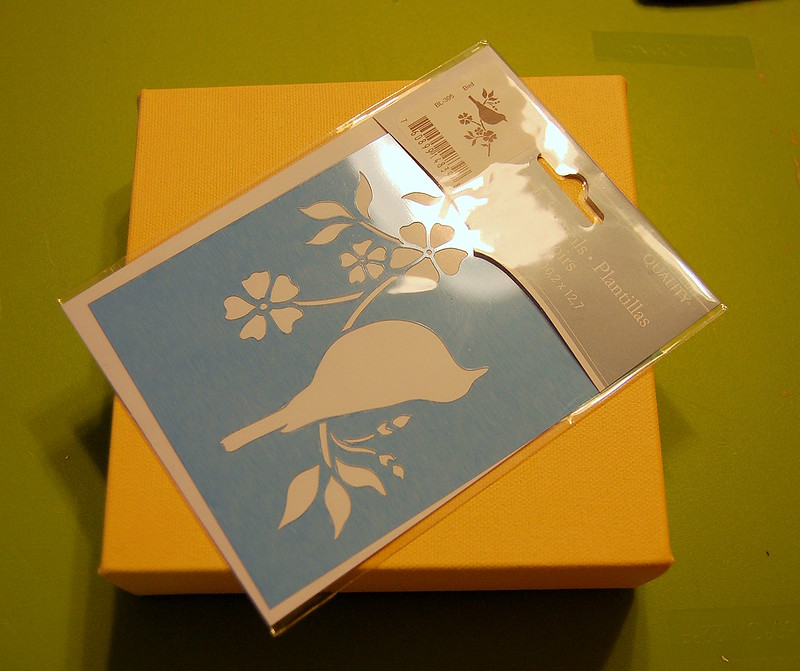
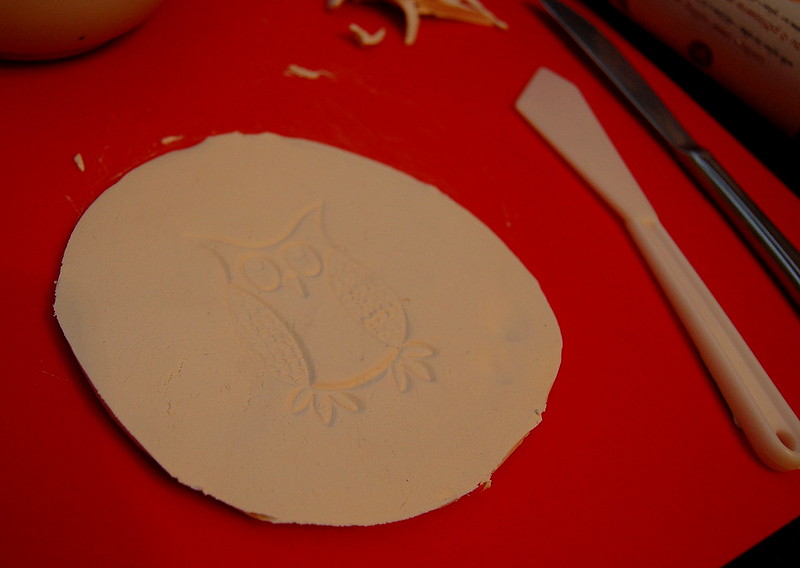
Yay! Sculpey! (and an owl stamp) 

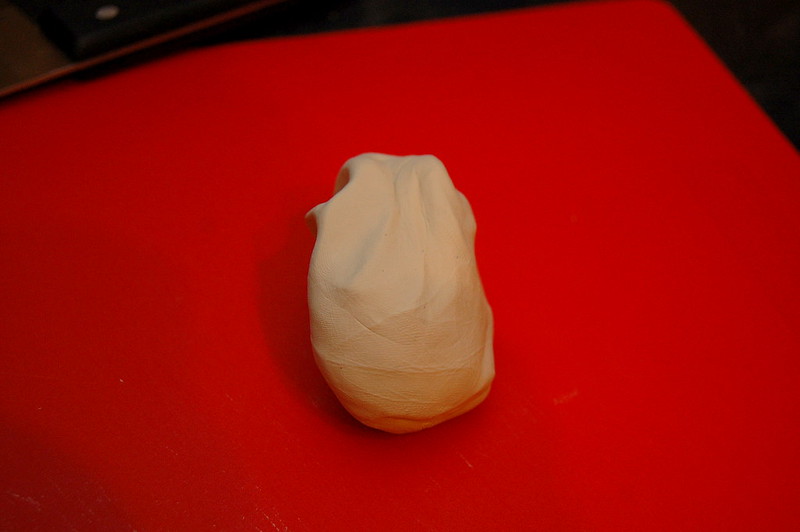
I cut about a quarter of the whole slab off. 


And then proceeded to knead the ever-loving sh*t out of it. 


Then I grabbed my trusty rolling pin and rolled it out...but not too thin; bowl thin. 


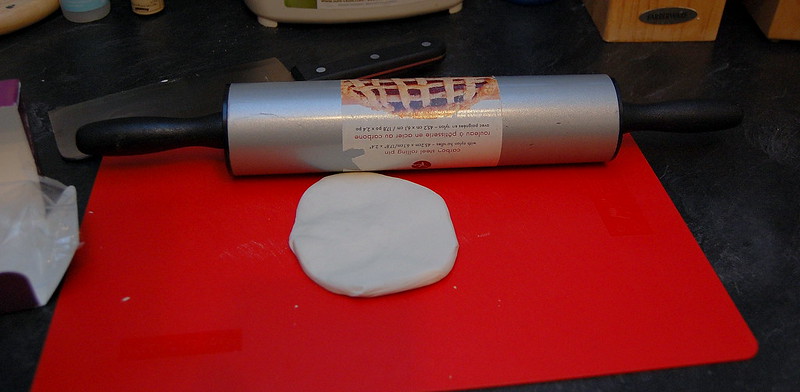
Once I got it evened out, I grabbed one of my smaller bowls as a template. 


Then using a butter knife and the spatchula thingy from this post, I cut it out. 

I evened out the edges a bit, and then pressed my adorable owl stamp into the middle of the future bowl.


Then I gently pressed the circle-owl into the upright bowl I used as the template. 


Remember how back at the beginning of the post I indicated that this was the wrong Sculpey product for this project, this became apparent to me at this stage. In order for this product to dry it has to go in the oven, it can't just air dry in the bowl. I needed an air-dry version of this Sculpey product.  SO I FRANTICALLY looked around my house for a like-sized bowl I could repress my circle-owl into and then put in the oven. 

Alas, it was not to be. 

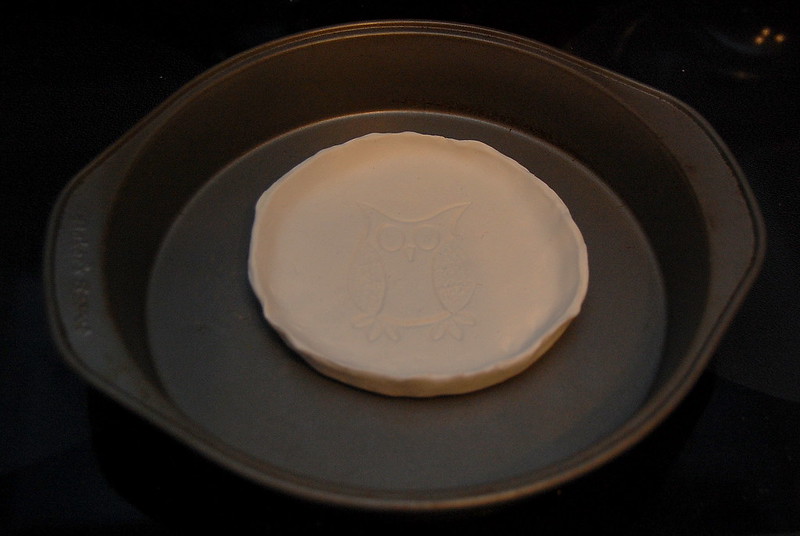
So I did my best to form the edges while my over preheated to 275F. 


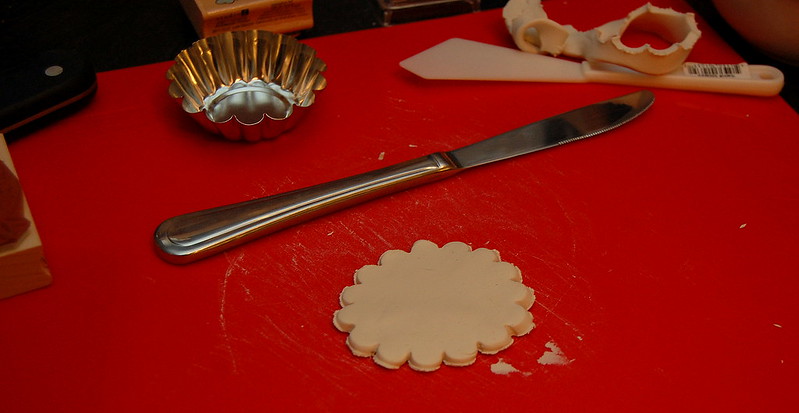
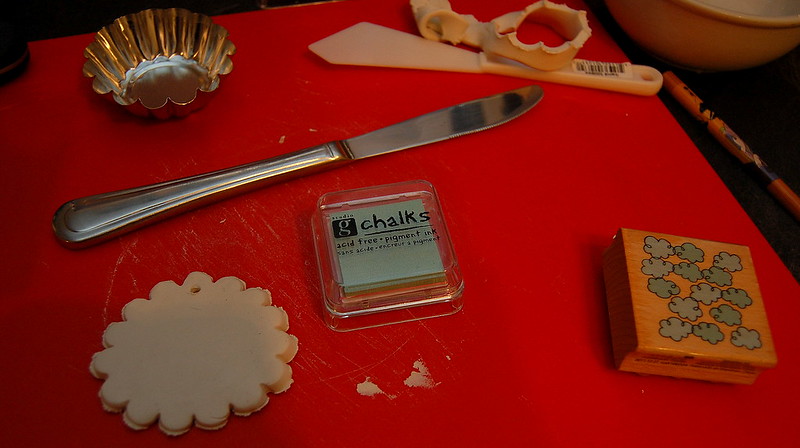
While my bowl-fail/coaster-win was baking, I decided to use the left-over scraps to make some ornaments for Christmas. 


In the oven you go! 


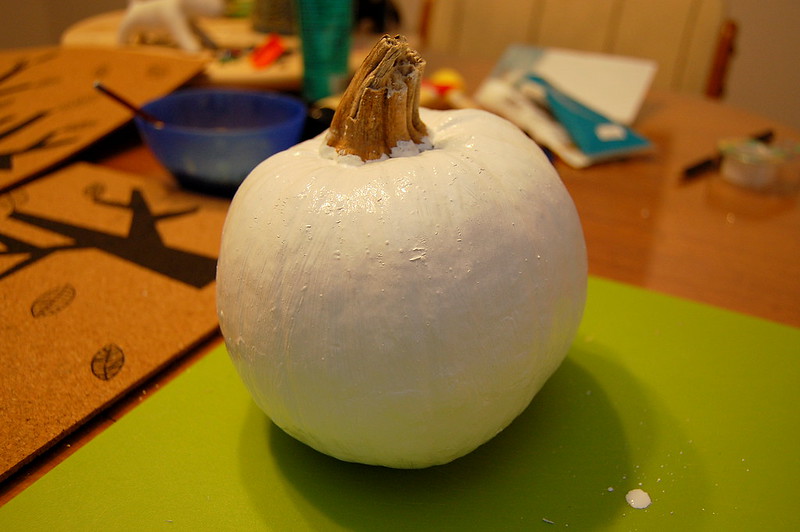
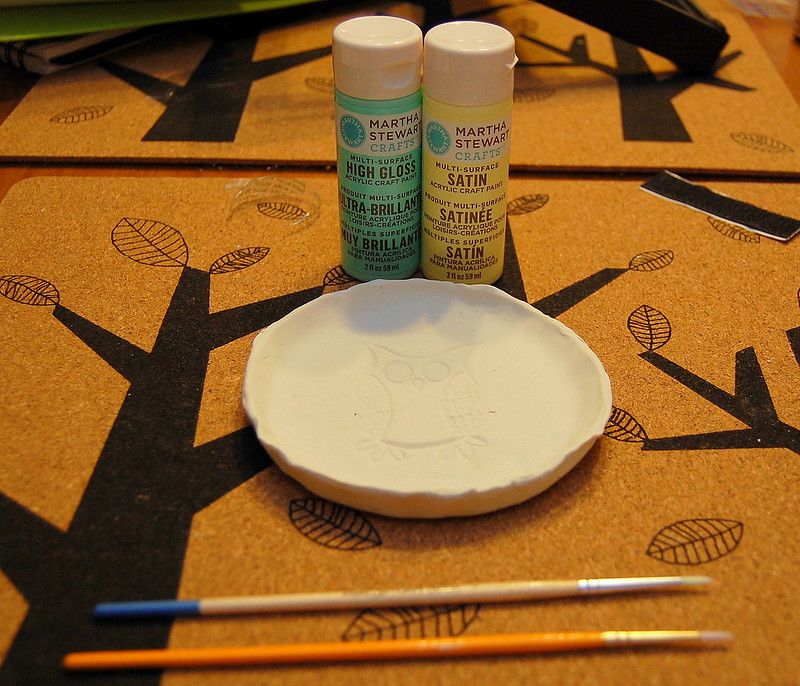
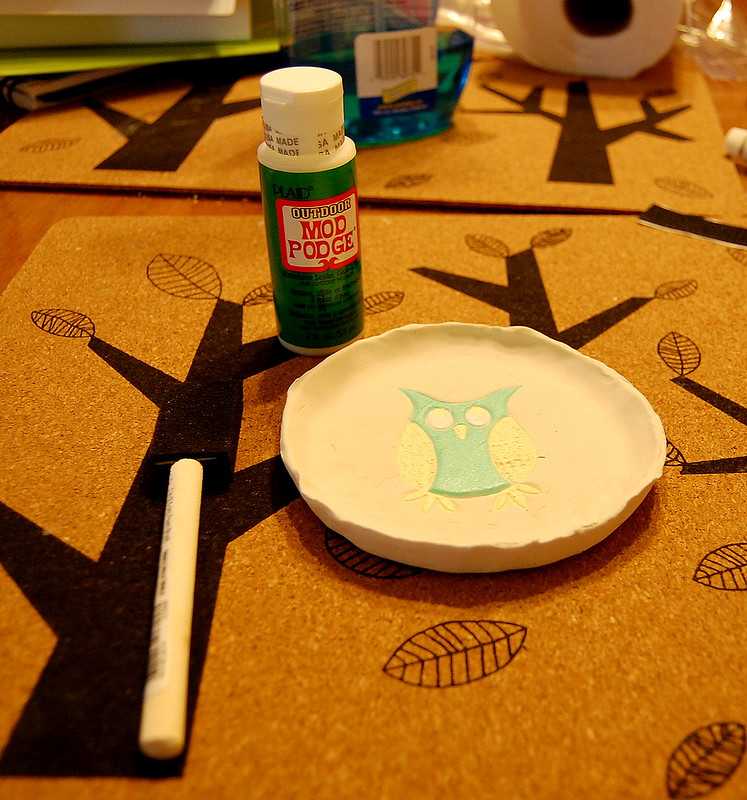
Once my bowl-fail/coaster-win had cooled down enough, I threw on some paint. 


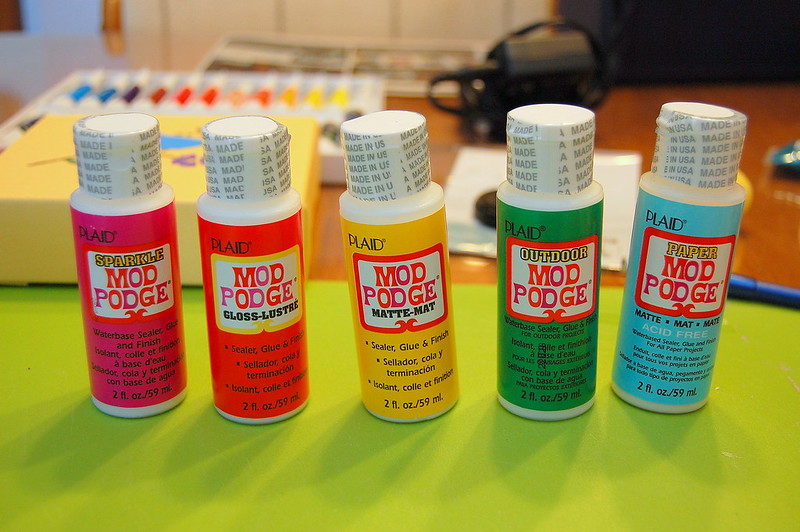
And then I threw a layer of Mod Podge Outdoor over top to seal it. 


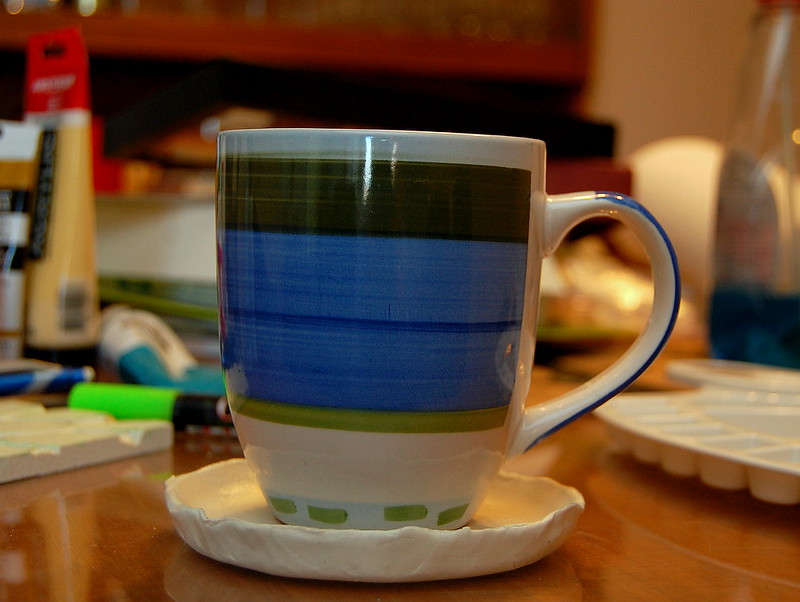
[Pro Tip: Skip this step. It made my coaster sticky, and now my mug sticks to it. Very annoying.]


Yay! Coaster-win!!!


Moral of the story - buy a clay product that will air dry, OR don't be a lazy ass like me and make your own air-dry stuff. 


Cheers, 

-Melissa

Thursday, October 18, 2012

Official Pinter*Mel Project FAIL #1: The Great Pumpkin Fail of 2012

I'd been perusing Pinterest looking for alternate ways to jazz up pumpkins for a DIY Fall-look around the house. 

The Inspiration: Chevron painted pumpkins 

I purchased this perfect teeny pumpkin at my local grocery store for 99 cents. I didn't want to invest big money in pumpkins until I knew what I was going to do, and that what I was going to do was going to work. 


I painted this cutie pie white. 
(PRO TIP: If you're planning on painting a pumpkin white, just get a white pumpkin and save yourself about 3 coats of paint.)


I let this pumpkin dry for like 24 hours. I wanted to make sure it was good and dry before I started putting more paint on it. 

Then I figured I'd tape a pattern on the pumpkin to paint. I wasn't talented enough to do chevrons, so I chose an easier pattern to start with. 


So I was taping away, when I noticed that one of my pieces of tape was a bit off centre, so I started to gently pull it off to reposition it when THIS happened...


That piece of bastard tape took the paint right off my pumpkin. I thought maybe it was just an isolated incident, and proceeded to try another piece of tape on the other side. It happened again. It happened with every piece of tape I put on the damn thing. By the time I had taken all the tape off I was left with my original orange pumpkin. 

The moral of the story: Put the tape on BEFORE you paint. Yes, you'll be relegated to orange as one of your primary colour choices, but you won't end up with a naked pumpkin. One that SHOULD still have three coats of paint on it. Alternatively, you could also just freehand a design or drawing on the painted pumpkin, just as long as you don't put tape on the actual paint you should be fine. 

Don't make the same mistake folks! 

Cheers, 

Melissa

Wednesday, October 17, 2012

Six Squared: The Big Send Off

So on Monday I lovingly wrapped my 6 canvases in bubble wrap, placed them carefully inside a Canada Post bubble mailer, addressed it, then sealed it up. 

Then I saw the envelope containing the submission form and my business cards laying on the table, because I forgot to put it in the package. There was no way that thing was going to be re-opened, whatever glue they put on these mailers could be used to hold aircraft together. So I ended up taping the envelope to the backside of the mailer. 

Anywho, here are the pictures! 

Here they are all finished: 


BERBLE WRERP!!!


I made some "business cards" out of paint samples to hold me over until my actual profesh cards arrive. 


All wrapped up! 


In ya go! 


Addressed and ready to roll. 


I'll be heading down to Kingston for the Six Squared Gala on Friday, November 16th. Can't wait to see all the other wonderful submissions! 


Cheers, 

Melissa

Friday, October 12, 2012

Six Squared: Canvas 6

Well friends, we've come to the final canvas. Thank you for taking this journey with me, it's been a blast! 

Canvas 6: Put a Bird (Stencil) on it  (YouTube video from Portlandia for context)

First I painted the canvas - two coats, just like always. It wouldn't make any sense to paint the stencil on it AND THEN paint it. That would just be silly. 


Then I selected the awesome bird stencil to paint on it. 


Then I taped that bad boy onto the canvas to it wouldn't move around and mess things up, and selected the colours I wanted to use, and a buncha small/thin paint brushes. 


PAINT ALL THE POSITIVE SPACE!!! (Note: I just totally made that up. Does "positive space" even exist? I know negative space does, because I spent an inordinate amount of time filling it in with ModPodge in my screen printing post.) 


Ugh, not to draw attention to it, but I totally borked the right side of the canvas by getting sloppy with my paint brush. 

It's all good. I got this. FIXED!


I picked up this tester kit of ModPodge at Deserres last weekend, and I couldn't help but notice that there's a SPARKLE MODPODGE (1st on the left). HOLY SH*T!!! 


You better believe I smothered that canvas in glorious SPARKLE MODPODGE. 


Ohhhhh!!! Try not to look directly at it; you could be blinded by it's sparkly, shiny awesomeness. 


TADA!!!


Canvas 6: COMPLETE. 

Tuesday, October 9, 2012

Six Squared: Canvas 5

Continuing with this series, here's canvas #5 for Six Squared in support or the Kingston Seniors Association

Canvas 5: Who gives a hoot?

As always, I begin with painting my canvas; two coats. 


While that was drying I stenciled my favourite owl onto the back of some really pretty scrapbook paper I used last year for a Christmas present. I also cut out a branch for him to sit on from another piece of scrapbook paper too! 


Used my scissors for the bigger, easier parts, but used my trusty razor blade for the rest. 


Branch! 


I found that the branch wasn't as black as I wanted it to be, so I gave it a coat of black acrylic paint to sharpen it up. 


Once that dried, and my canvas was dried it was time to bust out the ModPodge and glue the owl and branch to the canvas. 


It's impossible to use too much ModPodge on paper crafts like this; put it underneath to glue it on, and then brush it on over top. 


And always do another coat all over for good measure (and shine!)


Finished product; TADA!!!


Canvas #5: COMPLETE.