Showing posts with label toilet paper rolls. Show all posts

Wednesday, October 31, 2012

Whimseybox #1: Pinter*Mel's First Whimseybox Adventure


There's this rad company in the called Whimseybox, (you may remember my blog post about founder Alicia DiRago) which will send you a box each month filled with items you'll need to complete an awesome DIY craft. 

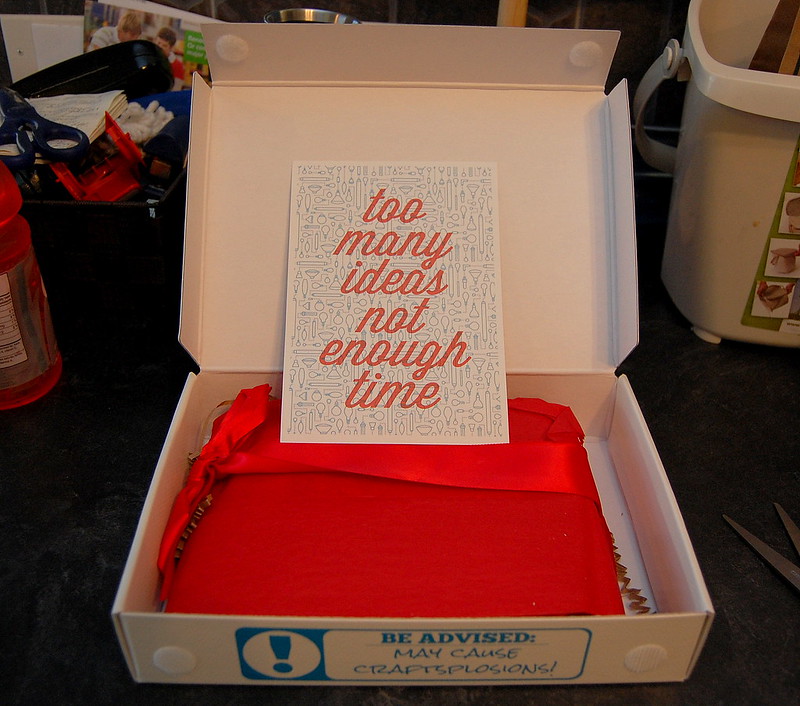
I had the pleasure of receiving my very first box at the beginning of October. It's packaging was absolutely splendid. 


And the box itself is a VERY useful storage container for this project and the rest of my stamps. 


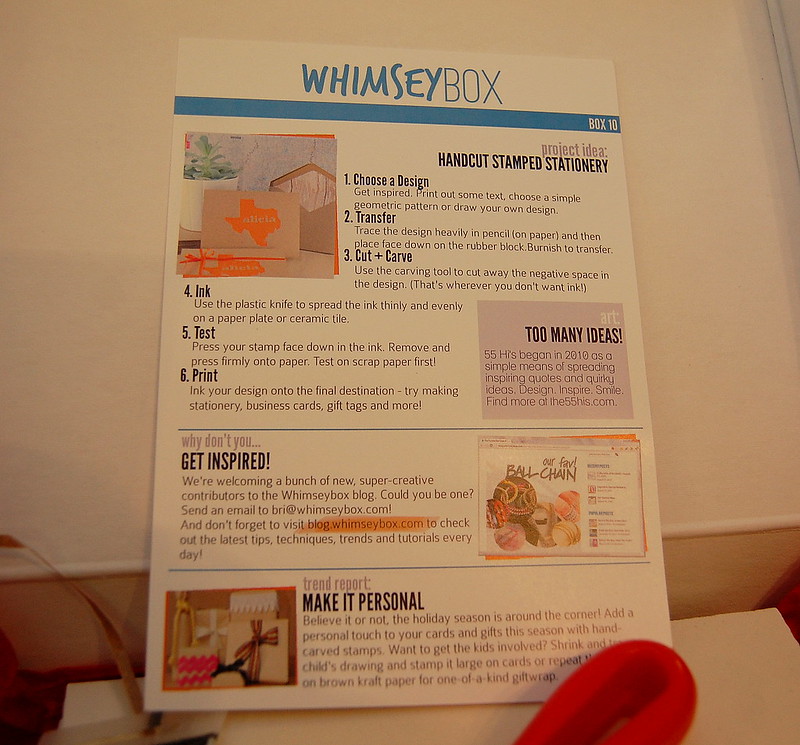
The craft this month: Hand-carved Stamps. Within the box there were a set of instructions, a piece of rubber, ink, 5 cards and envelopes, a spatchula thingy, and a very nice carving gouge. 


First order of business was to find a design that wasn't too intricate so I could actually manage to carve it out of the rubber. Having never used a carving gouge before I was skeptical I could pull this off. 

I decided to go with my tried and true toilet paper roll flower, which I've done before here and here

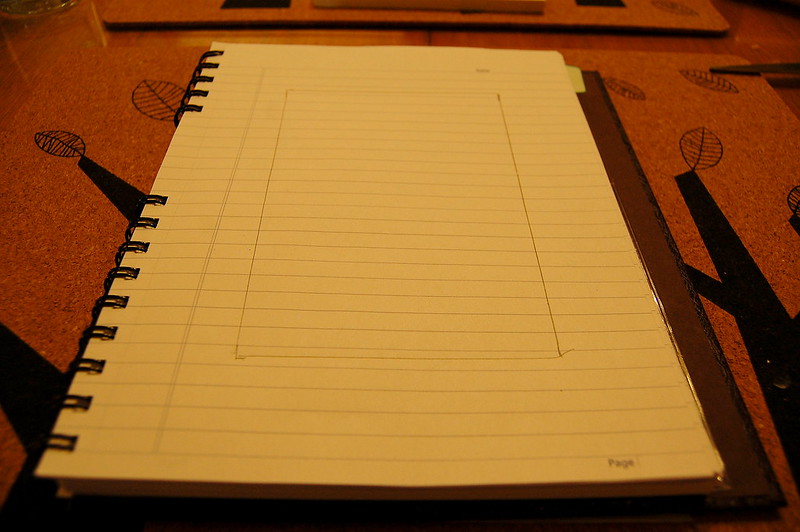
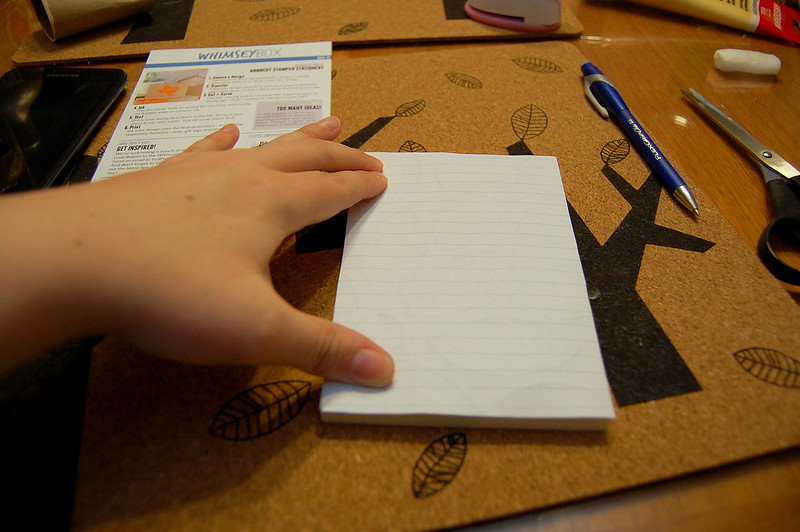
Firstly I traced the rubber block on a piece of paper. 


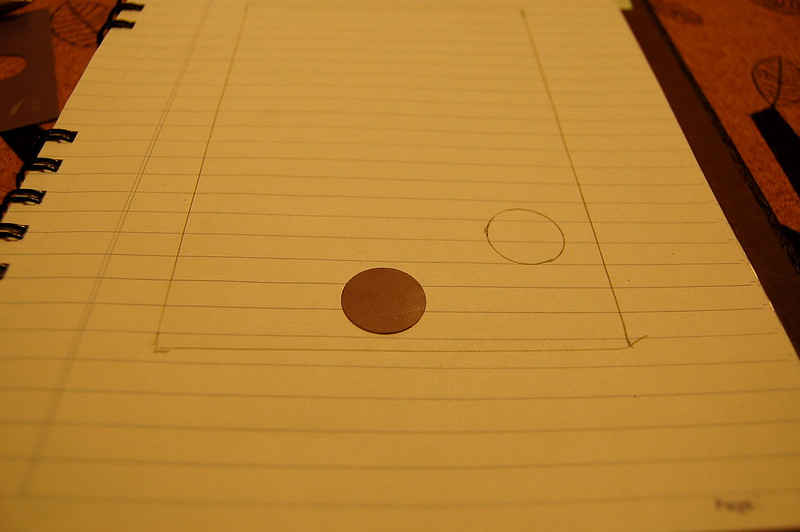
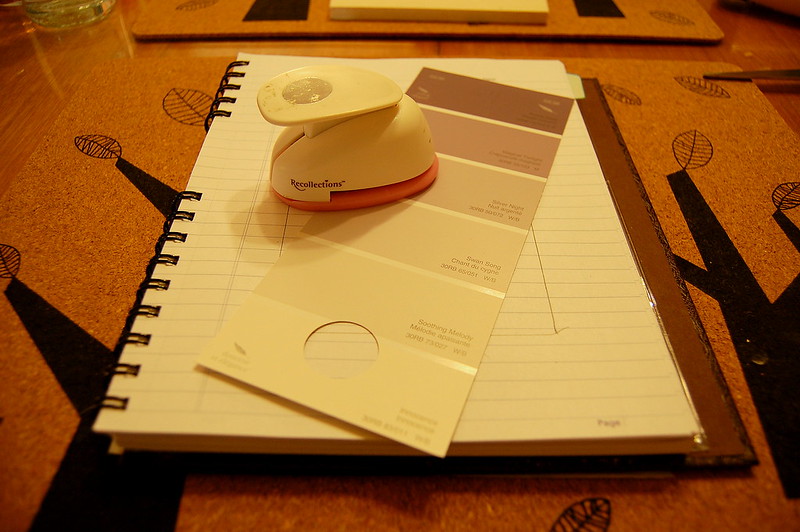
Then I placed the centre of my flower using my trusty hole-punch and a paint sample. 


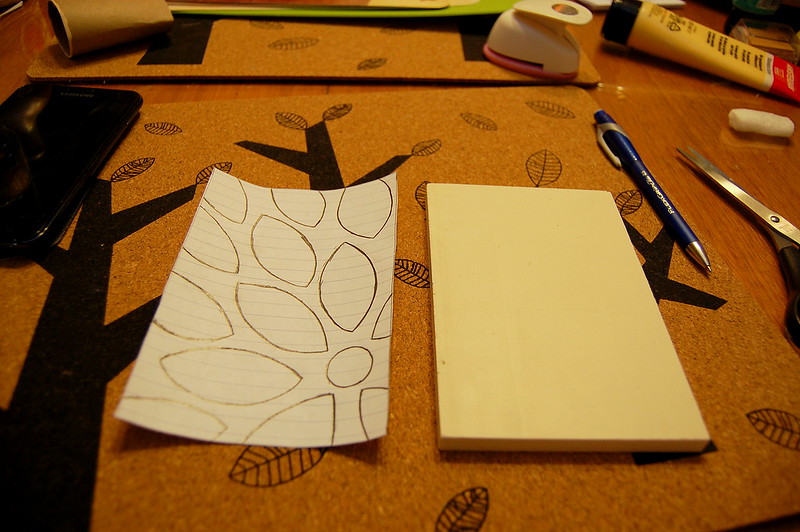
Then I started tracing (must be with pencil!) the petals with a piece of folded toilet paper roll. 


Then you have to go back over all the lines with your pencil so they're really dark - this will help the design to transfer onto the rubber. 
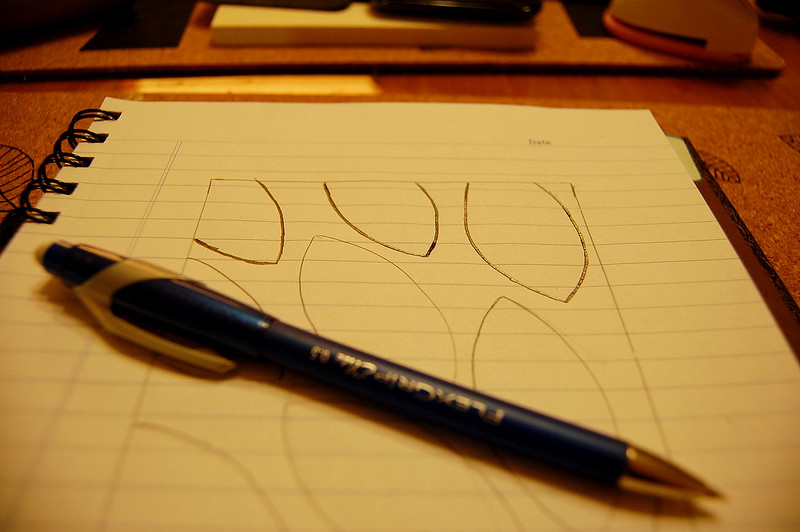


Then cut it out. 


Place design-side down on the rubber and "burnish"...which after looking up I learned meant "hold down and rub vigorously". So yeah, do that. 


When you remove the piece of paper, the design should now be transferred onto your piece of rubber! 


Now here comes the difficult part; and it was only difficult because I had never used one of these gouge tools before. It reminded my of my first foray into using a razor to cut out intricate design. 

Start carving out all the negative space; so anything you don't want ink to get on. 
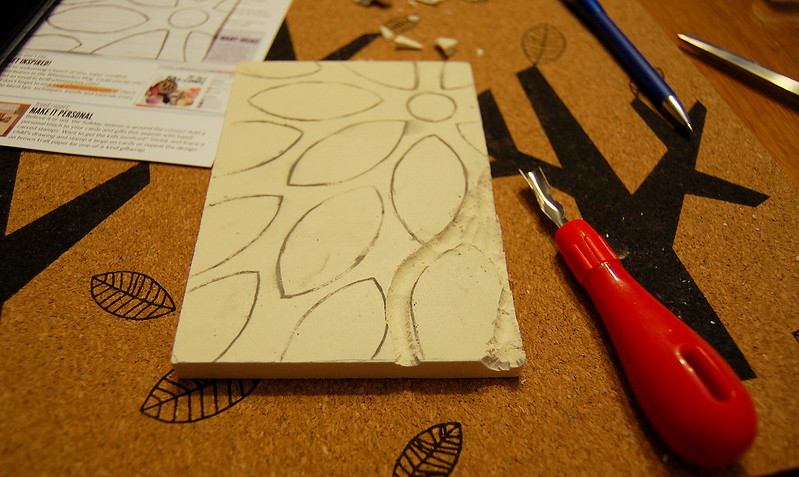

Yeah, things got pretty messy
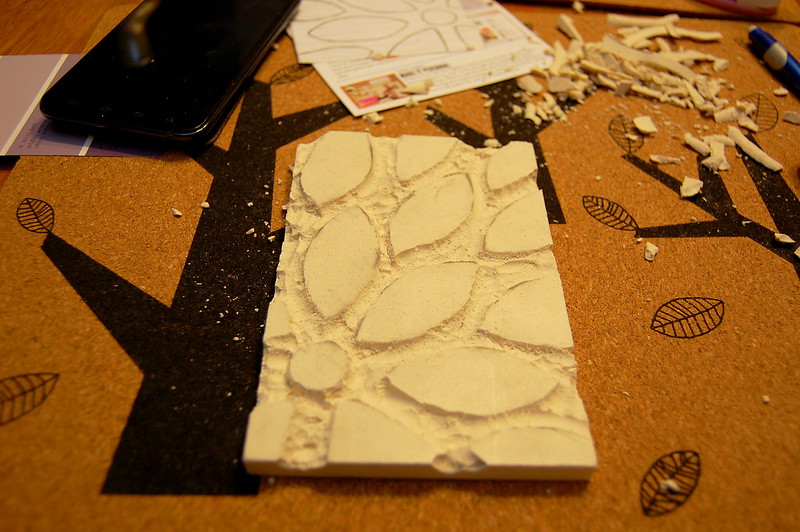

[Pro Tip: Clean up the mess before you get into the ink. You don't want chunks.]

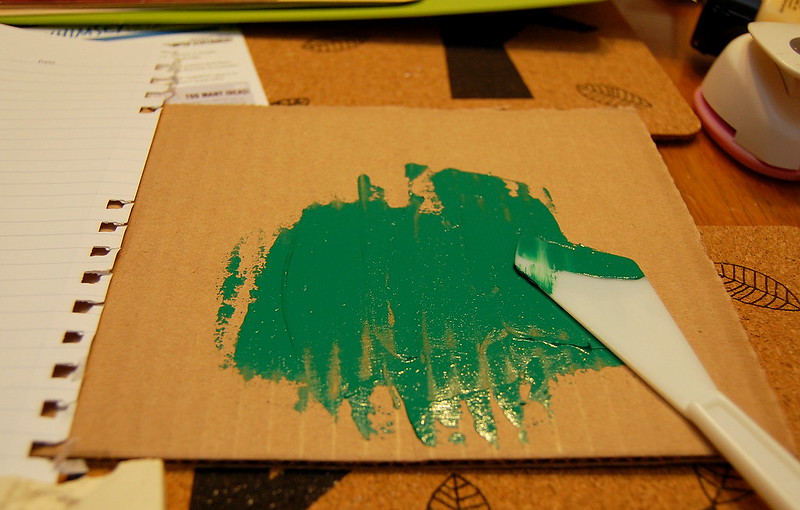
Take a spare piece of cardboard or a paper plate, the ink (provided), and the spatchula thingy (provided) and distribute an even layer of ink on the surface the size of your stamp. 


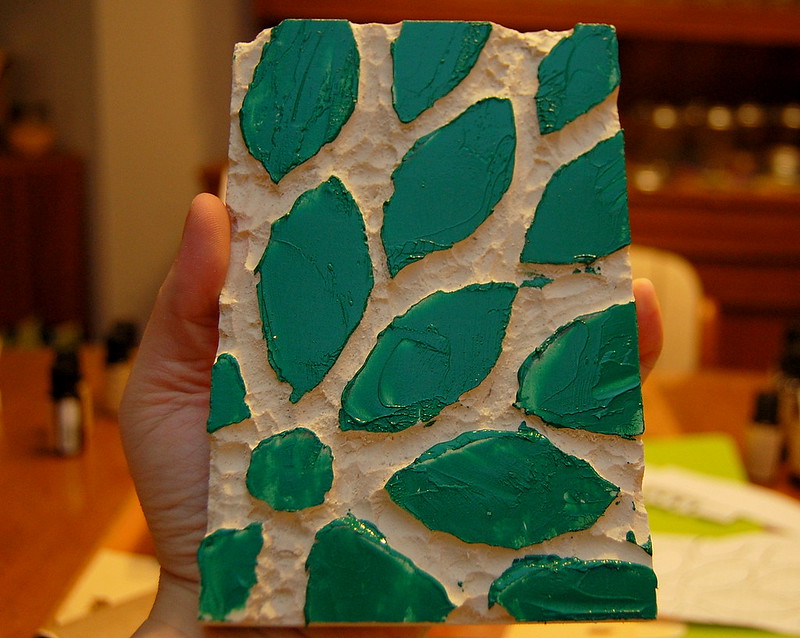
Grab a couple spare pieces of paper to test on. Put your carved stamp design-side down into the ink, press firmly everywhere so make sure that the ink is distributed evenly and that any air bubbles get lost. 
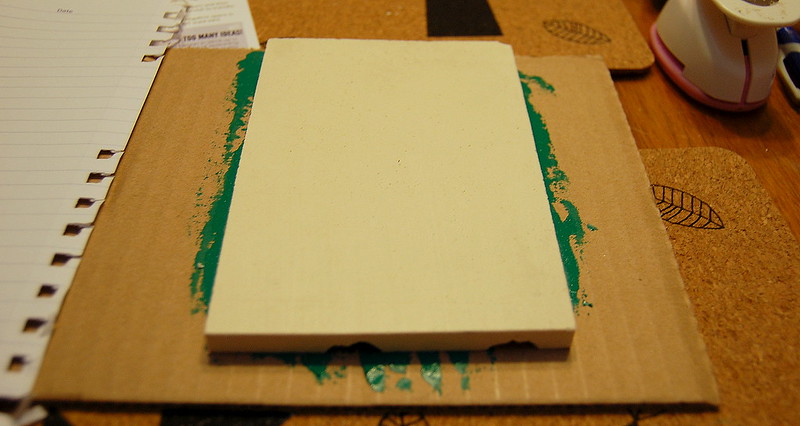


I used the spatchula to apply ink to any areas on the stamp that may have gotten missed. 

Then test! 
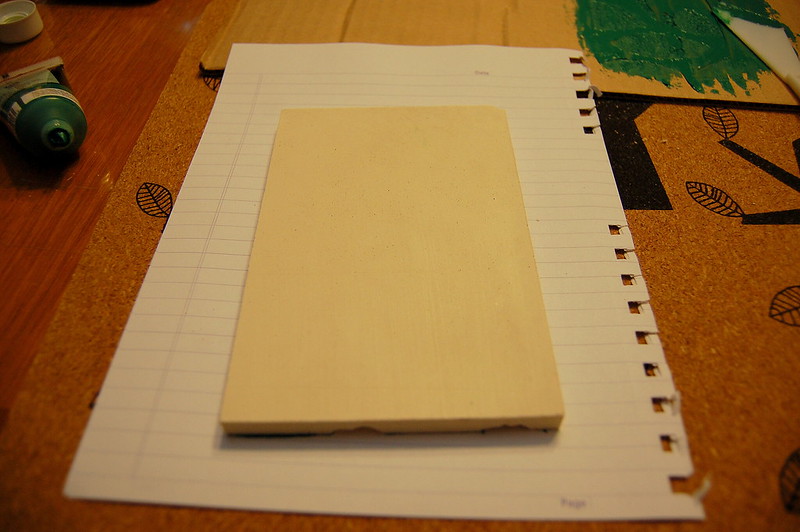

Press down EVERYWHERE!!!


Meh, could be better. I tried a few more times; trying to perfect the paint-to-stamp ratio until I felt comfortable enough to make a card with the cards provided! 

Before: 
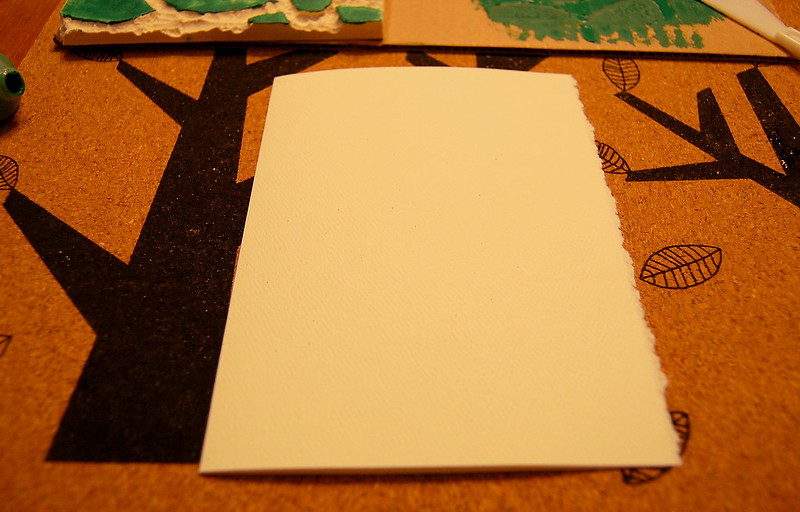

After: 


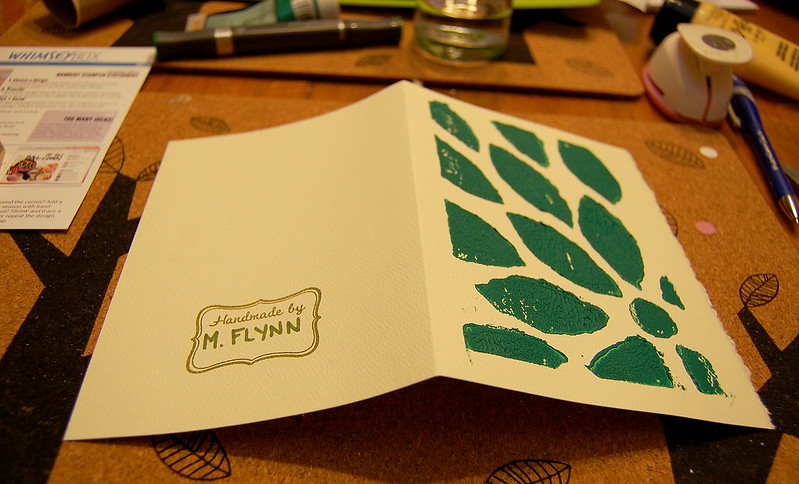
Yay!!! It worked! There were only a couple air bubbles/areas where I didn't press down hard enough, but overall I like the look, although I think I used too much ink.  

Once it dried enough, the this ink does dry pretty quickly, I took one of my pre-fab stamps and made sure everyone knew this was my handy work. 


Tada!!!


I just have to decide who to send it to! 

This was a super fun project, and I can't wait to get my second Whimseybox in the mail in early November.

If Whimseybox is something that appeals to you I highly recommend signing up! AND, they just dropped their monthly box price back down to $15! These supplies would cost you at LEAST that much at Michael's or Deserres, and you don't get a kick ass box at the end to store all your stuff in! DO IT!!! 


Happy Crafting! 


Cheers, 

-Melissa

Thursday, July 19, 2012

Official Pinter*Mel Project #1 - DIY Flower Wall Art

The Inspiration: Pinterest - DIY Flower Wall Art

The Progress: 
We have a very lonely wall in our living room. 

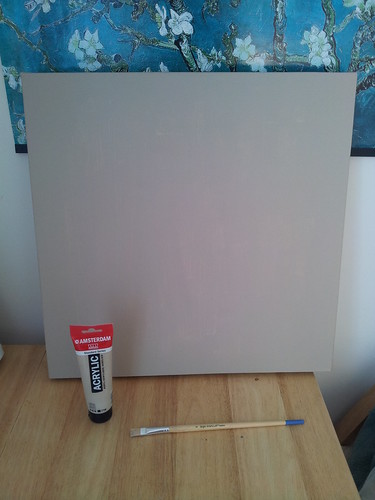
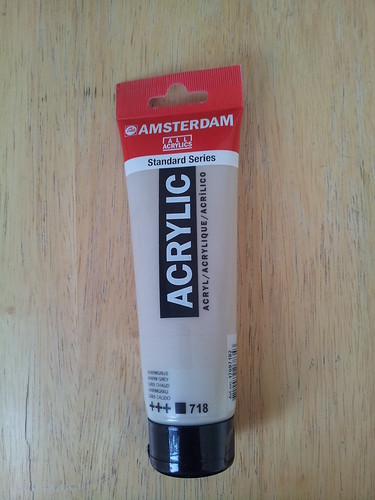
So, I purchased a 14x14 canvas from Wallack's, and proceeded to paint it a neutral beige colour using Amsterdam Acrylic Paint. 

Pro Tip: When painting your canvas you want to water down the paint a bit, otherwise you'll end up using the entire tube trying to get even coverage.  


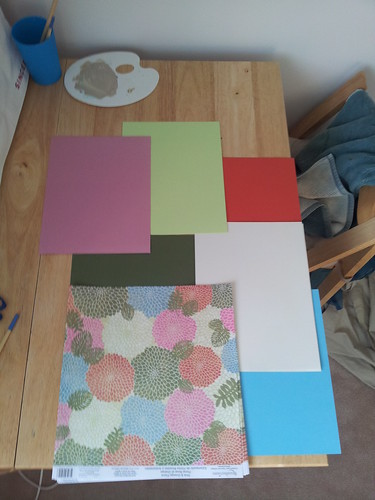
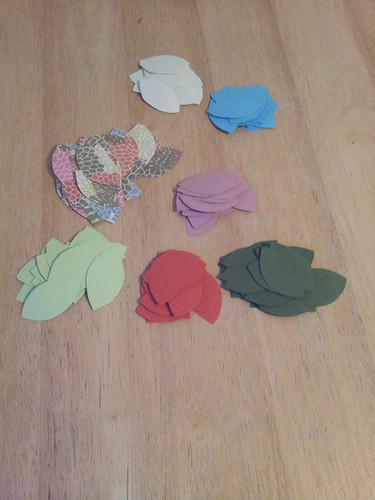
While your canvas is drying, you can start tracing your stencil onto the paper you have selected to use. 
Note: Please excuse the picture quality. I promise as this blog evolves that I will strive to take more centered and professional-like photos. 

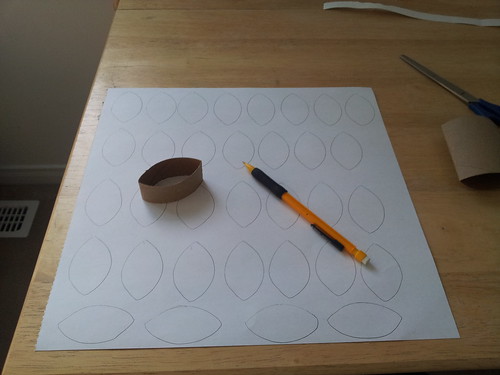
My ever-so high-tech stencil ended up being a piece of an empty toilet paper roll folded in half. It worked out perfectly! 

The the time-consuming part of the adventure began...

...and continued. 

I believe when all was said and done I had cut out approximately 120 "petals". I had quite a few left over when I was finished, which I will use for another craft. 

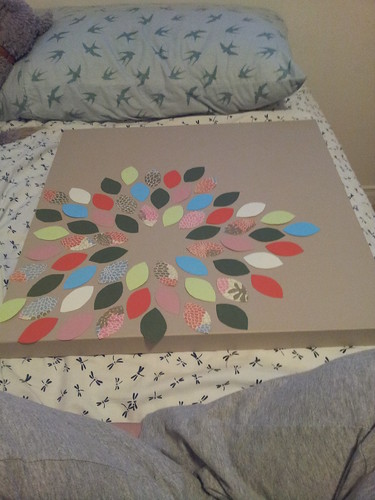
The important thing about this kind of craft is to lay it out before you start gluing it to the canvas. I'm a firm follower of the "measure twice, cut once" philosophy, and believe me, once you Mod Podge something to a surface, you want to make sure you have it in the right spot. 

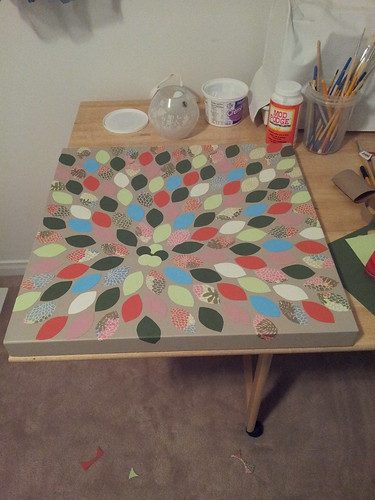
Once you're satisfied with your design, the Mod Podging can begin! It's okay if some of the petals hang over the edge of the canvas. Once you're finished gluing all the petals onto the surface, you can turn your attention to those. Depending on your preference you can either cut them so they're flush to the edge of the canvas, or do what I did, which was fold them over the edge and glue them down. 

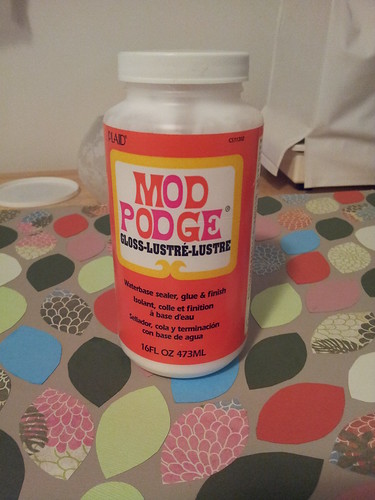
Once everything is glued down, I recommend going over the entire thing with a thin coat of Mod Podge. It will seal the paper and canvas, and will ensure that nothing ever comes peeling off, which is especially important if you live in a climate that's not friendly to paper-based crafts. I use Mod Podge's Gloss product. It's excellent for this kind of art. 

This shouldn't take long to dry, as long as you've applied only a thin layer that is. Once it's fully dry you're finished! Time to find a place to hang it! 


The Final Product: 
Now our living room wall is lonely no more! 

However, being the perpetual fuss-budget I am, and having a pile of left over petals, I plan on making some accent pieces for this wall. The plan is to use three or four 5x7 canvasses, using the same method in this post in order to make this wall a little more artfully balanced. 
I will update once I do this, with photos! 

Total Approximate Cost: Canvas $13, Paint $6, Paper $10, Mod Podge (used) $4. 

Have you done this project? Please post links to the outcomes in the comments section, or tweet me at @PinterMel


Update: I've added two smaller canvasses to even the wall out. 


Melissa